The Truth About Negative Fill: John Gress Busts the Biggest Lighting Myth
Our favorite commercial photographer, John Gress, is on a mission, and this time it’s personal. In his studio, armed with a black V-Flat, a few softboxes, and his model Jake, John sets out to debunk one of the most misunderstood concepts in photography lighting: negative fill. He’s not just poking holes in internet tutorials – he’s tearing down a myth that's misled countless photographers for far too long.
Negative Fill Isn’t What You Think It Is
You’ve probably heard people say negative fill “sucks light” out of the shadows. That’s the phrase John hears all the time – and it drives him nuts. Negative fill isn’t some magical black hole. It doesn’t pull light out of shadows. Instead, it does something much simpler: it blocks light from bouncing into the shadows.
This misunderstanding usually comes from seeing black flags or V-Flats placed on the shadow side of the subject. The assumption is that these black panels are actively darkening the image by absorbing light. But as John shows in his demos, that’s not the full story.
Demo 1: No Reflective Surfaces, No Difference
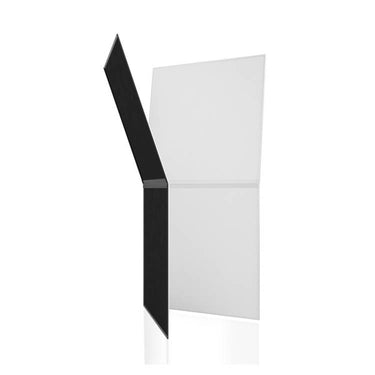
In the first demo, John positions Jake with a soft key light and brings in a black V-Flat on the opposite side. But there’s not much over there to reflect light anyway – a concrete column, a few bits of gear, and a white box, none of which bounce much light back. So when the V-Flat goes up? Almost no visible difference in the shadows. That’s because there wasn’t much reflected fill to block in the first place.

Demo 2: Black Side vs White Side
In demo two, he repeats the setup, but this time shows what happens when you flip the V-Flat to its white side. Now, there’s a dramatic change. The white surface adds reflected light into the shadows, noticeably lifting them. This contrast shows what the black side is really doing: it's preventing that reflected light from happening, not sucking light away.

Demo 3: Blocking the Bounce
The final setup is the most telling. John places a large piece of white foam core across the room to act as a bounce. Then he puts the black V-Flat between himself and the foam core. When the V-Flat is up, his shadows deepen – because the reflected light can’t reach him. When it’s taken down, those same shadows brighten instantly. It’s a clean illustration: negative fill is just strategic shadow control.

So, How Do You Use Negative Fill the Right Way?
Now that the myth is cleared up, how do you actually use negative fill to your advantage?
1. Identify the bounce sources
Look around your space. Are there white walls, ceilings, or reflective surfaces bouncing your key light back into your shadows? If so, you’ve got potential fill whether you want it or not.
2. Use black flags to block those reflections
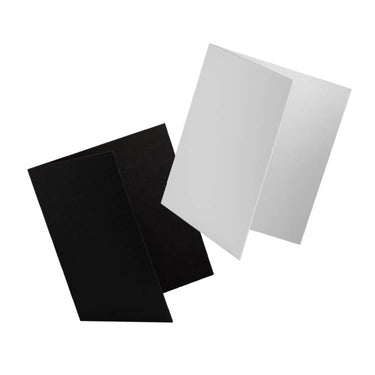
Place black V-Flats, flags, or foam boards between your subject and those reflective surfaces. Don’t just throw up black panels randomly – know what light you’re trying to block.
3. Get the angle right
If your black flag isn’t in the path between the key light’s bounce source and your subject’s shadows, it won’t do anything. It's not about proximity – it’s about geometry.
4. Test the results
As John demonstrates, the effect of negative fill depends entirely on the amount and strength of the ambient bounce. In some setups, it’ll make a big difference. In others, barely noticeable.
5. Flip it when needed
Want to add light instead? Use the white side of that V-Flat. It’s not negative fill – it’s positive fill. And it’s a handy tool for balancing your light when needed.
Stop Believing the Myths!
John wraps things up with a reminder: negative fill is about control, not magic. It’s not a trick. It’s about shaping the light by stopping it from going where you don’t want it. Once you understand that, you’re in charge of your shadows – not at the mercy of them.
Curious to see it in action? John’s full demos break it down clearly, and his workshops go even deeper.
Get Connected
Follow John on Insta: https://www.instagram.com/johngressmedia/
John's photography workshops: https://johngress.com/workshops/
Model: Jake Feeny
Wanna Learn More?
We’ve got over 100 videos on our Behind the Scenes page with tips and tricks for photographers and videographers of all genres. Learn how to light, shoot, and more.


Leave a comment
This site is protected by hCaptcha and the hCaptcha Privacy Policy and Terms of Service apply.