Angle of Incidence | Avoid Glare on Surfaces | Hudi Greenberger
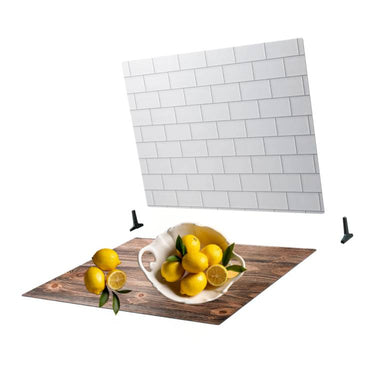
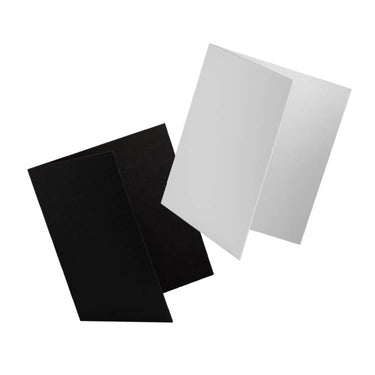
In today's video, Hudi Greenberger dives into a common challenge – avoiding reflections when working with reflective surfaces, in this case, Duo Boards. These boards, known for their matte finish, already cut down on glare, but can still produce a little under certain lighting conditions, especially on the black surface. Hudi shares practical tips on how to deal with these reflections by understanding the angle of incidence.
How to Eliminate Glare When Shooting on Shiny Surfaces:
What Is the Angle of Incidence?
The angle of incidence sounds technical, but Hudi breaks it down in a way that’s easy to understand without involving complicated math. Essentially, it refers to the angle at which light hits a surface and bounces back into the camera. If the angle of the light source (like a softbox) aligns with the camera’s angle, you get a harsh reflection – something no one wants in their shots.

In the tutorial, Hudi demonstrates this using a softbox positioned directly in line with the camera, which results in a glaring reflection on the board’s surface. To solve this, he shifts the softbox out of the camera’s direct angle, avoiding the specular highlight. The result? A beautifully lit scene with no distracting reflections.
Avoiding Glare with Simple Adjustments
Hudi’s key tip is to visualize the angle of incidence before setting up your shot. If you can avoid placing your light source directly in the path of the camera’s lens, you’ll eliminate most reflections.

In the demo, he lowers the softbox slightly, takes another shot, and the reflection is gone. By positioning the light outside the angle of incidence, the surface stays clean, and the overall image looks more professional.
One thing Hudi emphasizes is how good the Duo Boards are at avoiding reflections, but you still can't be at a direct angle for the specular highlights, especially if using the black surface. But by adjusting the softbox and avoiding the direct path of reflection, he ensures a smooth, glare-free shot.

Softening Shadows for a Balanced Look
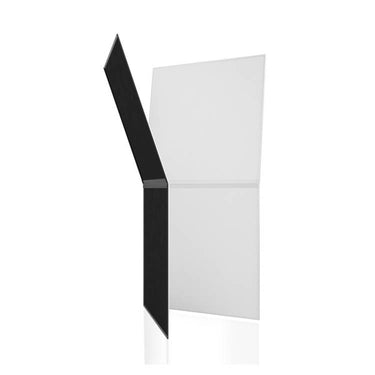
After tackling reflections, Hudi moves on to another common issue – shadows. With the light positioned to avoid glare, shadows might become too harsh. To soften them, Hudi uses a V-Flat as a reflector. This simple addition bounces light back into the scene, softening shadows and bringing out more detail, like the texture on a marble surface. He makes subtle adjustments, moving the reflector closer or further until the shadows look just right.
By the end of the tutorial, Hudi shows that with a few simple tweaks to lighting angles and reflectors, you can avoid glare and create a balanced, professional image.
Shop Duo Boards
Shop V-Flats
Wanna Learn More?
We’ve got over 100 videos on our Behind the Scenes page with tips and tricks for photographers and videographers of all genres. Learn how to light, shoot, and more.



1 comment
Great video. Easy to understand and easy to remember when photographing, especially on my dark duo board.
Pamela
Leave a comment
This site is protected by hCaptcha and the hCaptcha Privacy Policy and Terms of Service apply.