Cave Lighting: The Easiest Natural Lighting for Portrait Photography (Video)
Today we’re diving into a cool and super easy lighting technique for portrait photography with Lee Morris from Fstoppers. Lee introduces us to "cave lighting," a method that uses natural light to get stunning results without any complicated setup.
What Is Cave Lighting?
Cave lighting is all about harnessing natural light by positioning your subject in a doorway or another shaded area, like an actual cave, a garage, or under trees. This method takes advantage of the light coming from outside while minimizing the side light hitting your subject, giving a beautifully soft and flattering effect.
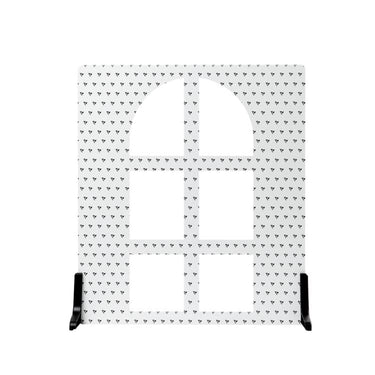
Using V-Flats to Create Cave Lighting
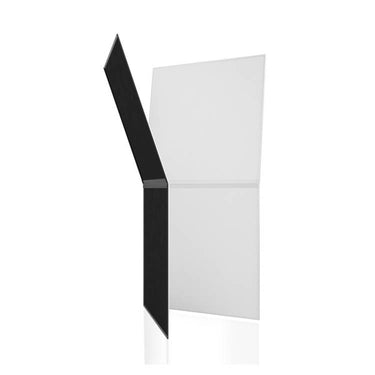
Lee demonstrates his setup with Aria, his model. He starts outside with a V-Flat to create a flat background. This first test shot is great, but the results are even better when you bring the subject into the "cave."
Inside the Cave
Once inside the doorway, the light setup changes dramatically. The light from outside illuminates the front of Aria's face, while the sides fall into shadow, creating a nice depth and contrast. This setup works well for both men and women and is particularly flattering because of the soft transition from light to shadow.
Playing with Backgrounds
Lee points out that you can easily control the background by adjusting your subject’s distance from the doorway. When Aria is close to the background, you get a neutral gray tone. If she moves closer to the doorframe, the background darkens, and if done correctly, you can even achieve a completely black background.
Fine-Tuning the Light
As Aria moves forward, closer to the doorway, more light starts to hit the sides of her face. Even reflective surfaces like a metal door can bounce additional light onto her, altering the effect. Lee emphasizes that to maintain the cave lighting look, you need to be mindful of these reflections and light changes.

Comparing Shots
By comparing shots of Aria just inside the doorframe and then stepping outside, you can see the stark difference. Inside the frame, the light looks studio-perfect, while outside, it loses the distinct shadow and looks more like a typical shaded shot.
Additional Tips
Lee wraps up with a few versatile tips:
- Use a doorframe, garage, or even trees to create this effect.
- You can enhance the look with V-Flats, scrims, or anything that can block light from the sides.
- Moving your subject in and out of these shaded areas lets you control the light intensity and shadows easily.
Cave lighting is a fantastic, simple, and cost-effective way to elevate your portrait photography. It’s versatile and can be done almost anywhere with minimal equipment. Next time you’re out of ideas or in a tricky lighting situation, give cave lighting a try!
WANNA LEARN MORE?
We’ve got over 100 videos on our Behind The Scenes page with tips and tricks for photographers and videographers of all genres. Learn how to light, shoot, and more.


Leave a comment
This site is protected by hCaptcha and the hCaptcha Privacy Policy and Terms of Service apply.