The "Cave Lighting" Method with V-Flats
When shooting outside, your light can be unpredictable and unflattering. Control is everything in PRO photography and that is why when looking at big-budget photoshoots you tend to see tons of huge pieces of gear such as butterflies and light panels – sometimes as big as 20 feet long!
In this video, we explore "Cave Lighting" which is an awesome technique to get full control of your subject outdoors in any lighting environment. With the cave lighting method, you have the ability to block out all unwanted light and gain studio-quality lighting right outside.
Using V-Flats to Create Cave Lighting
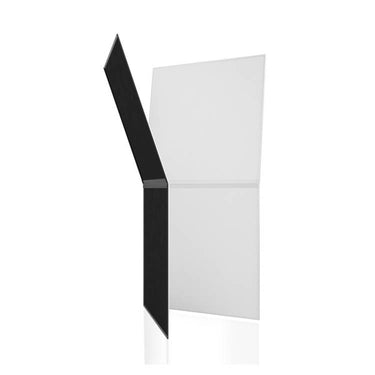
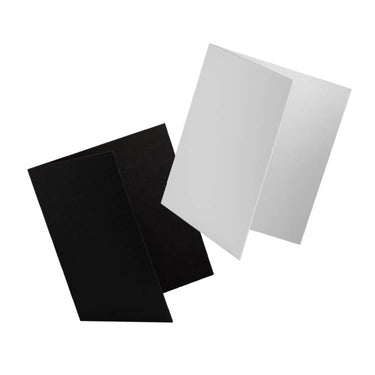
To create the cave lighting effect, you can set up two V-Flats with their black sides facing inwards. The model stands between the V-Flats, and the light is primarily directed from the front. This setup blocks all other light sources, creating beautiful contrast and a dramatic effect.

Shooting with Cave Lighting Method
Light Control: This technique allows you to shoot outdoors while controlling the light as if you were in a studio. It’s especially useful in variable outdoor lighting conditions.
Adjusting for Sunlight: If you’re shooting on a sunny day, position the V-Flats so the sunlight is blocked from the back. Adjust your camera settings to manage the exposure accordingly.
Pro Tip: Tethering Setup
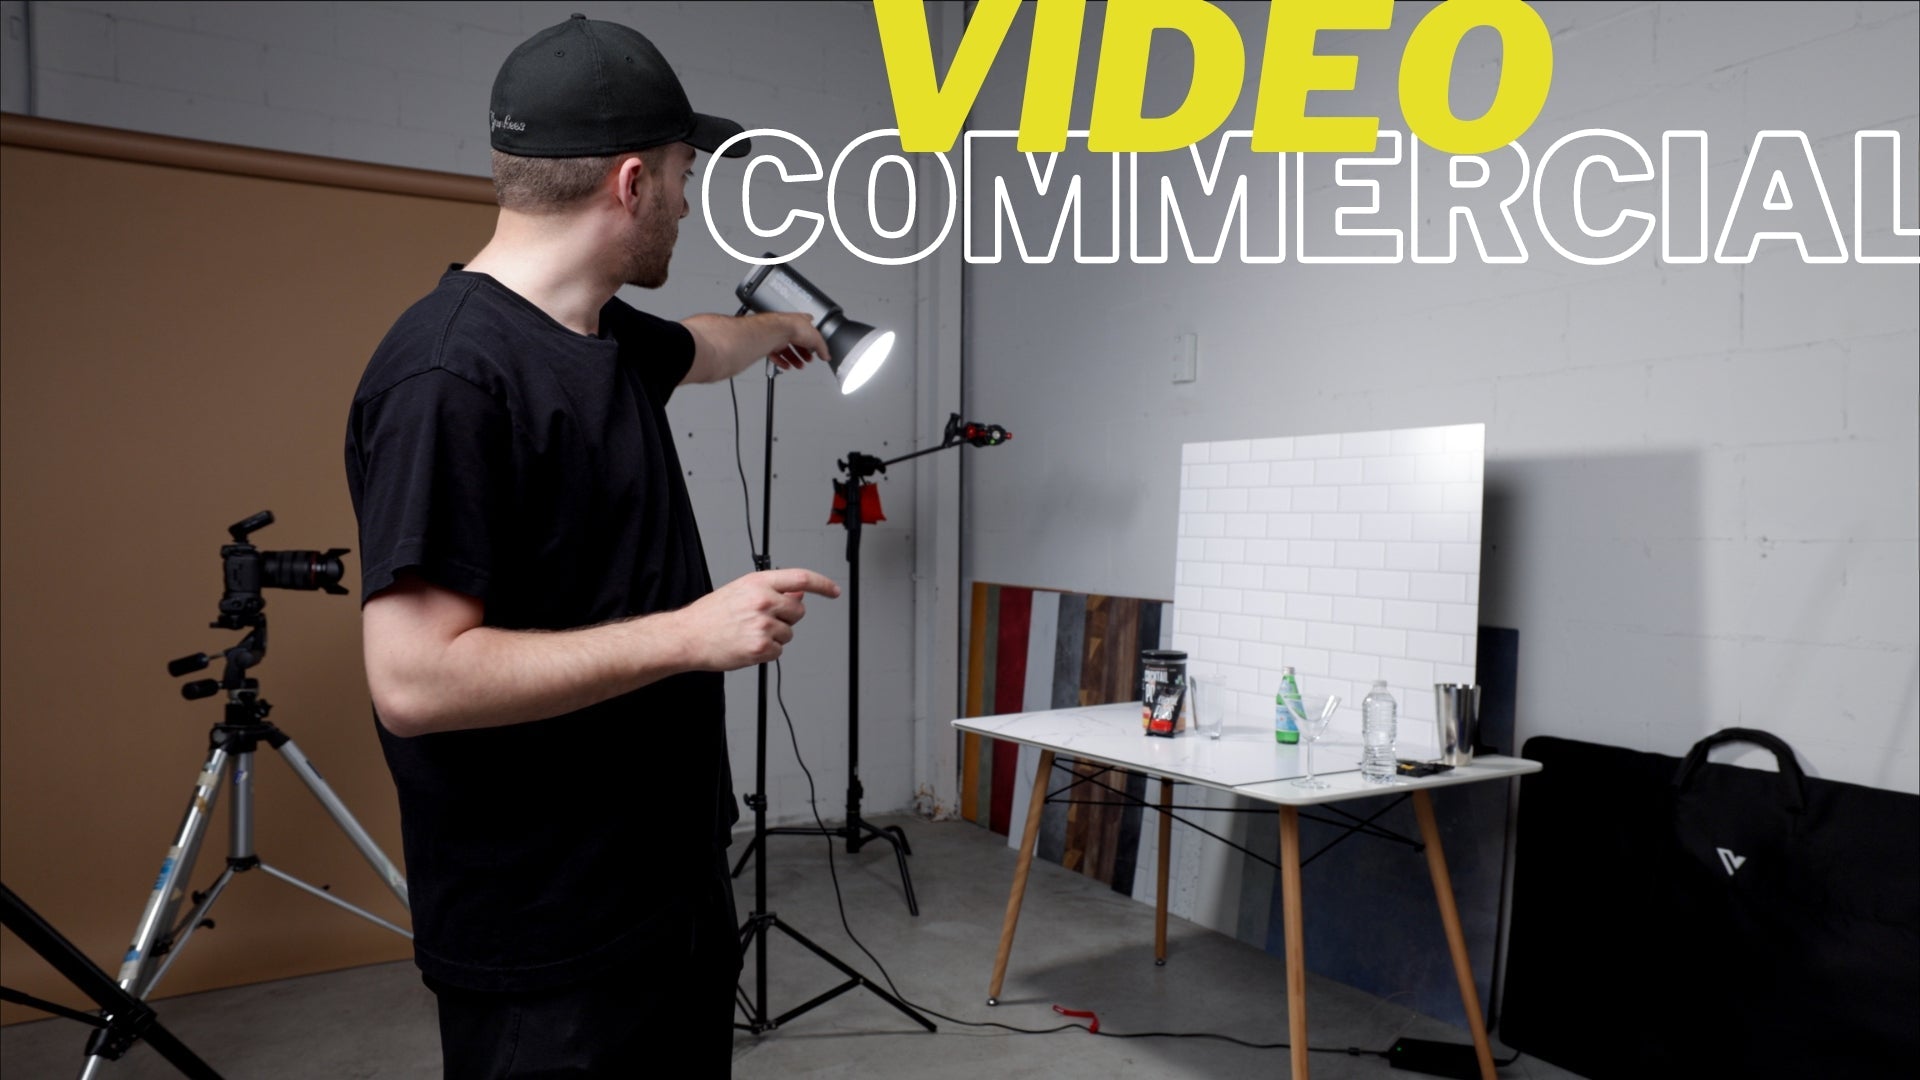
Tether Your Shots: Connect your camera to a laptop to view shots in real-time. This helps in making immediate adjustments and ensures you’re getting the desired effect.
V-Flat Bag Hack: If it’s sunny and you need to see your laptop screen clearly, use the V-Flat bag to cover yourself and the screen. It might look funny, but it works perfectly!
Shot Using 2 V-Flats


Enhancing with a Third V-Flat
For even more light control, add a third V-Flat on top of the setup. This blocks overhead light and enhances the cave-like effect, giving you more control over the lighting environment. Just make sure it’s securely placed so it doesn’t fall on your model!
Shot Using 2 V-Flats Plus 1 on Top


Why Use Cave Lighting?
The cave lighting method is versatile and gives you studio-quality lighting outdoors. It’s great for creating precise, controlled lighting environments in unpredictable outdoor settings. Plus, the dramatic contrast it creates can add a professional touch to your photos.
With a few V-Flats and some positioning tweaks, you can transform your outdoor photos with beautiful, studio-like lighting. Give it a try and see the difference it makes in your photography!


3 comments
Steve Wylie – I was thinking the same thing. I do prefer the open top better and I will have to try with the white top down.
Michael Smith
Do your company offer student discounts?
Shawn Yon
Of the two options presented, I think I prefer the open sky version. The black top darkens the top of her head a bit more than I would prefer. However, it might be a “compromise” to place the V Flat “cover” (if needed) with the white side down, rather than the black side down. What do you think?
Steve Wylie
Leave a comment
This site is protected by hCaptcha and the hCaptcha Privacy Policy and Terms of Service apply.