How to Photograph in Direct Sunlight – NO Flash, NO Lights
Award-winning photographer and director Alexis Cuarezma heads outdoors to break down a super practical, no-fluff approach to photographing or filming in direct sunlight – without using a single strobe or continuous light. Just natural light, some bounce, and a little bit of planning. If you’re stuck shooting in midday sun and want that clean, professional look, here’s a 3-step system (plus a bonus tip) to make it work.
Step 1: Start with Composition and Framing
Alexis kicks things off like he always does – by locking in his composition. Before worrying about lighting or modifiers, he finds his frame. Whether it’s a portrait, a behind-the-scenes interview, or any outdoor setup, the first priority is knowing exactly where the camera’s going and how the scene looks.
He sets up the camera on a tripod and frames the shot first. That lets him figure out where to place bounce cards and diffusion panels while keeping everything clean and out of frame.
Step 2: Diffuse or Block Direct Sunlight (or Find Shade)
With the framing dialed in, the next priority is dealing with the sun. Harsh overhead light isn’t flattering, so Alexis throws up a 6x6 diffusion panel to create soft, open shade right over the subject. He’s using a stop-and-a-half diffusion fabric, but he makes it clear – if you don’t have a proper diffusion panel, bed sheets work too. Or just shoot under a tree, behind a wall, or anywhere that gives you even shade and kills the direct sun.
This step alone instantly transforms the quality of light and creates a more flattering, even exposure.
Step 3: Add Reflectors or Bounce Cards
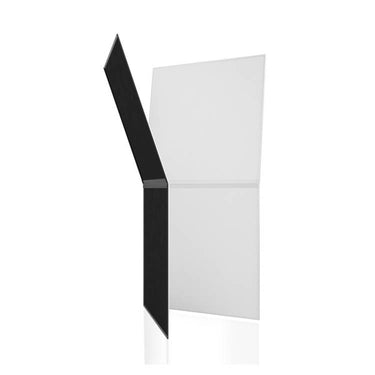
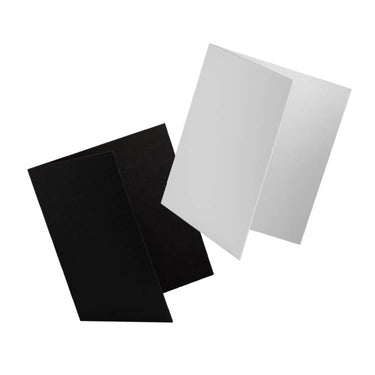
Once the sun is diffused, Alexis brings in V-Flats to bounce some light back into the subject’s face. He’s using two V-Flats, positioned to kick a bit of light into the eyes and add a subtle pop to the overall look. This brings life into the shot and helps avoid that flat, shaded look you sometimes get with just diffusion alone.
What’s great about V-Flats is they’re lightweight, portable, and when folded in half, they’re more stable outdoors – even with a little breeze.
The Results:

Bonus Step: Use a Color Checker
Before wrapping, Alexis adds one final step for pros who want spot-on color. He brings out a Color Checker, holds it in frame, and uses it to dial in white balance later in post. It ensures accurate color representation, especially when you’re working with natural light that can shift depending on time of day or environment.
No strobes. No LEDs. Just smart use of diffusion, bounce, and proper prep. Alexis makes shooting in harsh sunlight look easy – and with this workflow, it actually can be.
Wanna Learn More?
We’ve got over 100 videos on our Behind the Scenes page with tips and tricks for photographers and videographers of all genres.
Want to see more videos on shooting outdoors, specifically? Check these out...




Leave a comment
This site is protected by hCaptcha and the hCaptcha Privacy Policy and Terms of Service apply.