


How to Light a Background: 3 Studio Techniques for Standout Shots
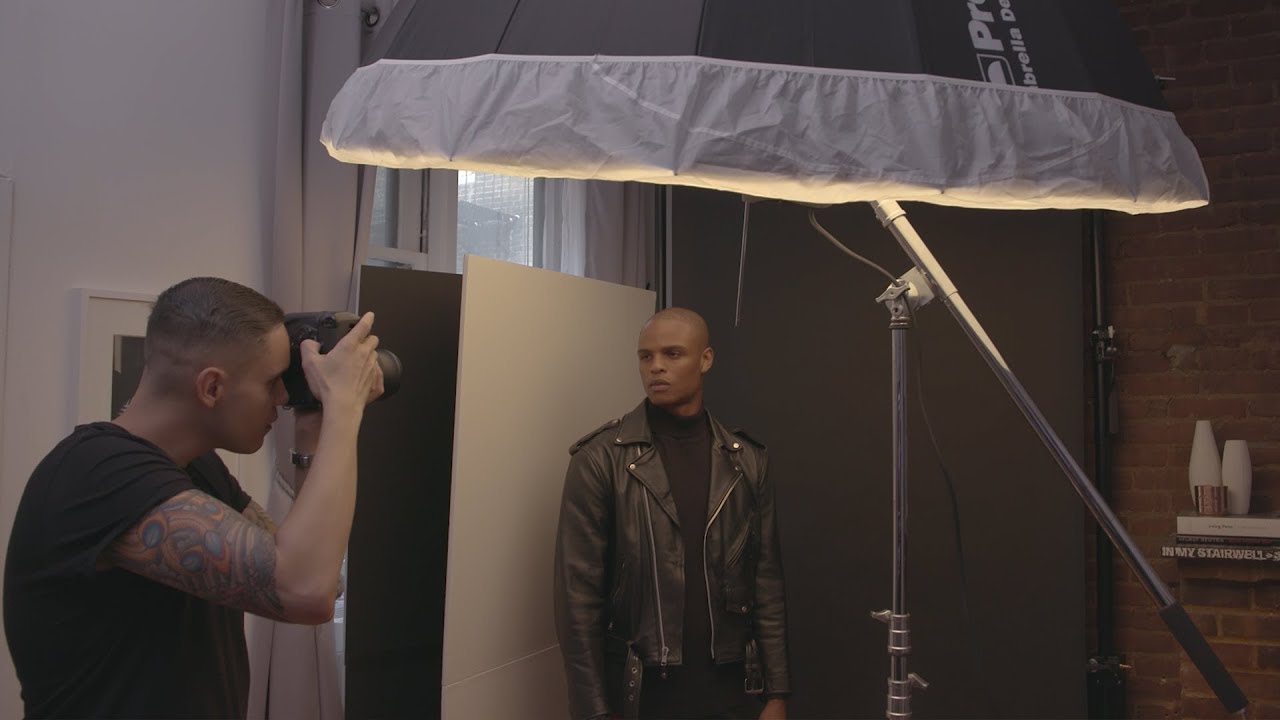
Today, we're catching up with John Gress again, back in his studio, and this time he’s having some fun with backgrounds. Instead of just letting them sit there flat and dull, John shows us three different ways to give a backdrop life with light. He’s quick to point out that these aren’t the only ways to do it – just three methods that might spark some ideas for your own shoots.
The Gradient Method
First up is the gradient method, and this one’s all about drama. John takes a standard 7-inch reflector, pops it on a light stand, and places it right behind the model, Christoper, aimed at the base of the backdrop. He starts with a gray paper background and throws on a yellow gel, pointing the light low so it climbs up the background and fades out into black near the top.
From there, he layers in more color. A red-gelled parabolic 35D lights the front, while a blue-gelled softbox works as an edge light. The result is fiery red and cool blue on the subject, with that yellow gradient glowing behind. After a quick adjustment to aim the background light a little higher, the fade falls right around the model’s shoulders – perfect for creating separation and a moody look.
John explains why gray backdrops are his favorite for this method: the gradient looks crisp, fading from bright color at the bottom to deep black at the top. The key is keeping your subject far enough from the background so your main light doesn’t spill and kill the effect. Done right, it’s bold and cinematic:

The Direct Method
Next, John keeps it simple – almost too simple. He calls this the direct method, where two lights with standard reflectors are aimed straight at the backdrop, one from each side. On a gray backdrop, this quickly reveals the downside: two bright circles of light with uneven coverage. Not great.
But John shows how it can work if you flip it to a white backdrop. In that case, you want the background about one stop brighter than your subject, and you’ll need to pull the model at least 10 feet forward so the bounce doesn’t spill back onto them. If you’re in a cramped space, though, there’s really no way to do this cleanly. You’ll either have to let your main light wash the backdrop or fix things in post.
He experiments by placing one light high, one low, and angling them across the backdrop. It helps a little, but still looks patchy. The redeeming use for this method is when you want colored effects rather than even coverage. In one shoot with Christopher, John adds a blue gel high on one side and a homemade purple gel (red plus blue stacked) low on the other. This gives him an edgy, color-split background, and when the purple doesn’t fire every time, the “mistakes” create some happy accidents:

The Indirect Method
Finally, John brings out the heavy hitter: the indirect method. Instead of pointing lights straight at the backdrop, he bounces them off something first. The classic option is two umbrellas on either side, which gets you closer to even coverage, though there’s still a little falloff top and bottom.
The upgrade? V-Flats. John positions one on each side with the black side facing the camera and the white side facing the backdrop. Then he fires lights with 7-inch reflectors into the V-Flats. The light bounces around inside and spreads back onto the backdrop smooth and even, top to bottom. John calls this his favorite background-lighting trick, and it’s easy to see why.
He pushes it further in a shoot inspired by photographer Paul Green. Blue gels on the V-Flats light the background, while a red gel hangs between the subject and a hard parabolic reflector, throwing sharp red shadows across the model’s face. To add some rim light, John rotates the V-Flats 90 degrees so they not only hit the backdrop but also graze the edges of the model. After a few tweaks to placement, the shot comes together with rich color contrast and clean edge definition:

Mastering Background Light
By the end, John’s shown three totally different vibes: the dramatic gradient fade, the quick-and-dirty direct method (with some creative twists), and the super-smooth indirect bounce. Each has its place, depending on whether you want moody contrast, bold color effects, or an even, polished backdrop.
The real takeaway is that your backdrop doesn’t need to be boring. With a little light placement and some gels, it can become an active part of the shot instead of just background filler.
Leave a comment
This site is protected by hCaptcha and the hCaptcha Privacy Policy and Terms of Service apply.