4 One-Light Portrait Setups Using an Umbrella with Emily Teague
Fashion photographer Emily Teague proves that you don't need a truckload of lighting gear to create stunning portraits. In this tutorial, she breaks down how one strobe and an umbrella can produce four completely different and awesome looks.
Working with her Elinchrom ELC 125 – a portable strobe she swears by for its reliability and price point – Emily walks us through four easy setups for lighting portraits that anyone can afford. Her model Masumi returns to help demonstrate each technique against a simple neutral Savage backdrop.
The Umbrella Essentials
Before diving into the setups, Emily explains the fundamental differences between her two key modifiers: a 41-inch translucent umbrella that softens and broadens light (though it can create hot spots), and a 49-inch white reflective umbrella that bounces light back for softer, more controlled illumination with broader spill – perfect for group shots.
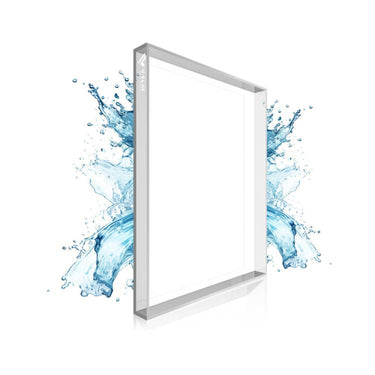
She emphasizes a crucial concept using a simple water analogy: shallow modifiers spread light wider like water from a short spout, while deeper modifiers control and focus the light more precisely, just like water flowing through a longer channel.
Setup 1: The Centered Approach
Emily starts with the most straightforward approach – placing her white reflective umbrella directly in front of Masumi, about five feet away. She positions the light slightly above eye level to achieve that coveted 12 o'clock catch light, avoiding the flat, dimensionless look that comes from positioning lights too low.
The addition of a reflector dish to the strobe creates more contrast and focus compared to shooting with just a bare bulb through the umbrella.
Emily shoots at 1/160th second, f/6.3, ISO 100, with her strobe power at 3.2, though she reminds us that power settings should be adjusted based on our specific needs.
Setup 2: The Double Bounce Method
For the second look, Emily moves her umbrella to create side lighting, immediately noting two challenges: the closer proximity requires lowering the strobe power from 3.2 to 2.4, and the dramatic shadows on Masumi's left side need management.
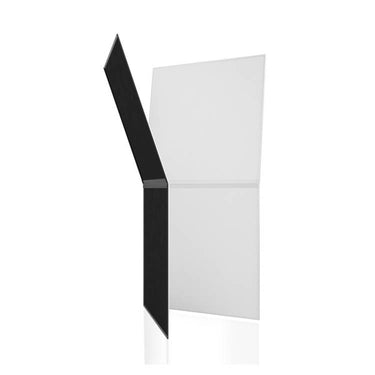
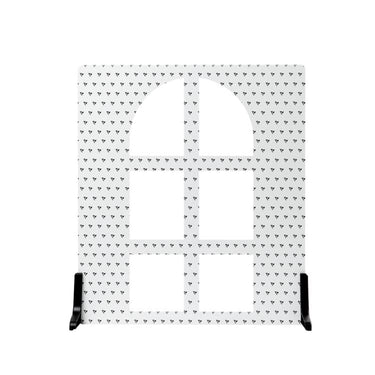
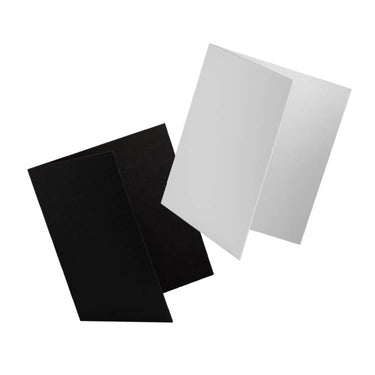
Enter the humble white V-Flat – or as Emily suggests for budget-conscious photographers, white paper, fabric, or even a white sheet. This simple reflector bounces light back into the shadows, creating more balanced illumination.
Taking it further, Emily adds a silver reflector positioned below Masumi using apple boxes (of course, any chair or stool would work perfectly too). This creates dual catch lights in the eyes and eliminates harsh shadows. She demonstrates the dramatic difference by having Masumi hold the reflector herself – effective, but limiting for poses.
Her settings shift to 1/160th second, f/6.3, ISO 100, with strobe power at 2.3, fine-tuned as she builds the setup.
Setup 3: The Behind-and-Forward Trick
The third setup showcases Emily's creative problem-solving. She positions the umbrella behind Masumi to create gorgeous hair highlights, then uses a white V-Flat in front to bounce that backlight onto her subject's face. The silver reflector below adds additional fill.
This setup requires significantly more power – jumping from 2.4 to 4.2 – to compensate for the indirect lighting path. Emily notes the beautiful, even lighting and large catch lights from the V-Flat, though she mentions the slight visibility of herself in the reflection as something to be mindful of.
Setup 4: The Top-Bottom Squeeze
For her final demonstration, Emily creates a classic clamshell lighting setup by angling her umbrella downward with the silver reflector positioned below. This configuration produces catch lights at both 12 and 6 o'clock, creating beautiful shadows under the jawline while maintaining a flattering sheen across the subject.
She adjusts to 1/125th second, f/5.6, ISO 100, with strobe power at just 1.8 – demonstrating how different setups require different power levels even with the same equipment.
The Accessibility Factor
Throughout her tutorial, Emily emphasizes affordability and accessibility. She points out that her $20 reflector, apple boxes (substitutable with any sturdy surface), and basic V-Flat make professional-quality lighting achievable for photographers at any budget level.
Her comparison shots clearly demonstrate the dramatic differences each modifier and position creates, proving that understanding light manipulation matters more than having expensive gear. From the flat but clean front-lit look to the dramatic clamshell setup, Emily shows that one strobe and one umbrella can produce a full range of professional portrait lighting styles.
Shop V-Flats
Get Connected
Follow Emily on Instagram or visit her website to learn more about her work.
Model: Masumi
Wanna Learn More?
We’ve got over 100 videos on our Behind the Scenes page with tips and tricks for photographers and videographers of all genres.




Leave a comment
This site is protected by hCaptcha and the hCaptcha Privacy Policy and Terms of Service apply.