Master Your Headshot Setup with These Expert Tips | Pye Jirsa
In this headshot lighting walkthrough, portrait guru Pye Jirsa takes us inside the studio for a start-to-finish guide on how to build the perfect headshot setup. With Kiara modeling and Gandalf (yes, the studio dog) supervising, Pye breaks it down level by level – starting with simple and moving toward pro-level polish.
Whether you're just getting started or looking to refine your craft, this tutorial delivers hands-on, practical tips for leveling up your headshot game.
Level 1.0 – Paramount Lighting (Butterfly Setup)
Pye kicks things off with a classic: Paramount lighting, also known as butterfly lighting. This headshot setup uses a single light source – Pye’s tool of choice is the Profoto B10 with a MagBox Pro 24 Octa – placed slightly above and angled toward the subject.
The key is finding the sweet spot: too far back and the light becomes harsh and unflattering; too close and you lose the delicate shadow under the nose and depth in the eyes. By adjusting the subject’s distance from the light in small increments, you can dial in that perfect balance of softness, catchlights, and contour.

Tip: Use a focal length over 50mm (Pye uses 70mm on the Canon R5) to avoid distortion in your headshots.
Level 1.1 – Clamshell Lighting (Add a Reflector)
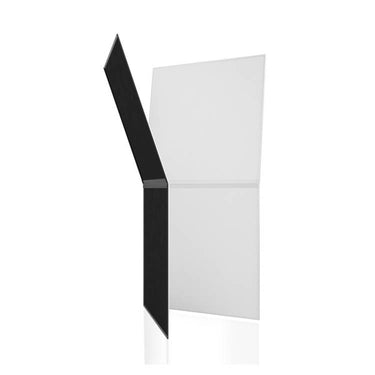
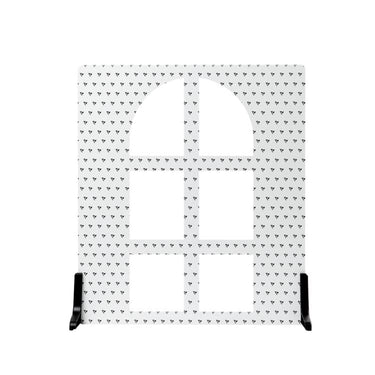
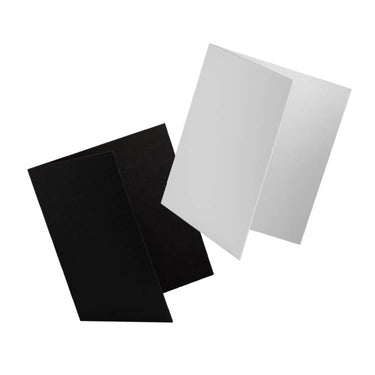
Once the Paramount light is dialed in, it's time to build out the clamshell setup by adding a reflector below the chin. Pye shows how even a simple white-sided reflector or V-Flat can dramatically lift shadows under the eyes and jawline.
The beauty of this headshot setup lies in its flexibility. Raising or lowering the reflector changes the amount and intensity of fill. Higher placement brings more light, while lowering it softens the effect. This fine control lets you customize the mood and depth of each portrait.

Level 2.0 – Positive Fill (Side Reflectors)
At level two, Pye keeps the clamshell base but introduces positive fill using V-Flats on either side of the subject. This is perfect when you want to maintain that soft, commercial-style glow – especially useful in corporate or beauty headshots.

The V-Flats bounce light back into the sides of the face, reducing contrast and evening out skin tones. The result? A smooth, polished look that flatters nearly any subject.
Level 2.1 – Negative Fill (Shape and Contrast)
Flip those reflectors around and now you're adding negative fill. This technique absorbs rather than reflects light, adding controlled shadows and contour to the subject’s face.
Negative fill is your go-to when you want mood, definition, or sculpted features. It's especially effective in editorial and cinematic looks, where a bit of shadow adds drama and character.
Pye demonstrates how just repositioning the V-Flats changes the feel of the image – without touching a single light.

Level 3.0 – Backlights (Creating Depth)
Ready to push it further? At level three, Pye introduces backlighting. Adding lights behind the subject helps separate them from the background, creating a more three-dimensional feel.
He places these lights subtly – just enough to highlight the shoulders or hair without overpowering the key light. The difference is instant: your portraits now have depth and pop, as if the subject is stepping out of the frame.
Level 3.1 – Colored Backlight (Add Some Flavor)
The final level is where creativity kicks in. Pye drops in colored gels on the backlights, giving the headshot a modern, stylized edge. Whether it's a soft blue, a warm amber, or something bolder, this adds personality and punch.
Just remember to keep it balanced. The color should complement the subject and mood – not steal the spotlight.

Dialing in Your Headshot Setup, One Level at a Time
Pye makes one thing clear: mastering headshot lighting isn’t about expensive gear or dramatic moves. It’s about understanding light, working in layers, and adjusting with intention. Each level builds on the last, and with a bit of practice, you can customize your headshot setup for any style or client.
From simple clamshell to cinematic color, these tips give you the tools to create standout headshots that look clean, professional, and striking.


Leave a comment
This site is protected by hCaptcha and the hCaptcha Privacy Policy and Terms of Service apply.