3 Fashion Lighting Setups Every Photographer Should Know
In this video, John Gress demonstrates three distinctive lighting setups for fashion portraits, and honestly, each one creates such a different vibe that you'd never guess they were shot by the same photographer. From elegant soft light to dramatic hard light and vivid gel lighting, John breaks down the gear, positioning, and camera settings for each.
1. Soft Painterly Light

John's going for that refined, elegant feel you see in high-end fashion work here. He starts with a 190 cm Elinchrom indirect octabox as the key light, positioned camera right and feathered slightly to avoid lighting the floor.
Here's the cool part though – he's got this vintage Mole Richardson 412 Fresnel light in the shot, but instead of actually turning it on and cooking his model, Kyle, he sticks an Elinchrome One inside with two full CTO gels – a trick that creates the illusion of a working vintage movie light.
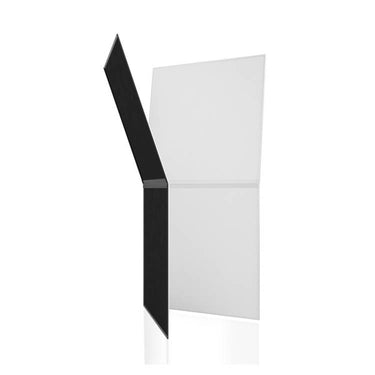
Initially, a V-Flat on camera left lifted the shadows too much, so he removed it, then later returned it folded in half for subtle shadow lift. A 4x4 ft flag was placed in front of the octabox to darken the lower frame. The backdrop was switched from green to a cool gray painted canvas for a more monochromatic tone.

Camera Settings:
1/200 sec
f/8 (octabox), f/2.8 (Fresnel)
ISO 100
Lens: Canon RF 70–200mm f/4 at 70mm with 1/8 Black Pro-Mist filter
Lighting Tip: Feather your key light and block spill with flags to sculpt shadows and control the tone of the background and floor without losing softness on your subject.
Editing Note: In Capture One, John enhances Kyle's abs, darkens his left arm and pants, adjusts the floor color, and matches his feet tone to his overall skin tone for a cohesive look.
2. Bold Editorial Hard Light

This second setup leans into harder shadows and more edge – perfect for fashion editorials. John uses two strobes with grid reflectors. The main light is camera right, flagged with a V-Flat and 4x4 floppy to create deep background shadows. Then, a 30° gridded kicker placed camera left, behind the model, provides rim light without spilling onto the floor.

To freeze motion, John shifts the strobes into Action Mode, significantly shortening flash duration and allowing him to capture Kyle mid-jump without blur.
Camera Settings:
1/200 sec
f/8
ISO 100
Flash Durations:
Standard mode: 1/454s
Action mode: 1/13,597s
Lighting Tip: In studio flash setups, flash duration is more important than shutter speed for freezing motion. Use action or freeze mode to shorten the light pulse and capture sharp movement.
Editing Note: John uses one of Capture One's film styles to tint the shadows blue and warm up the skin tones, creating that classic editorial color grade.
3. Creative Gel Lighting

The last setup is pure color play. John starts with three strobes, each equipped with grid reflectors and fitted with Rosco color gels.
Initially, he tries cyan, magenta, and yellow gels, metering each at f/5.6 so their combined output measures f/8.3. The overlap creates secondary colors – blue, green, and red – but the mix doesn't work well on Kyle's skin. So John switches to red, green, and blue gels instead. These create cyan, magenta, and yellow where they overlap, which works much better.
The red and blue lights are placed on opposite sides to reduce blending; a fourth strobe on a low stand behind the model lights the crimson seamless backdrop.
Lastly, he experiments with wardrobe – a dark jacket for contrast, then a bright yellow polo that pops against the saturated background.

Lighting Tip: Always meter your colored lights to ensure equal output before blending. This gives you predictable color mixing and saves time on set.
And remember, wardrobe changes can completely transform the same lighting setup, so consider shooting multiple looks with each setup to maximize your creative options.
The Finishing Touch
John uses a radial mask in post-production, pulling down midtones outside the circle with full feathering to darken edges and draw the eye toward the subject. This enhances on-set lighting rather than replacing it.
Whether you want painterly subtlety or editorial punch, the breakdowns here offer practical insights to try out and customize. If you’re building your lighting toolkit, remember to start with how each light modifies your subject and space – then refine with fill, flags, and gels for mood. John’s pro tips for controlling light spill, freezing motion, and balancing color gels are key steps that make these looks come alive in-camera and beyond.
Wanna Learn More?
We’ve got over 100 videos on our Behind the Scenes page with tips and tricks for photographers and videographers of all genres. Plus, here are a few specifically about bold and unique fashion lighting:




Leave a comment
This site is protected by hCaptcha and the hCaptcha Privacy Policy and Terms of Service apply.