One-Light Setup: How I Got the Shot by Nathan Elson
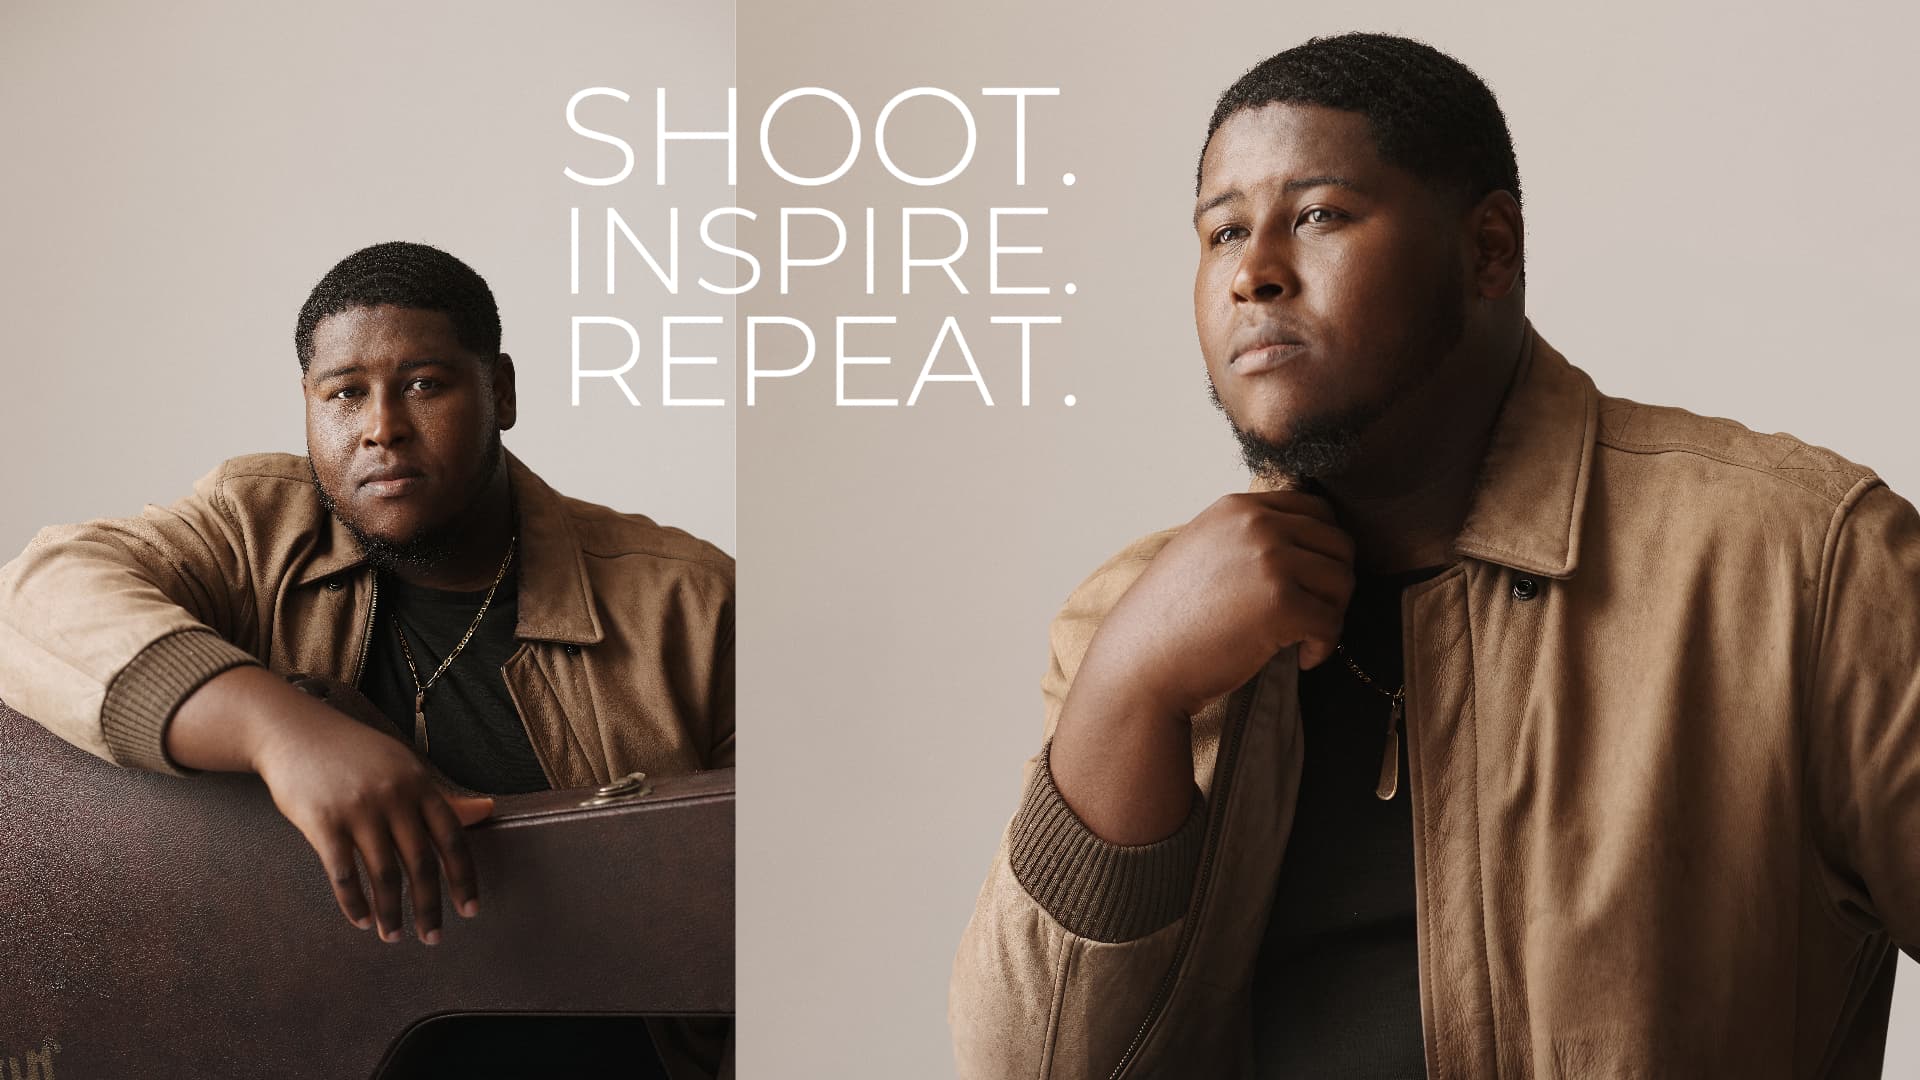
Canadian portrait photographer Nathan Elson knows how to turn simplicity into stunning art, and his one-light setup is a perfect example of that. In his latest video, Nathan takes viewers behind the scenes to show how he captures striking portraits using just a single light source. But don’t let the simplicity fool you – there’s a lot of finesse involved in getting that perfect shot.
The Lighting Setup
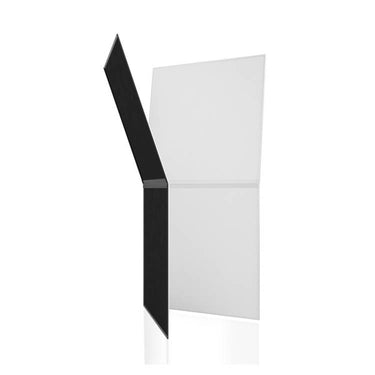
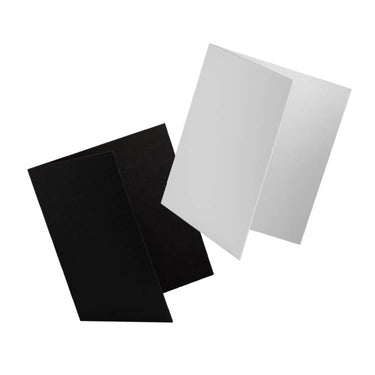
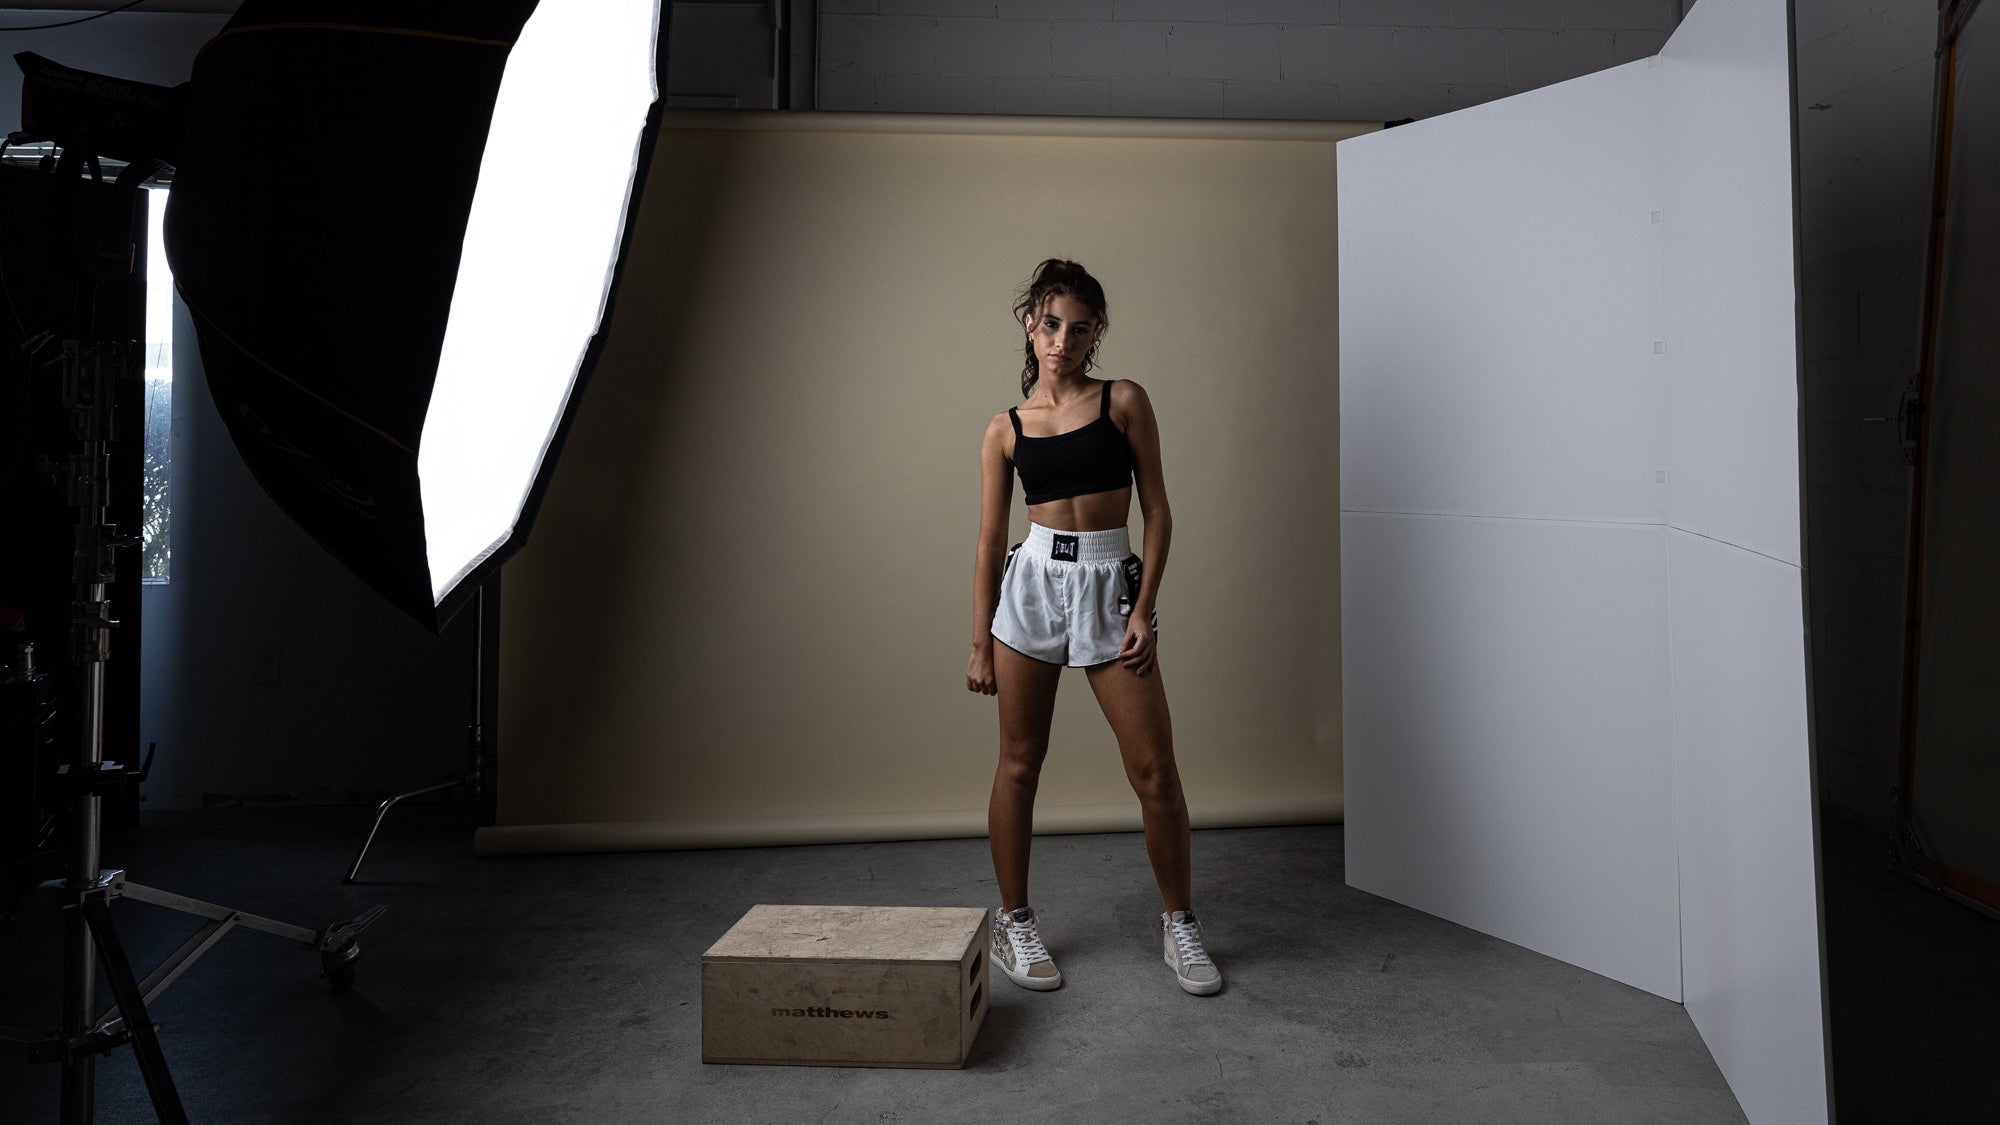
Nathan’s setup might seem minimalistic, but it’s all about precision. He uses a Strobepro AD600 Pro as his main light, housed inside a Profoto large deep white umbrella with a diffusion panel. This combination creates soft, flattering light that wraps around his subject in just the right way. For fill, he relies on a foldable V-Flat.

The key to Nathan’s lighting magic is the positioning of his light. Instead of placing it directly in front of his subject, he moves it slightly behind. This positioning allows the light to wrap around, casting interesting shadows and adding depth and texture to the portrait. Nathan calls this the “feathering effect,” which creates a smooth transition from light to shadow, resulting in a beautifully soft and natural look.
Camera and Settings
To complement his one-light setup, Nathan shoots with a Nikon Z6 Mark II paired with an 85mm f/1.8 lens. He keeps things simple and effective with camera settings of f/8, 1/200th of a second, and ISO 100, perfectly matching the metered light. This combination ensures that the final image is well-exposed with rich details.

The Importance of the V-Flat
Nathan doesn’t just set up his V-Flat and call it a day – he’s strategic about its placement. The distance between the V-Flat and the subject has a big impact on the final image. If the V-Flat is too far away, shadows deepen, giving the portrait a more dramatic look. Bringing it closer softens the shadows, adding a gentle fill without losing the shape created by the main light. This subtle control over shadow detail is what makes Nathan’s portraits so captivating.

Reflector Placement
Reflectors can be tricky to master, but Nathan has it down to a science. He emphasizes that the reflector should be placed within the line of sight of the light source. This placement allows the light to bounce back naturally, filling in shadows in a way that looks seamless and flattering. By positioning the V-Flat or reflector slightly in front of the subject, Nathan ensures that the light enhances rather than overpowers.

Nathan proves that you don’t need a ton of gear to shoot incredible portraits. With just one light and some smart adjustments, he makes portraits that are professional and beautiful. It’s a great reminder that simplicity can be powerful. So next time you’re in the studio, remember: sometimes, all it takes is one light and a little creativity to create something amazing.
Gear Used in Video
Camera: Nikon Z6 Mark II
Lens: 85mm f/1.8
Light: Strobepro AD600 Pro, Profoto Umbrella
Reflector: V-Flat
Wanna Learn More?
We’ve got over 100 videos on our Behind the Scenes page with tips and tricks for photographers and videographers of all genres. Learn how to harness the power of light and more.


Leave a comment
This site is protected by hCaptcha and the hCaptcha Privacy Policy and Terms of Service apply.