


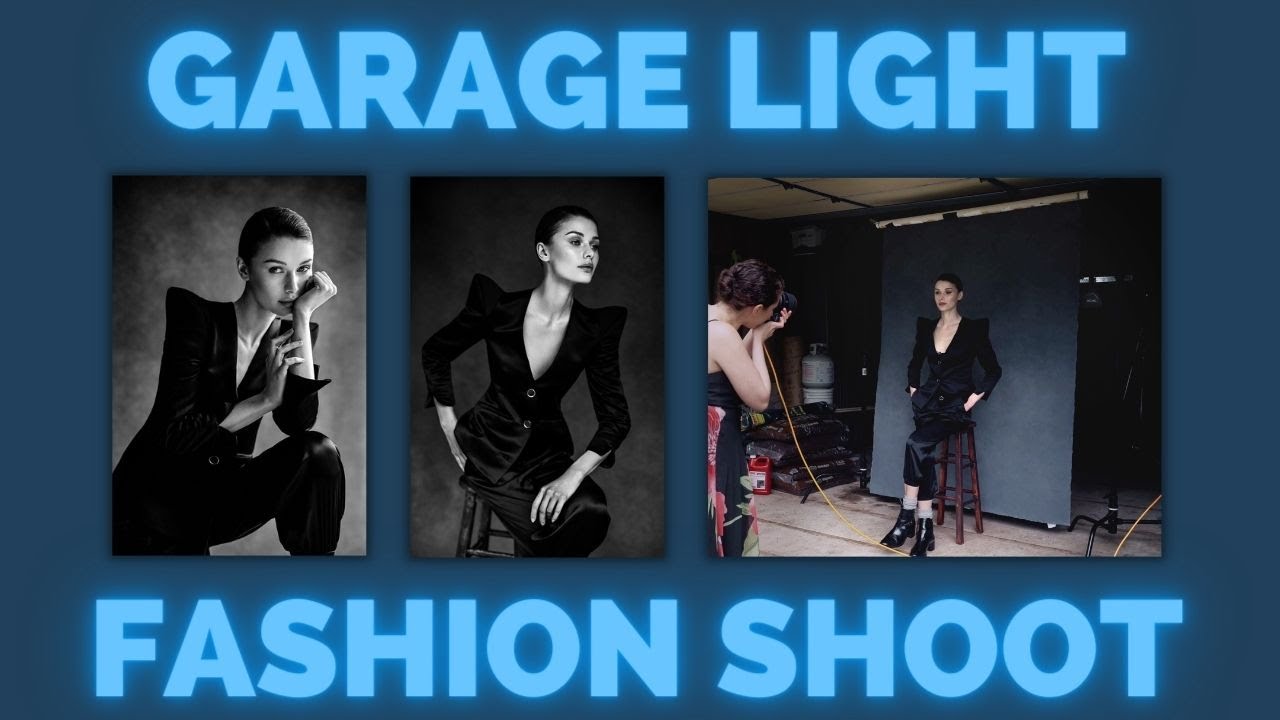
3 Dramatic Lighting Setups with Dani Diamond
When working in the studio, it’s easy to feel uninspired by the same lighting setups. Sometimes, a fresh approach is just what you need to reinvigorate your creativity. In this guide, we’ll explore three unique techniques for creating dramatic lighting in portrait photography.
1. Using a Lighting Snoot for Precise Light Shapes
For the first setup, the goal was to craft intriguing light patterns on the subject’s face. Using a Lindsey Adler lighting snoot, we shaped the light into a rectangular beam. This allowed for a focused, dramatic effect.
Positioning the light required some trial and error. Subtle adjustments were necessary to ensure the light hit the subject at just the right angle. To simplify this process, we turned on the modeling lamp, which provided a clear preview without needing constant test shots.
While the snoot created striking highlights, the shadows needed balance. To fill in these areas, an octobox was introduced as a secondary light source, ensuring the final image had depth without overwhelming contrast.
2. Adding Layers of Drama with Backlighting and a Fan
In the second setup, we aimed to create a moody, cinematic feel by incorporating backlighting. An octabox light positioned off to the side behind the subject adding depth and separation from the background.
The key to the drama here was adding in a fan to create wind and blow the models hair. You can also use a V-Flat in a folded position and have an assistant wave it up and down to create wind (see method 8 in this article).
3. The Power of Side Lighting for Intensity
In this last look Dani used two lights behind the model. 1 off to the right which was a bare flash with a warm gel and grid on it creating a beautiful glow on the models hair. And 1 off to the left which was an octabox with diffusion creating a cooler tone on the opposite side of the model.
The lighting was slightly too dark on the models face at this point. We added in a V-Flat in front of the model to catch some of the light from the octabox and fill in the models face slightly.


Each of these setups demonstrated the importance of experimentation and flexibility in the studio. By combining different tools and approaches, you can achieve dramatic, professional results that bring your creative vision to life. Whether you're new to lighting or looking to expand your skills, these techniques are sure to inspire your next shoot.
Check out more work from Dani: https://www.instagram.com/danidiamondphotography/
Leave a comment
This site is protected by hCaptcha and the hCaptcha Privacy Policy and Terms of Service apply.