How to Shoot Fashion Portraits in Your Garage: Lindsay Adler’s Creative Guide
Fashion photographer Lindsay Adler knows how to make magic happen, even in the most unexpected spaces. In this video, she demonstrates how to turn your garage into a photo studio using minimal gear and some clever techniques. Her approach focuses on understanding light and space, proving that you don’t need expensive equipment to capture stunning fashion portraits.
Using a garage as your studio may not sound glamorous, but Lindsay’s method highlights just how versatile and effective it can be. By focusing on four key variables, she turns a basic space into a creative playground, showing how photographers can achieve professional results right at home.
The Four Game-Changing Variables for Garage Studio Photography
Variable 1: Subject Distance from the Garage Door
Your garage door becomes the star of the show, acting as a large, natural light source. Where you position your subject in relation to it dramatically changes the look of your photos.
- Close to the Door: Adds drama with directional lighting, sculpting shadows to emphasize cheekbones and jawlines.
- Midway Between: Offers a balance of softness and direction, giving your portraits subtle dimension.
- Far Back in the Garage: Creates soft, even lighting with minimal shadows. This is great for soft-light fashion photography that flatters every angle.

This approach to garage lighting is both simple and incredibly versatile, allowing for a range of moods in your garage photoshoot.
Variable 2: Background Distance
The distance between your subject and the background plays a big role in the overall tone of your image.
- Background Close: Appears brighter and blends naturally with the subject.
- Background Farther Away: Becomes darker, thanks to the light fall-off. This is perfect for creating more dramatic, moody shots.

By experimenting with these distances, you can create anything from clean, high-key images to dark, moody setups. Lindsay even suggests tilting the background slightly to create gradients and add depth.
Variable 3: Photographer’s Position
How you position yourself relative to your model changes how light interacts with them.
- Straight-On: Produces flat, even light for clean, classic portraits.
- From the Side: Introduces shadows for more dimension and depth, ideal for a polished yet dramatic look.
- Extreme Angles: Highlight edges with rim lighting, adding intensity and visual interest.

Moving around your subject and shooting at different angles gives you endless ways to play with perspective and lighting.
Variable 4: Reflectors and Negative Fill
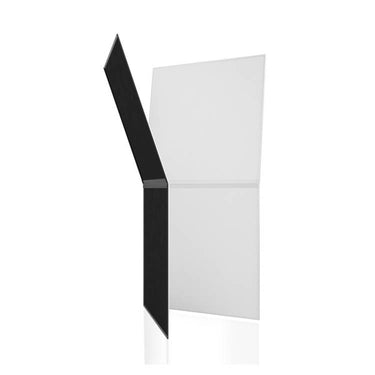
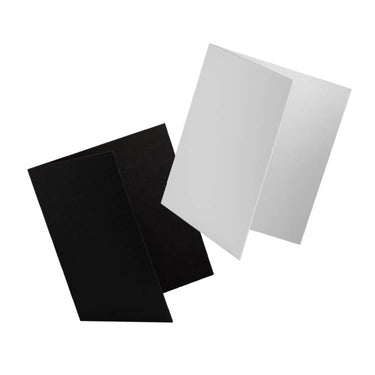
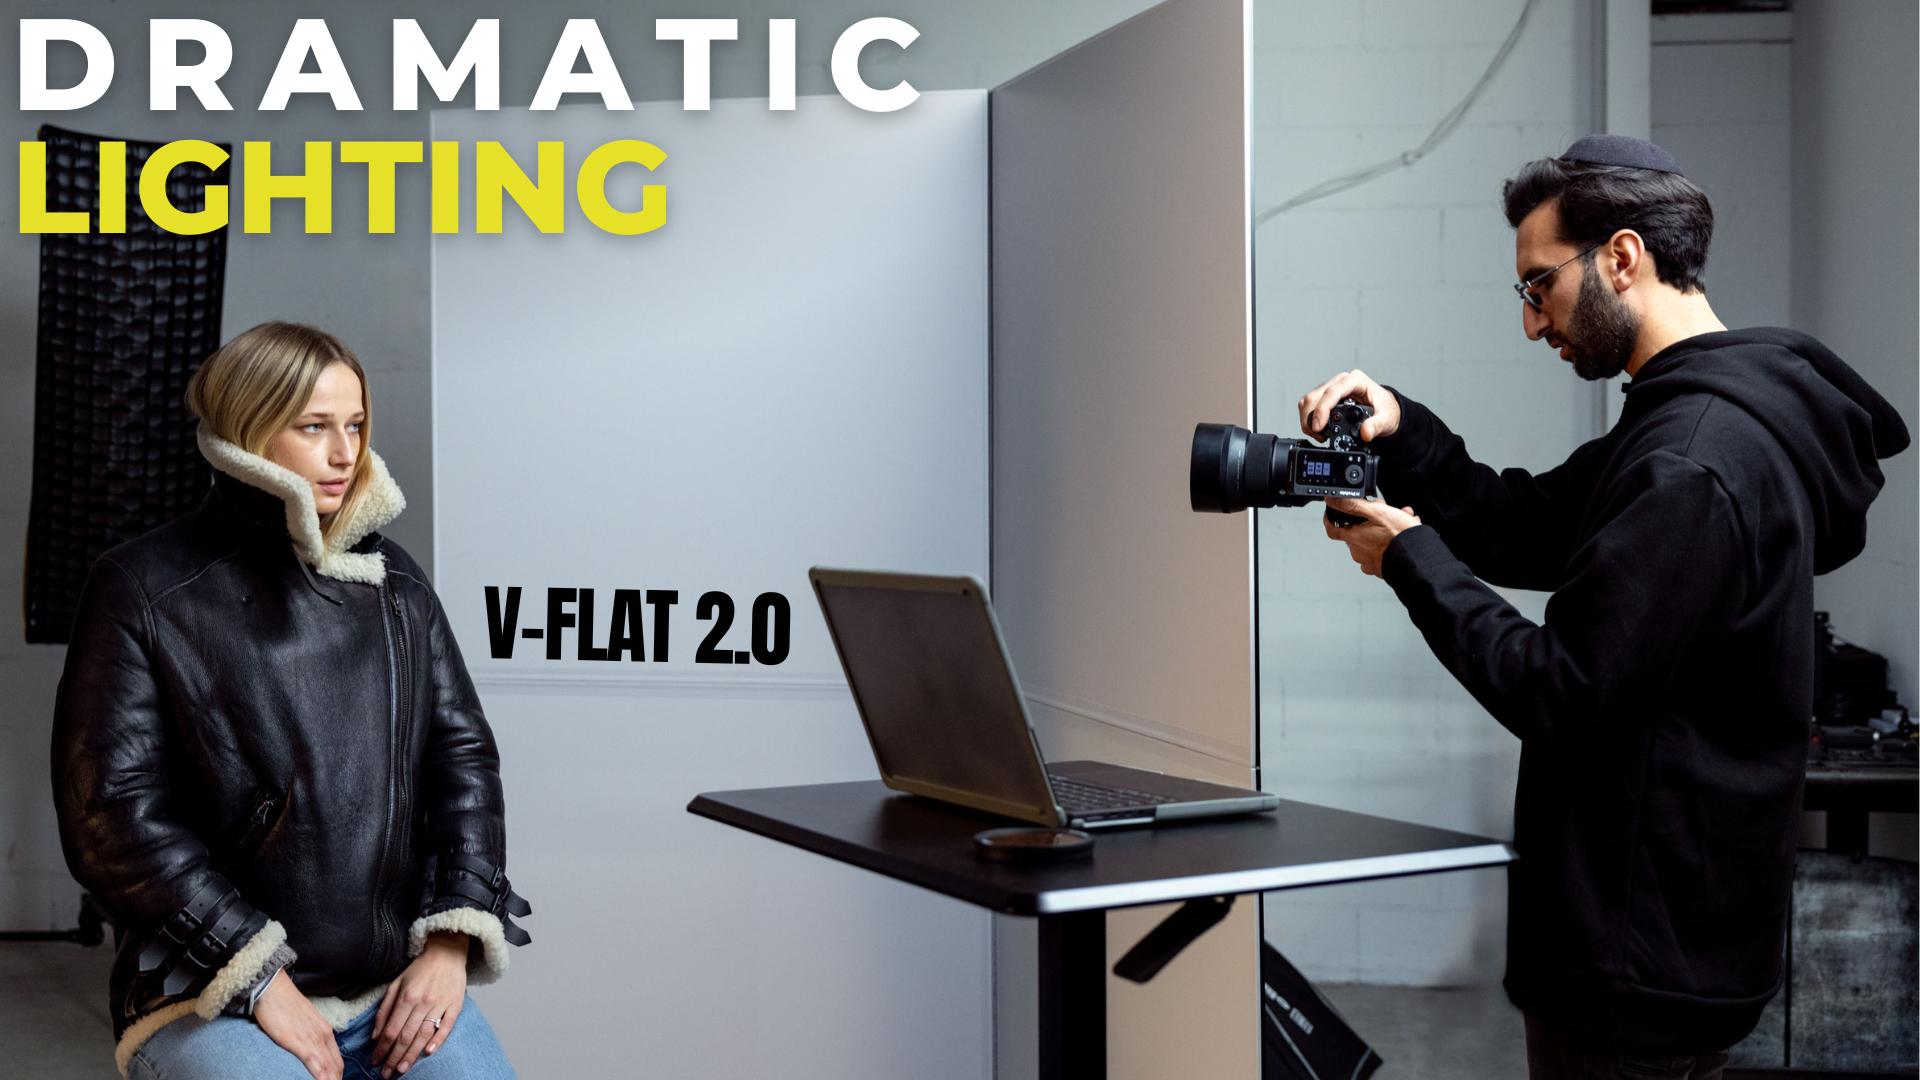
Reflectors and negative fill play a critical role in controlling light within a garage studio, allowing for dramatic or soft effects with minimal effort. Lindsay uses black and white V-Flats to refine light and shadow in her setups.
-
Negative Fill for Drama:
- Black V-Flats absorb light, deepening shadows and adding contrast.
- Placed on either side of the subject, they create sculpted features and enhance dimension.
- Adjusting their position can also darken the background for a more moody, editorial look.
-
Reflectors for Softness:
- Flipping the V-Flats to their white side turns them into large reflectors.
- Positioned below or to the side of the subject, they bounce light back into shadowed areas.
- This technique adds a soft, even glow to the subject’s face, perfect for beauty or fashion portraits.

Using tools like reflectors and black panels for negative fill lets you take full control of your lighting setup. Even in a small space, these simple adjustments make a huge difference, proving that you can achieve professional results in a DIY photo studio.
Why Garages Make for Great Fashion Portrait Studios
The light streaming through a garage door is a dream for photographers who love working with soft light. It’s similar to the effect of a giant softbox, creating a diffused, flattering glow. Whether you’re shooting model comp cards, fashion editorials, or timeless portraits, this setup is versatile and effective.
Lindsay’s creative techniques also make it easy to convert your garage into a studio that delivers stunning results. With tools like a canvas backdrop, V-Flats, thoughtful wardrobe choices, and strategic positioning, she proves that great photography doesn’t require an expensive setup.
Get Creative with the Space You Have
This video is an inspiring reminder that creativity is more important than gear or fancy locations. By understanding how light works and how to manipulate it, you can turn a garage photoshoot into a professional-looking session.
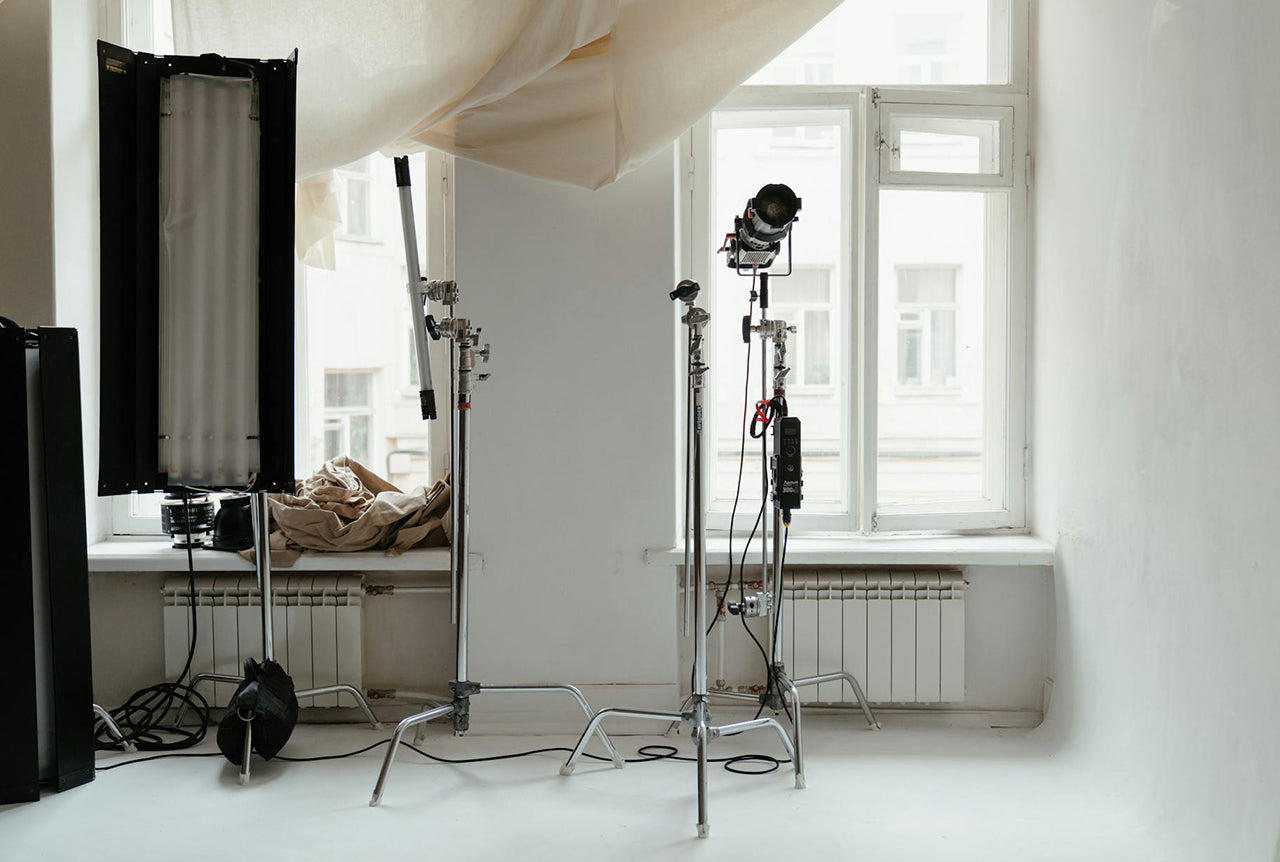
These techniques don’t just apply to garages. You can replicate them in spaces like covered porches, rooms with large windows, or even in the overhang of urban scaffolding. It’s all about using what you have to create something extraordinary.
If you’ve ever thought about turning your garage into a photography studio, now’s the time to try. With a little creativity and Lindsay’s tips, you can transform an ordinary space into a hub for soft-light portraits and professional-quality images.
Wanna Learn More?
Interested in learning more fashion photography tips? Check out more videos by Lindsay to learn how to create dramatic, striking looks that stand out.
Plus, we’ve got over 100 videos on our Behind the Scenes page with tips and tricks for photographers and videographers of all genres.




Leave a comment
This site is protected by hCaptcha and the hCaptcha Privacy Policy and Terms of Service apply.