


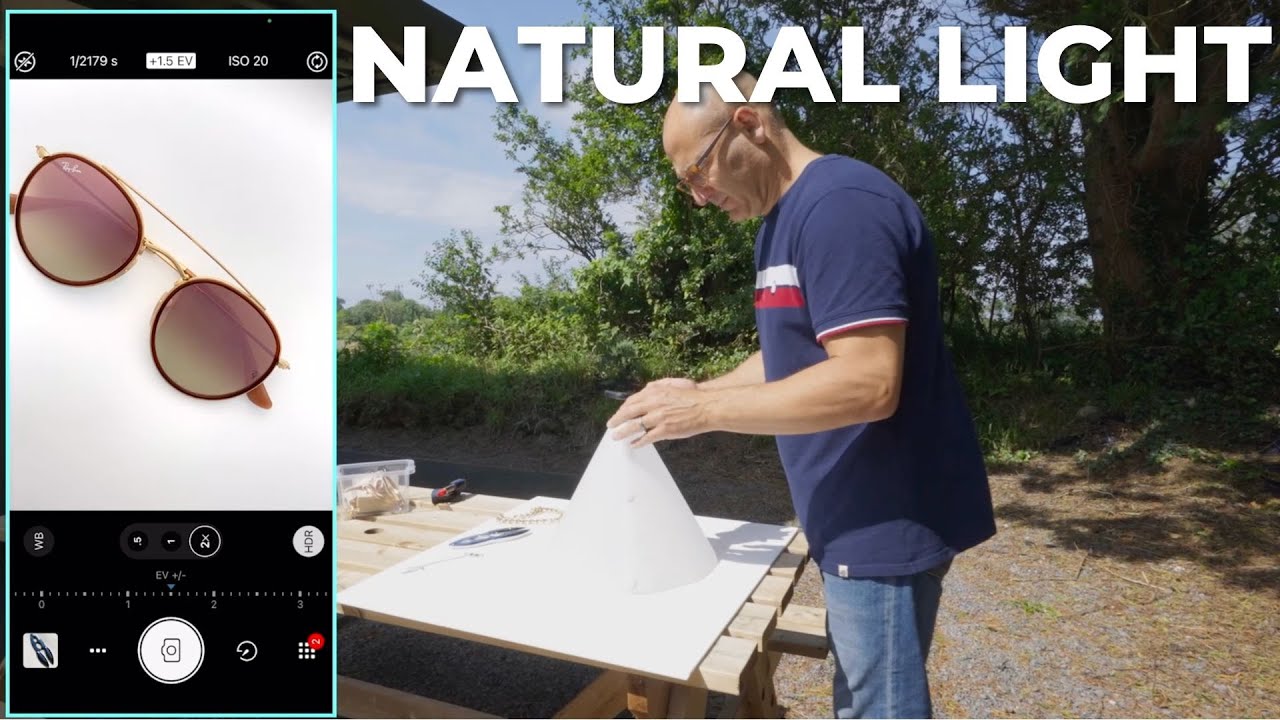
Fashion Shoot Featuring a DIY Seamless Paper Dress | Lindsay Adler
World-renowned photographic educator, director, and fashion photographer Lindsay Adler has a unique video that checks off so many boxes – we’re going to have to fight the urge to gawk in awe. First, stylist and designer Jennifer Daniels transformed discarded seamless background paper into an impressive haute couture dress. Then, Lindsay created stunning fashion photos of the dress on a model while in studio.
The video is equal parts creative genius and technical prowess. Plus, brownie points for a bit of environmentalism by repurposing scraps of background paper that otherwise would’ve gone to the dump. So sit back, hit play, and watch this shoot unfold.
Lindsay’s Thought Process
It should be a no-brainer, but careful pre-shoot planning and visualization are essential to a successful photoshoot. Before even shooting one frame, Lindsay considered the shape, texture, and color of the dress and then built the set and lighting based on her observations. She also found a model that complemented the dress perfectly. The dress, made from a now discontinued Soft Gray seamless background from Savage Universal, contrasted brilliantly against the model’s skin. To make the dress pop even more, Lindsay used a darker gray seamless paper backdrop, also from Savage, called Fashion Gray. On top of all that, the dress consisted of three pieces: a skirt, a top, and a versatile neckpiece that shifted its way around the model’s body for an assortment of looks.
Speaking about the dress, Lindsay said, “What’s really great about how this was constructed is there’s a lot of flexibility. So that neckpiece collar, we can have come off the shoulder [or] back around the head… so I’ll probably play around with that to give me a little bit more visual variety.”
If you’re familiar with Lindsay’s work, you’ll know that she’s no stranger to creating bold, bright, and colorful photographs. But the DIY seamless paper dress called for a different look. “The shot doesn’t benefit from a bright colored background or any visual distractions,” Lindsay explained. “So a fashion gray would be nice and clean and a little bit darker so the subject would pop out from the background.”

Starting with One Light: A Profoto D2 + Extra Large Umbrella with Diffusion
A master at pre-visualizing her scene, Lindsay knew exactly where she wanted to add light to enhance the texture and shape of the dress as well as the model’s features. Because of this, she made a conscious decision to light from the side.
According to Lindsay, “What’s interesting about this [dress] is it has a lot of texture and a beautiful shape. And so I’m going to have the light a little bit off to the side so it rakes across and creates a little bit of sculpting on [it].”

Here’s Lindsay’s test shot with one light:

“By moving the light off to the side of the frame, it’s raking across the structure and it gives it depth. And it makes it really, really beautiful,” Lindsay said.
It’s a competent shot, but the shadow side of the model was too dark for Lindsay’s taste. “So what I’m going to do is I’m going to introduce a V-Flat,” Lindsay said. “In this instance, we’re using a V-Flat World V-Flat. It’s a white reflector; a big white V-Flat. It’s going to catch all that light and just lift the shadows a little bit so they aren’t so dark and heavy.”
Shooting with One Profoto D2 + Diffusion and a White V-Flat
Because it’s set off to the side, the D2 creates a main light that wraps around the model, creating a light-to-dark gradient that sculpts the model’s angles and curves. Set opposite the D2, the V-Flat reflects just enough light to keep all the sculpting from the D2, but without the shadows looking pure black like they did before.


Taking It a Step Further
If Lindsay wanted to leave the photo as is, with one light and a reflector, the photo would be completely fine. But… why leave it completely fine when you can take it beyond fine and into the realm of mesmerizing and jaw-dropping?
Reviewing her current image, Lindsay says, “I don’t have to make any modifications. But looking at the dress, I think we could maybe mimic some of the textures and patterns onto the background.”
So she added a second strobe, another D2, to camera left, outfitted with an optical spot using a searchlight-patterned gobo and a 24-70 lens. An optical spot is a fun tool, used by many photographers, that projects shapes and patterns onto your scene. In this case, Lindsay used the searchlight gobo to cast radiating triangular shapes onto the backdrop, mimicking the shapes on the paper dress.


If you’re not familiar with the Westcott Optical Spot by Lindsay Adler, it’s a versatile tool that adds to your creativity in ways that other light modifiers can’t. Because of the lens on the front as well as the leaves, the optical spot gives you precision control over the light so you can focus, blur, and slice it any way you want. Add gels and gobos for dazzling and inventive images. With 25 gels and nearly 30 gobos made for the Westcott optical spot, the creative possibilities are endless.
And don’t forget that you can change your camera settings to shoot at a different aperture, which also affects the clarity of the background.

Lindsay shot at ISO 400, 1/200, f/8 using a Canon EOS R5 with the Canon 24-105 f/4 L IS lens to allow for flexibility in focal length. “I’m shooting at f/8,” Lindsay says, “because at this point I don’t need the background to be out of focus. I actually think it’s interesting having a little bit of that sharpness there.”
Final Images of the DIY Seamless Background Paper Dress

Ravishing, darling.
We’ve had the privilege of following along with Lindsay and collaborating with her over the years. She’s highly skilled with countless accolades and awards to her name, yet Lindsay is refreshingly humble and gracious to everyone around her.
Super nice work, Lindsay. We love the video!
Watch Our Collaboration with Lindsay as She Duels It Out with Dani Diamond in “Photography Wars”
Gear
Camera: Canon EOS R5
Lens: Canon RF 24-105mm f/4 L IS
Lights & Modifiers: Profoto D2, Westcott Optical Spot, V-Flat
Get Connected
Photographer: Lindsay Adler
Stylist, Paper Dress Designer: Jennifer Daniels https://www.instagram.com/beforetheflash/
Model: https://www.instagram.com/_sabateur/
Watch How Other Photographers Create Using Optical Spots and Gobos:
Watch Manny Ortiz create a fake sunny outdoor portrait indoors with an optical spot.
See Hudi Greenberger play with shadow patterns and light gobos with food photography.
Learn how Jeff Carpenter uses an optical snoot to create a starburst pattern across his model’s face.
Wanna Learn More About Fashion Photography?
We’ve got over 100 videos on our Behind the Scenes page with tips and tricks for photographers and videographers of all genres. Learn how to light, shoot, and more.

1 comment
Excellent presentation as usual.
Are there by any chance any information sheets available on how the paper dress / outfit / individual sections were made and placed together.
David Bannister
Leave a comment
This site is protected by hCaptcha and the hCaptcha Privacy Policy and Terms of Service apply.