


Creative Shadow Patterns Using Light Gobos | Food Photography
If you're looking to get more creative with shadows and light in your photography, it might be time for you to start experimenting with gobos. Imagine casting mesmerizing shadow patterns and enchanting light designs that breathe life into your images. Gobos – short for "go between optics" – are your secret weapon, acting as the creative bridge between your light source and your subject. By strategically placing these innovative tools, you can transform your shots from ordinary to extraordinary in no time.
But what exactly is a gobo? Think of anything from a cleverly cut piece of cardboard resembling a window to delicate lace fabric that casts intricate designs, or even a sleek metal gobo used with an optical snoot. It can be anything you put between your light and subject that creates shadow patterns.
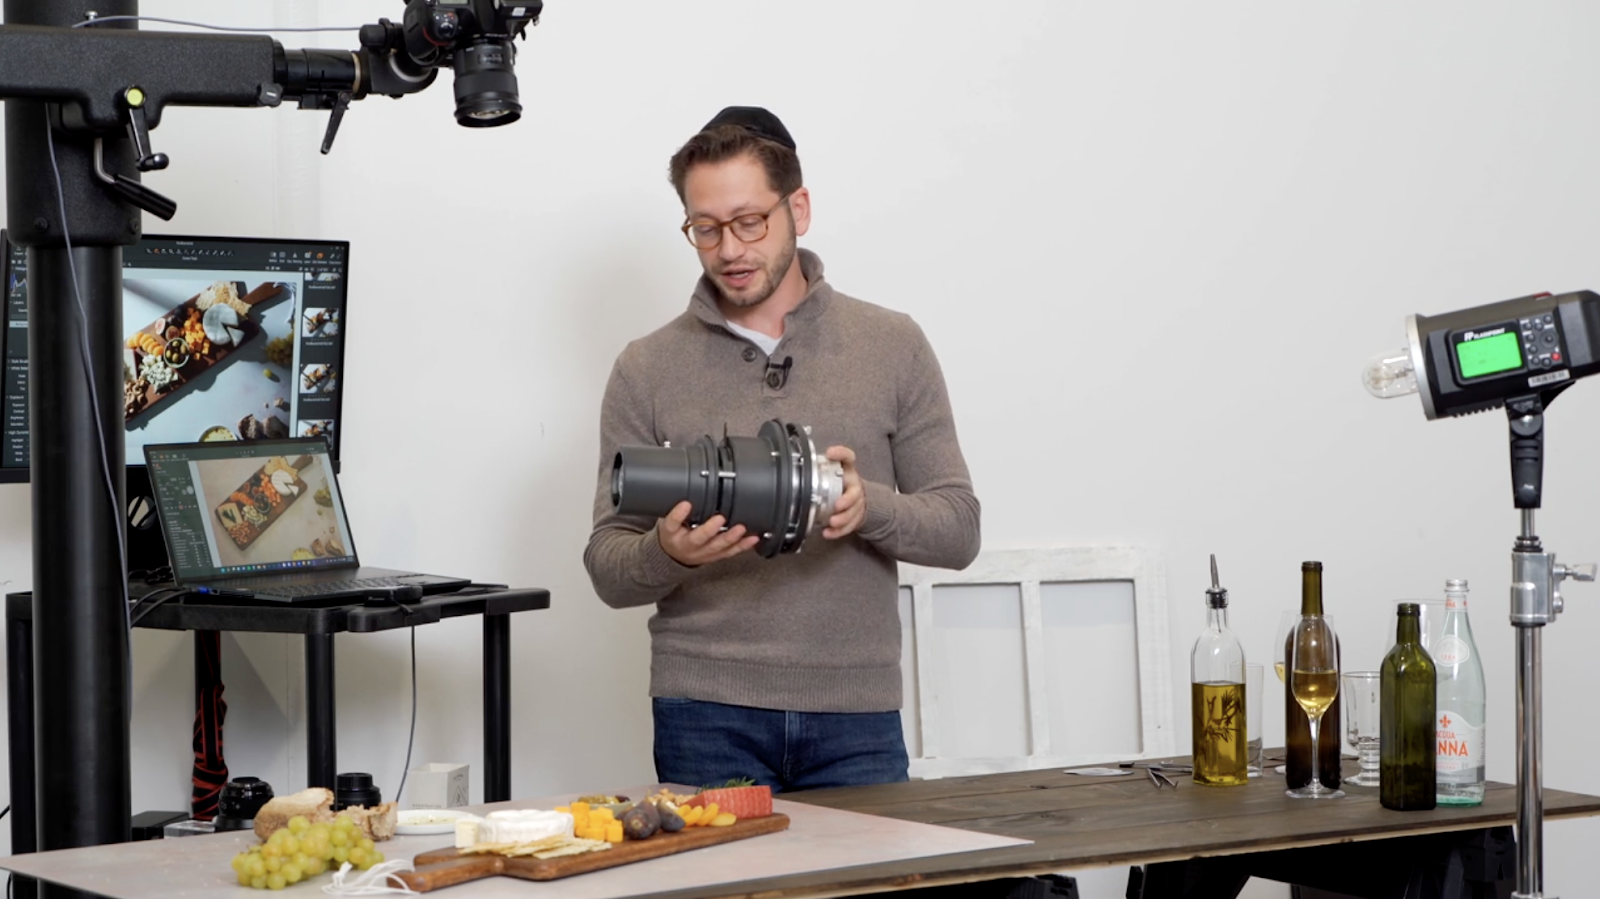
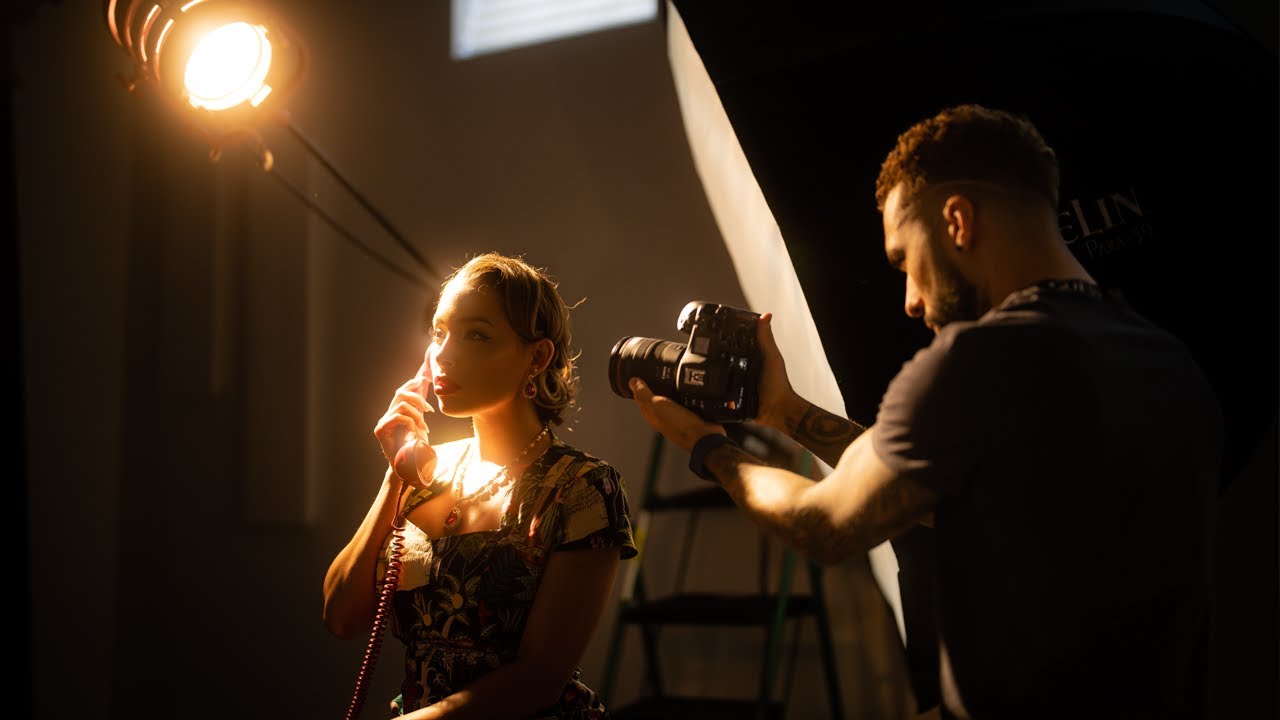
Join photographer Hudi Greenberger as he demonstrates how to harness the magic of light and shadow. Watch as he experiments with shooting through glassware, playing with liquid, and using an optical snoot equipped with a gobo.
Using a Single Hard Light Source and Glassware as a Gobo
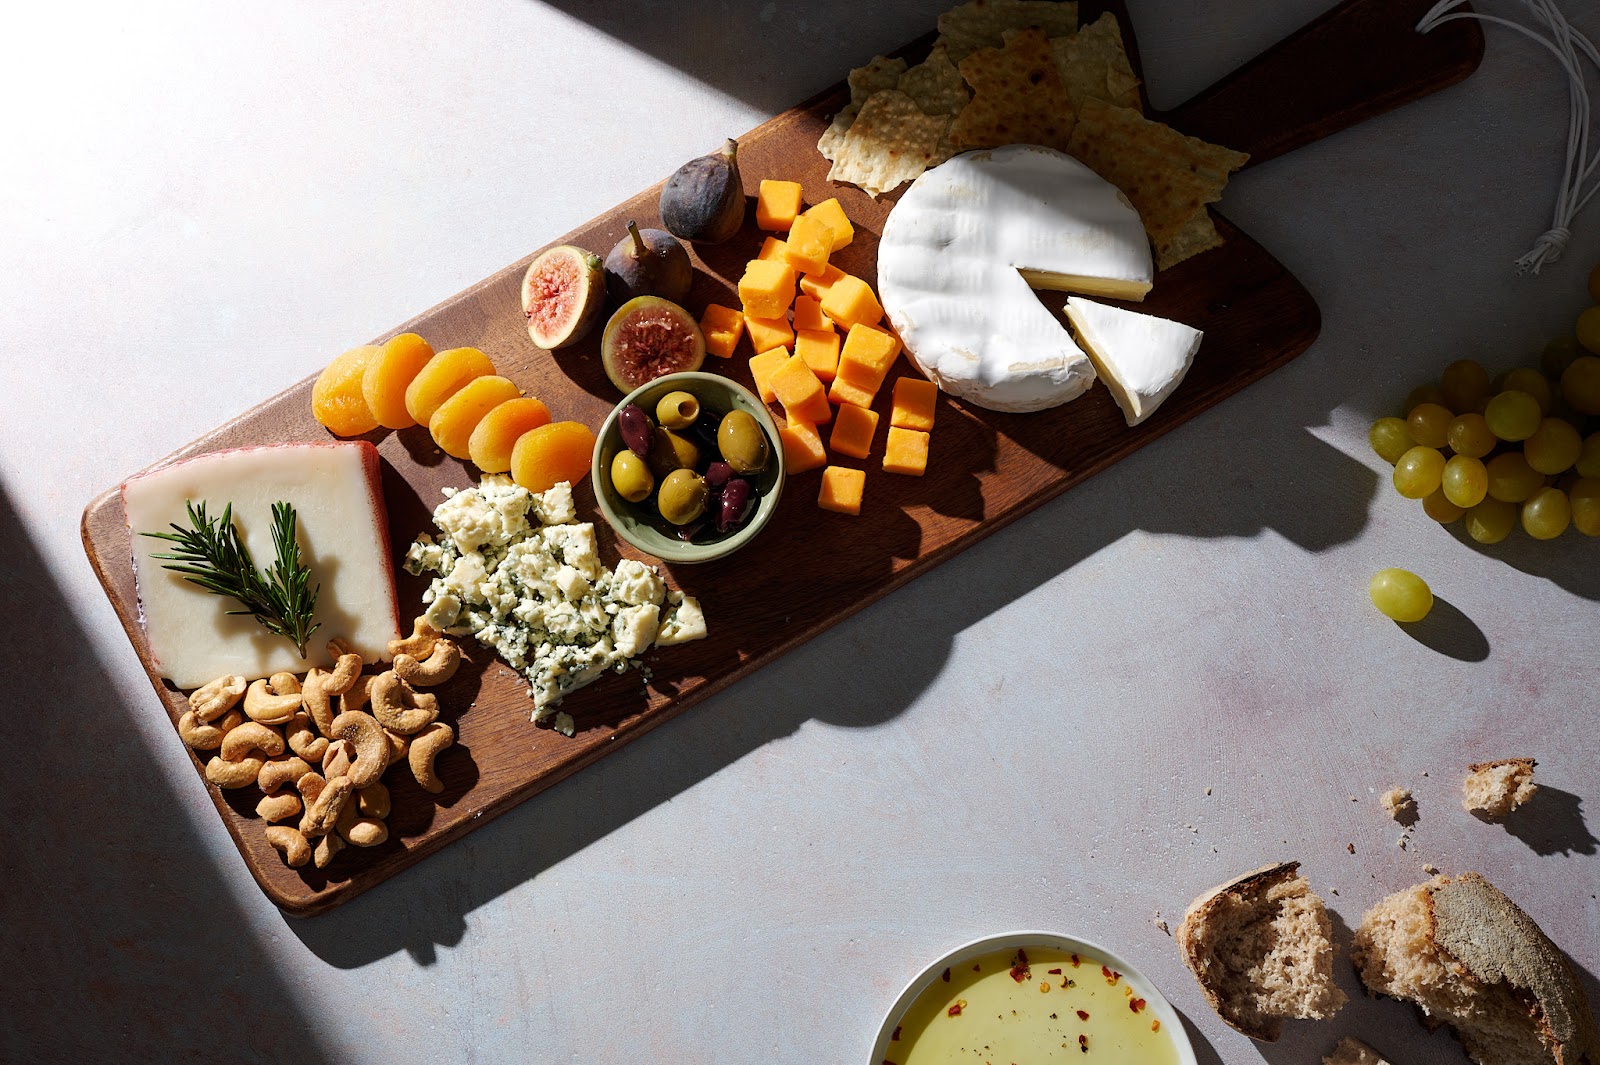
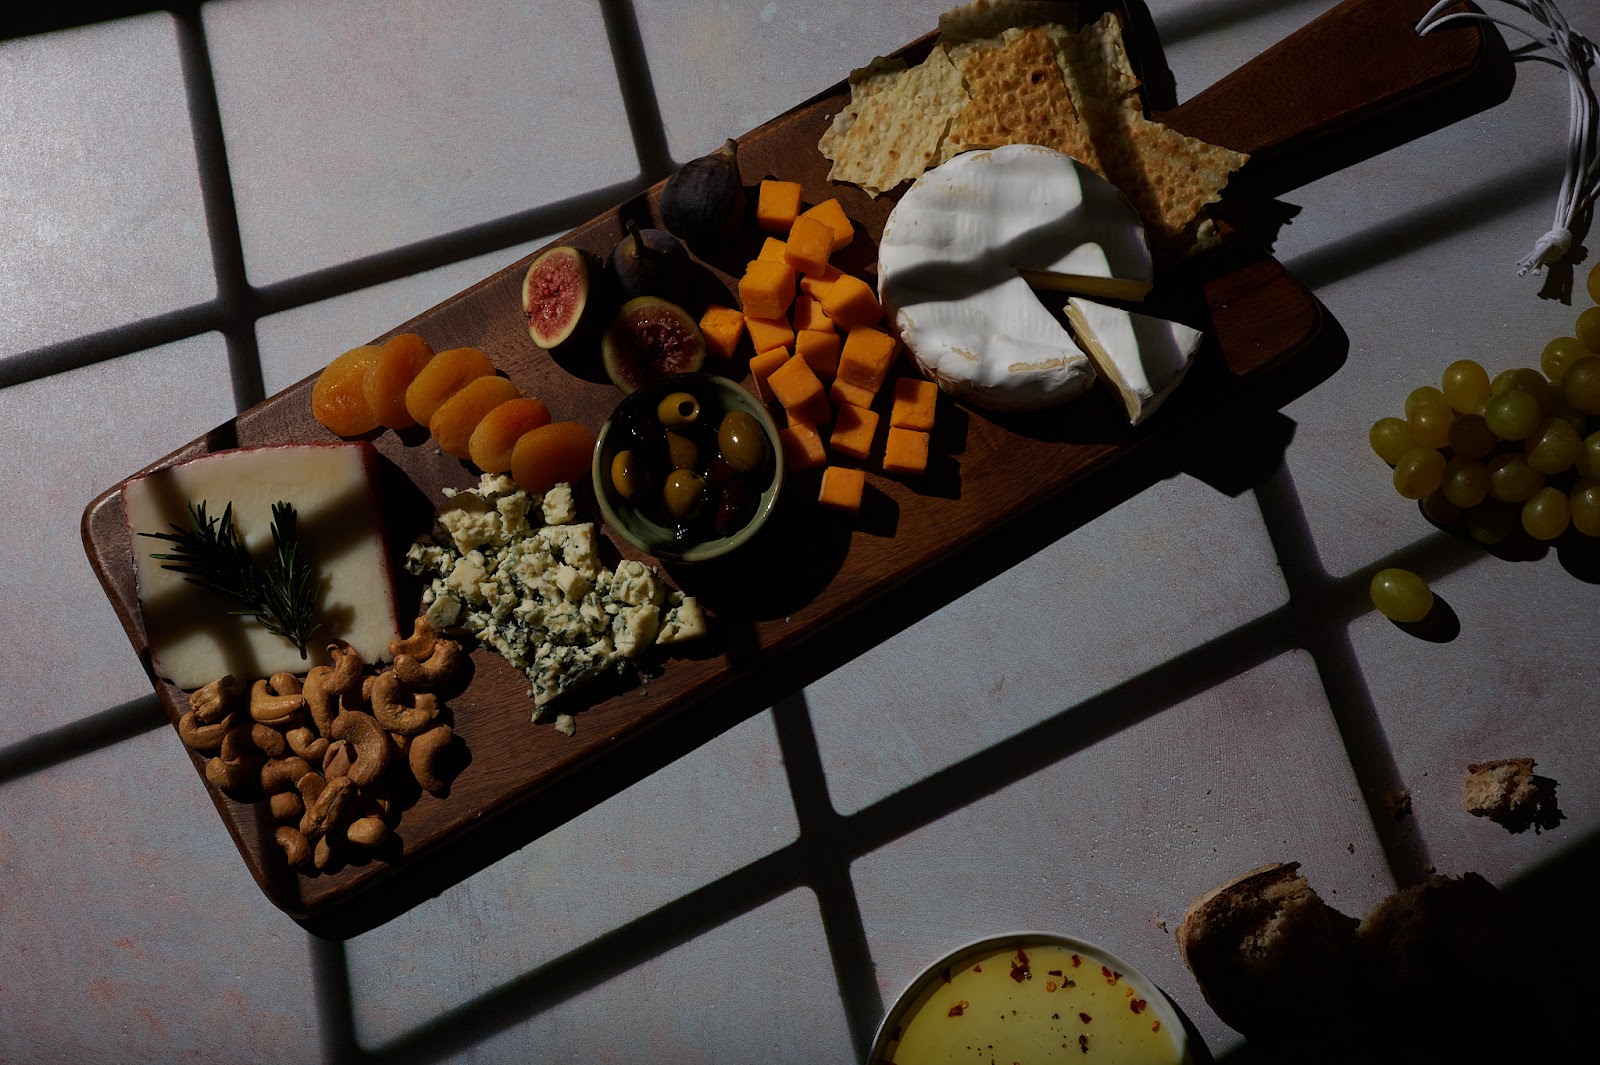
In this video, Hudi starts with a mouthwatering cheese board placed atop a Duo Board (but of course 😉). Here’s the original image without any gobos, just a single bare bulb spilling across the scene. Definitely a solid image, but let’s see if we can take it up a notch.

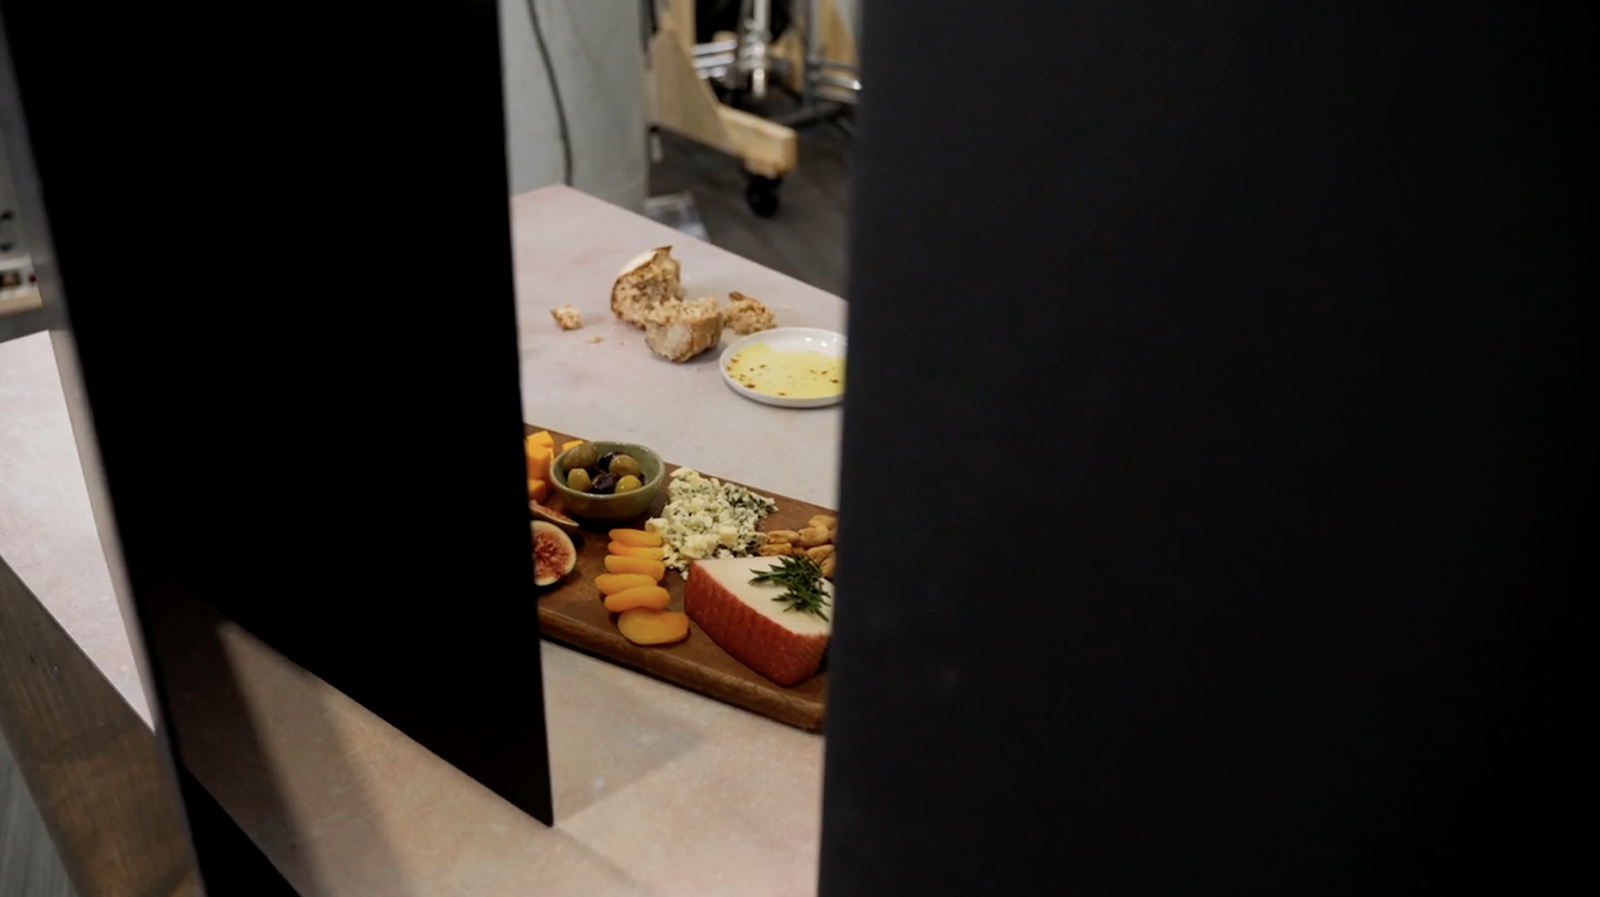
Hudi begins to move the bottles and glasses around while watching the live view on his laptop. The main light is out of frame, to camera right of the glassware.

Live view makes it super simple to play around with composition while watching the scene change in real-time on a monitor larger than your camera’s screen. Also, since Hudi’s camera is mounted above the scene in top-down position, it would be completely tedious to climb a step ladder to check the composition in camera each time a change was made to the scene. Employing live view is a much more practical way to shoot and will streamline the entire process.
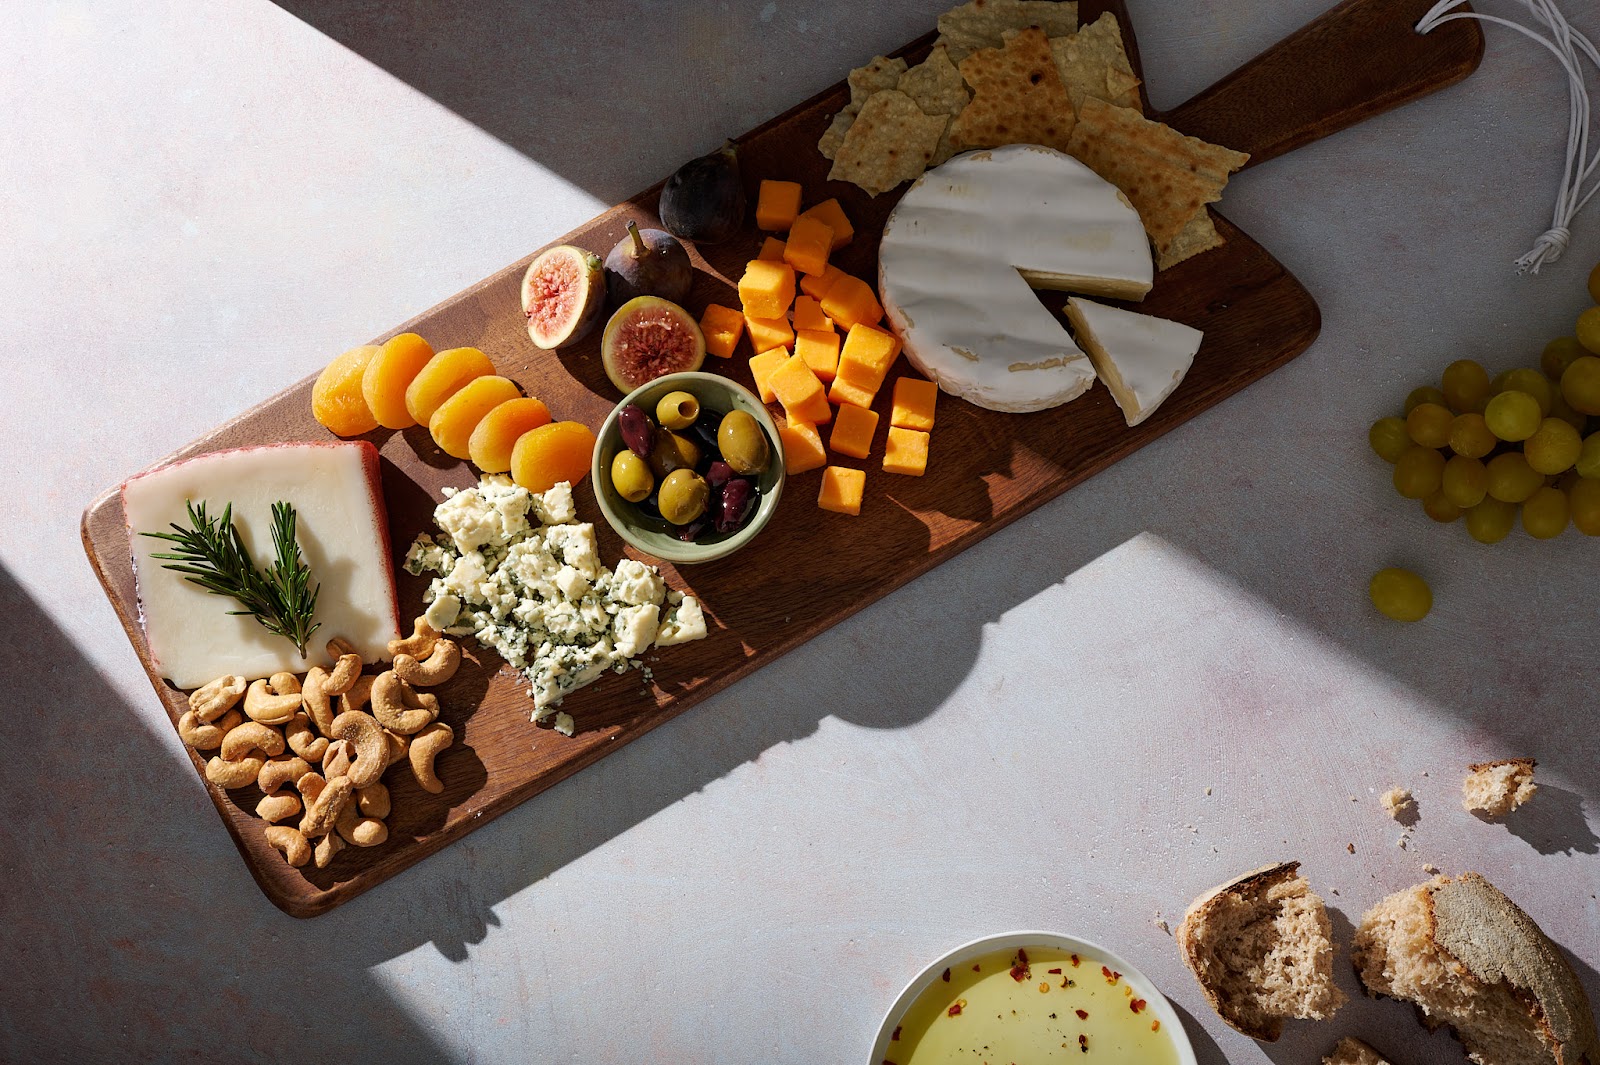
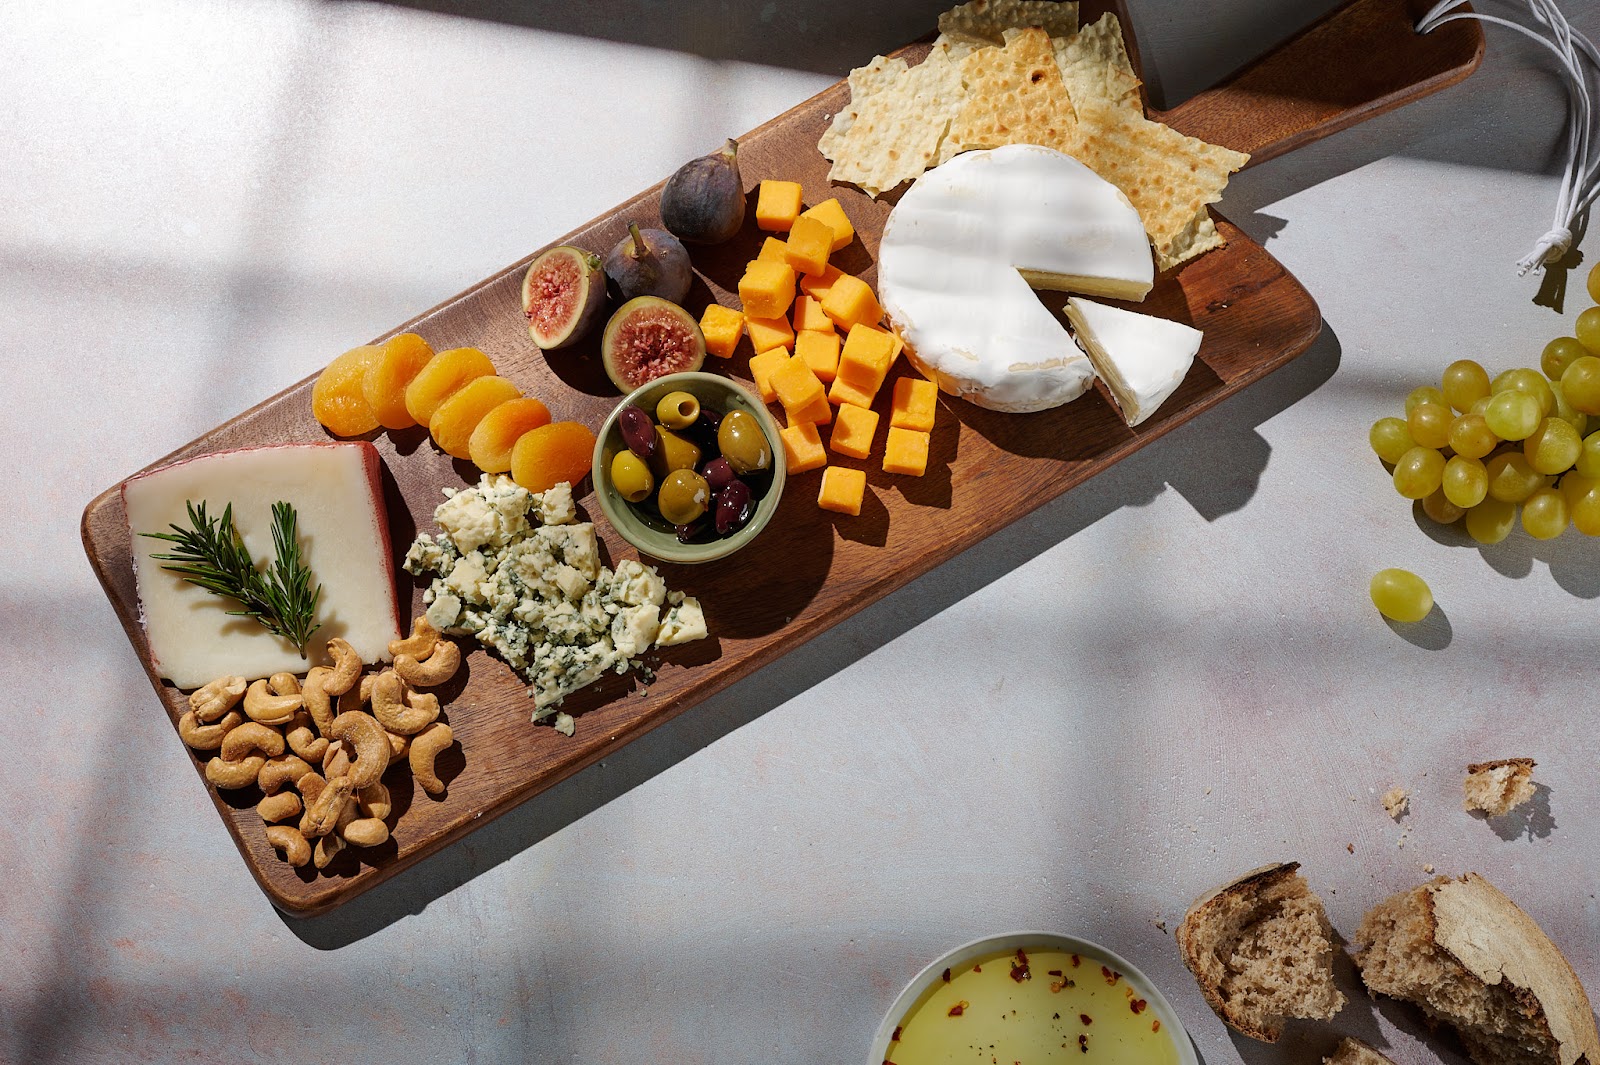
Here’s the cheeseboard with a few darker, thick-glass bottles, plus one clear glass bottle filled with oil. Notice the quality of the shadows and the way the light filters through the glass as well as the oil.

“This is just gonna make some visual interest that just makes the whole photo kinda like, ‘wow,’” Hudi explains. “It went from kind of a simple shot, almost empty looking in the top to… just all of sudden there’s some visual interest up there.”
One of the biggest benefits of gobos is that they hugely boost a scene without requiring any additional props or styling to the main subject.
After trying a few darker, thicker glass bottles, he switches to clear glass stemware placed out of the frame but still in the path of the light. “They’re out of the frame, they’re not in my shot. I just want the shadows coming across.”

“Again, interest. Something different,” Hudi says. “So you can kinda see that it’s a wine glass without it actually being a wine glass [in the image], which is kinda neat.”
Next, he experiments with apple juice inside the stemware, adding another element worth holding our gaze. The juice darkens the shadow within the cup portion of the stemware (as seen immediately below). However, Hudi prefers one of the glasses without the apple juice because it creates too dark of a shadow for his taste.
It turns out that the glass looks even better when empty. And the extra bonus? The residue from the apple juice created interesting shadow play.
When experimenting with gobos, feel free to play with all kinds of materials. Try smooth glass, bubble glass, faceted glass, etc, plus semi-transparent fabrics and objects. Window frames are also a popular gobo option. Also, experiment with spraying your glassware with water or filling it with liquids and oils.
Using Tabletop V-Flats to Create Shadow Lines and Emphasis with Hard Light
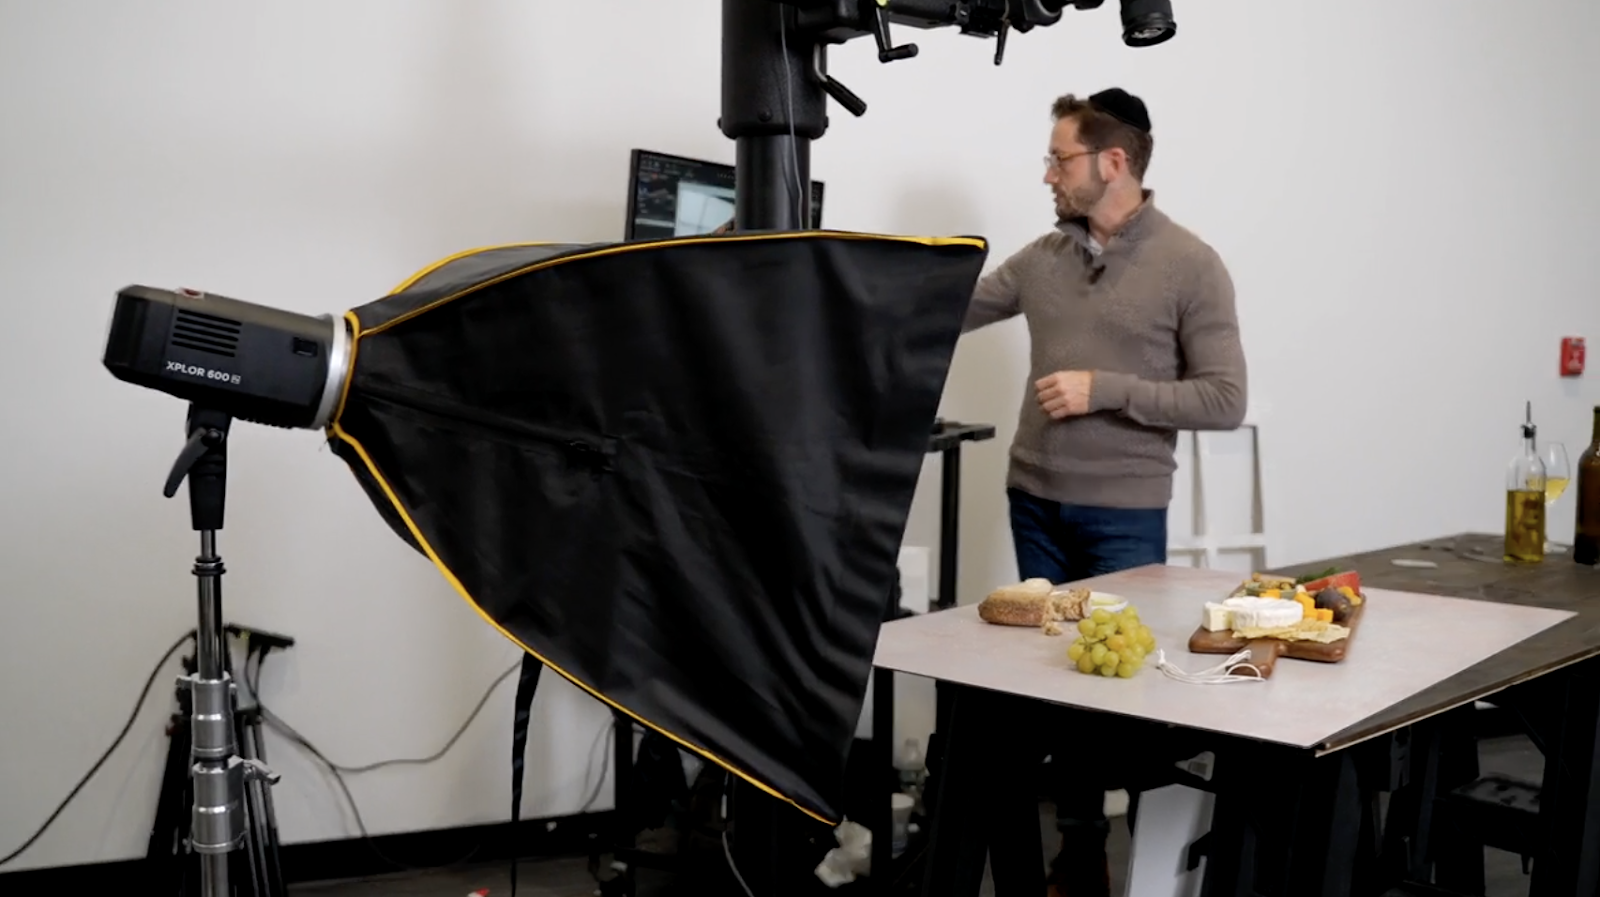
“The next gobo we’re gonna talk about is using these tabletop V-Flats just to create a shadow line across the set. It’s gonna be a hard shadow line because we’re using hard light,” Hudi says in the video.
The tabletop V-Flats act as towering flags on either side of the scene with a bare bulb shooting through the opening between the two V-Flats. This creates a slice of light across the cheeseboard, which can be as narrow and dramatic as you want.
“One really cool thing you could do with this, you can get this little slit of light,” Hudi says, positioning the tabletop V-Flats closer to each other. “I want it right here on this blue cheese.”
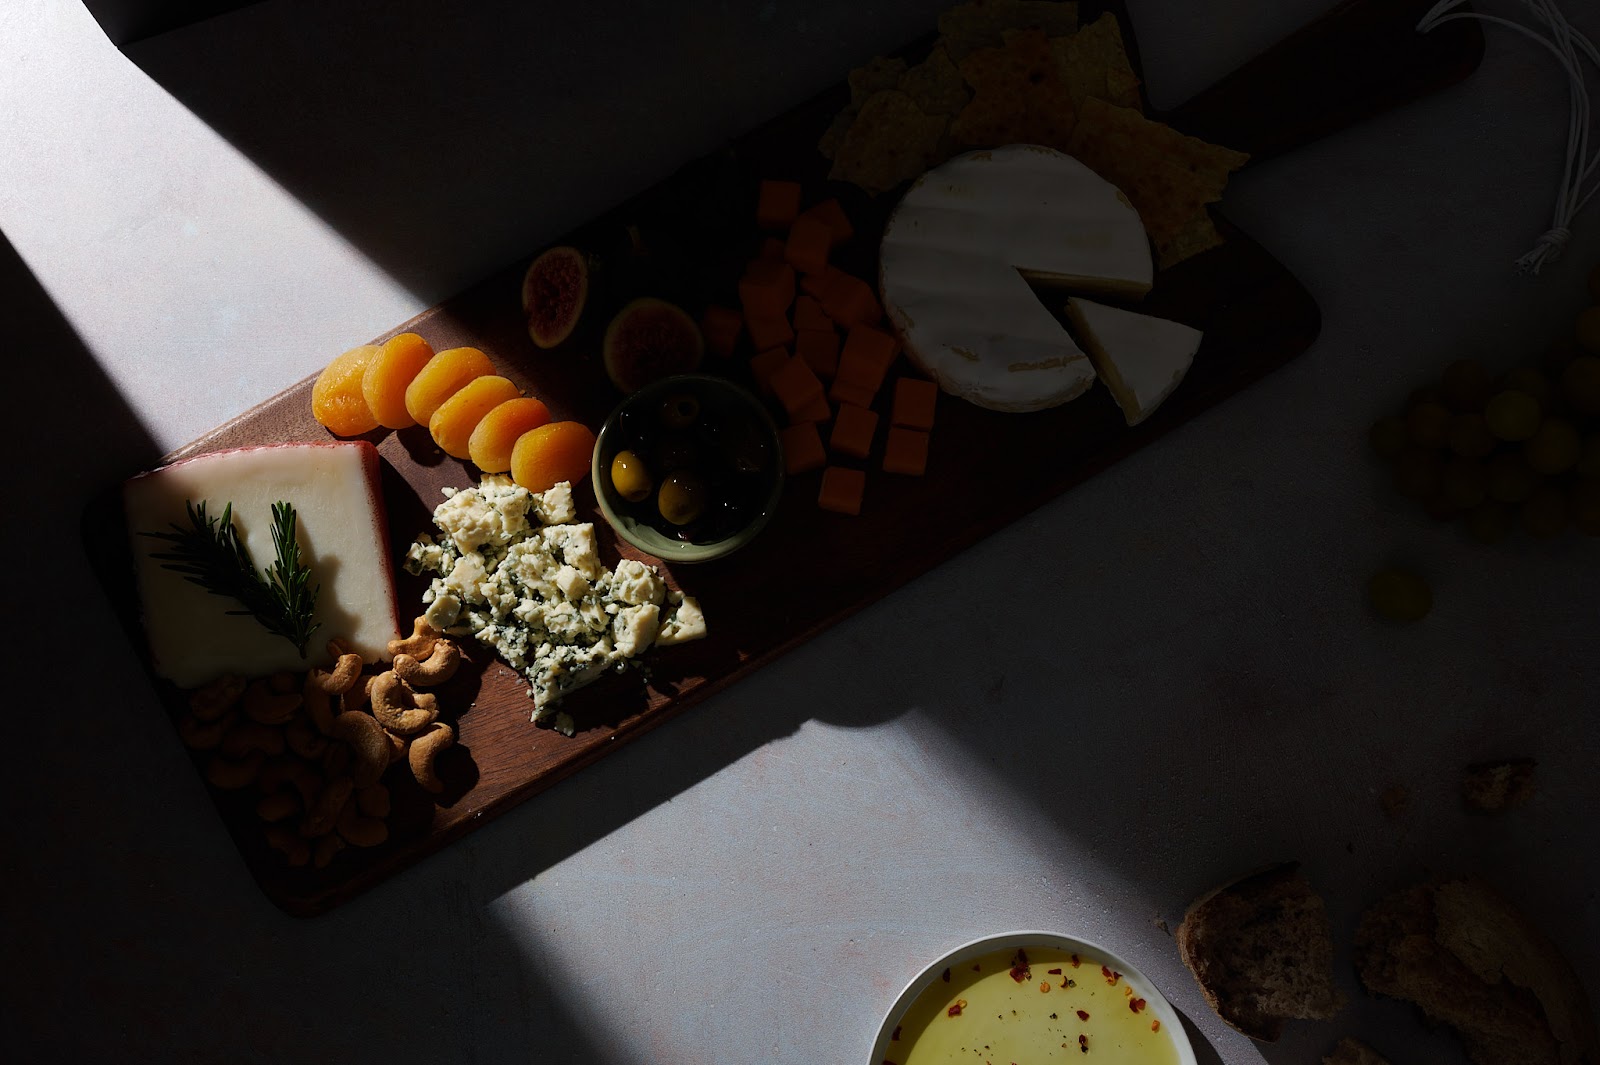
Hudi goes on, “One thing that’s really cool about this setup (with the tabletop V-Flats) is… the closer the light gets to the set, the more angled the shadow goes out. If you look, the lines (from the light) are not perfectly parallel. They’re slightly going on a ‘v’ shape. So if I bring this light closer to the set, it’s gonna be a wider ‘v’.” (As evidenced in the images below.)
Below: the beam of light gets wider the closer the light moves to the set (in comparison to the image above).
The Optical Snoot, One of Hudi’s Favorite Tools in the Studio
One of Hudi’s favorite tools in the studio “to get something dramatic quickly” is the optical snoot. The optical snoot is a device that mounts straight onto your light. It includes a lens at the front to focus and defocus the light as well as a lever to change the size of the light beam (much like controlling aperture on a lens).
While you can use the optical snoot on its own as a spotlight, what's really fun is to use it in combination with little metal gobos that look like stencils with various designs cut out of them.

You can place these circular metal gobos in a slot within the optical snoot between the focusing lens and the light source. The pattern on the gobos is the pattern you’ll see projected onto your subject. The gobos seen here are cut to look like a window frame, a window shade, and window blinds.
It does take a bit of trial and error to get the optical snoot to project the gobo in just the right place within the scene. After choosing the window frame gobo and fitting the optical snoot to the light, Hudi then turns out all the lights in the studio and uses just the modeling light to see how the gobo is casting light and shadow across the set.
After finding the sweet spot for the optical snoot, a second light with a softbox is set up on low power, for a bit of fill light. “This is at 1/64… so just giving us a touch of light” to fill in the shadows.
Here’s the cheeseboard shot with an optical snoot fitted with a “window pane” gobo:
And here’s an example of the scene with the window pane gobo more clearly focused via the lens on the front of the optical snoot with no fill light:
The creativity and options available with an optical snoot are endless. It’s no surprise that it’s one of Hudi’s favorite tools to use in the studio.
To up your food photography, as well as portrait photography, consider getting your hands on an optical snoot. It would be much more time-consuming, difficult, or even impossible to achieve certain shadow patterns and lighting designs without one.
If you’re in a position where you can’t get an optical snoot or it doesn’t make sense to own one at this time, know that there are still plenty of ways to create your own gobos. It just needs to be something that sits between your subject and your light source. Even a window frame from a craft store can work as a gobo. Be creative and study the objects around you. You might just find your next perfect gobo hiding in plain sight.
Be Creative, Have Fun, Try Things Out
Hudi says it best: “We love when the technical influences the creative. I love that you can figure out from a technical standpoint how to make something creative and beautiful.”
So, in the midst of your crazy schedule, between all the photoshoots, appointments, and to-dos, it’s good and healthy to stop and have a little fun. Playfulness actually increases your productivity and creativity – two things you need on your side as a photographer. There’s evidence that taking the time to play (however that may look to you) hugely benefits your mental and physical health.
So be creative, have fun, play with some gobos, and see for yourself how shadow patterns and lighting designs can take your photographs to a level beyond what you’re doing now.
Get Connected
Photographer: Hudi Greenberger
Video & Editing: Samual Bouret
Wanna Learn More?
We’ve got over 100 videos on our Behind the Scenes page with tips and tricks for photographers and videographers of all genres. Learn how to harness the power of light and more.


Leave a comment
This site is protected by hCaptcha and the hCaptcha Privacy Policy and Terms of Service apply.