Advanced Lighting for Stunning Creative Portraits with Pye Jirsa
Pye Jirsa is back with another awesome lighting tutorial, and this time, he’s diving deep into building a stylized dance portrait from the ground up. Working with his model Kiara, Pye walks us step-by-step through a complete creative lighting setup, emphasizing the C.A.M.P. framework: Composition, Ambient, Modify, Photograph.
Start with Composition
Before a single light stand goes up, Pye focuses on composition first. Shooting with a Canon R5 and a 28-70mm lens, he zooms in tight, framing Kiara in a strong, dance-inspired pose. He gets a quick shot to lock in the framing but doesn't care about exposure yet – it’s just about visualizing the final image.
Kill the Ambient Light
Next, Pye knocks out all existing light to take full control over the scene. He dials his camera to f/4, ISO 200, and a shutter speed of 1/200 second. The resulting image is completely black, which is exactly what he wants. With ambient light eliminated, Pye can now build the entire look one light at a time.
Add and Modify Lights
Pye stresses the importance of working one light at a time. Instead of setting everything up at once and struggling with too many variables, he layers each element carefully to come up with the perfect portrait lighting.
Background Color with a Red Gel
The first light is a Profoto A10 flash paired with a red MagGel, placed behind Kiara and aimed at the back wall. Pye sets the flash at about 7 power to create a wash of red across the background. The initial test shot produces a silhouetted image with a rich, colored backdrop – a creative look in itself, but just the beginning.
He advises adjusting the flash power if necessary: if it is too dark, brighten it; if too bright, darken it.

Creating Patterns
Next, Pye adds a light pattern on the background using the newly updated MagBeam. He inserts a Starburst pattern mask to create an interesting texture behind the subject. A key tip: the smooth side of the Fresnel lens should face outward, and the ridged side should face inward toward the flash. He compresses the MagBeam fully to sharpen the projected pattern.
The combination of the colored background and the starburst pattern starts to give the portrait a much more dynamic and creative atmosphere.

Lighting the Subject
For the main light, Pye uses a Profoto B10 paired with a MagBox and a grid. He places the MagBox slightly behind Kiara to camera left and angles it forward. The grid controls the light spread, keeping the focus tight on Kiara without spilling onto the background.
Using V-Flats for Control
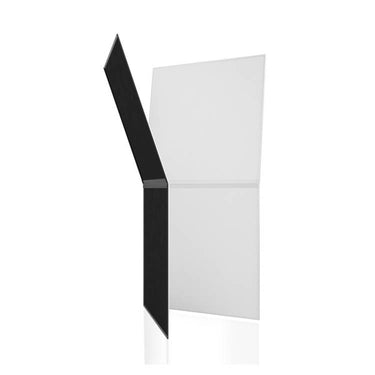
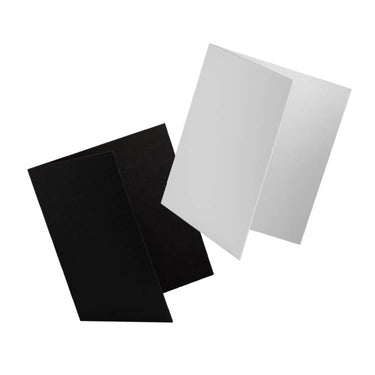
To keep things simple and not add another light into the setup, Pye uses a V-Flat to bounce light onto Kiara's face and fill in shadows without creating harsh reflections. He sets up one V-Flat opposite the main light with the white side facing the model. The soft, diffused light from the V-Flat helps balance the image and gives it a natural look, enhancing the overall detail.

Final Image and Takeaways
The finished portrait is a highly stylized, dramatic dance pose set against a rich, patterned, colorful background. The use of V-Flats gives the light more control and depth, contributing to the overall mood and sharpness.
Pye points out that this layered lighting approach gives full creative control and allows photographers to build super unique portraits. Focus on one step at a time: get composition right, kill ambient, build lighting piece by piece, and always take test shots at every stage to stay on track.





Leave a comment
This site is protected by hCaptcha and the hCaptcha Privacy Policy and Terms of Service apply.