Creating the Look of Sunlight in the Studio with Only 1 Light
Creating the look of sunlight in a studio can be tricky, but with the right technique, you can achieve stunning results. In a recent photo deconstruction, Lindsay Adler shows us how to do just that with only one light. Here’s a breakdown of her process.
Lindsay loves shooting in the studio. However, she sometimes wants to mimic the natural light effects you get from shooting outdoors. Whether it’s the soft light of an overcast day or the sharp, crisp light of a sunny one, she demonstrates how to create these effects indoors. This particular deconstruction focuses on replicating the bright, hard sunlight using just a single strobe.
Building the Set
The inspiration for this shoot came from a previous location shoot Lindsay had done, which featured white walls and lots of hard sunlight. But on the day of the studio shoot, it was cloudy, so she had to recreate that look indoors.
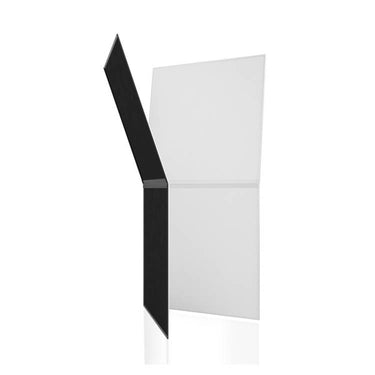
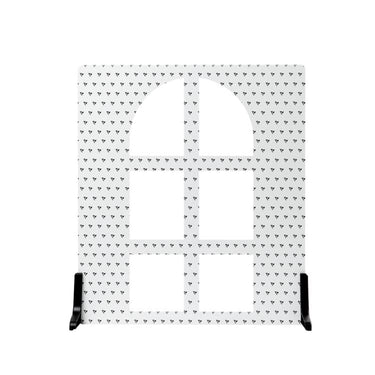
She started by setting up a V-Flat behind her subject. Instead of positioning her model in front of a flat white background, she had her pose inside the V-Flat, which created a corner and gave a more three-dimensional feel. The V-Flat was a bit shorter than usual, so she adjusted the poses to keep everything within the frame.
Creating the Sunlight Effect
To mimic the hard light of the sun, Lindsay explains that sunlight is an extremely hard light source with very defined shadow edges. To recreate this, she used a Profoto D2 strobe with no modifier, creating a bare bulb effect. She notes that the smaller the light source in relation to the subject, the harder the light will be.
For an even harder light effect, like that from a speedlight, you can back the light source away from the subject. This increases the intensity and hardness of the light. Lindsay also positioned the light high and at an angle to emulate the sun’s position.

Camera & Settings
For this shoot, Lindsay used her go-to camera, the Canon R5, paired with a Canon RF 24-105mm lens. Her settings were 1/200th of a second, f/8, and ISO 200. She chose these settings to ensure a sharp, well-lit subject without needing a shallow depth of field.
Bringing the Image to Life in Post
After capturing the shot, Lindsay did some post-processing to enhance the sunlight effect. She started by addressing the RAW image in Capture One, warming up the white balance, increasing contrast, and adding yellow to the highlights to give that sunny warmth. She also smoothed out any wrinkles and extended the background in Photoshop to clean up the final image.
The result was a clean, bright photo that looked as if it were taken in natural sunlight, all achieved with just a single strobe in the studio.

Practical Tips for Creating Sunlight in Studio
For photographers looking to recreate this effect, Lindsay’s approach offers several practical tips. Using a single strobe without modifiers, positioning the light source strategically, and leveraging post-processing for color correction and cleanup can help achieve a similar look. These techniques are accessible and can be adapted to various studio setups.
GEAR USED IN VIDEO
Camera: Canon EOS R5
Lens: Canon RF 24-105mm
Light: Profoto D2
Stand: Savage C-stand
Background: V-Flat
WANNA LEARN MORE?
We’ve got over 100 videos on our Behind the Scenes page with tips and tricks for photographers and videographers of all genres. Learn how to light, shoot, and more.



1 comment
loved it thx
Diana Piscitelli
Leave a comment
This site is protected by hCaptcha and the hCaptcha Privacy Policy and Terms of Service apply.