How to Use V-Flats for Boudoir Photography: 3 Lighting Setups
Today, we're heading into the bedroom with Yuliya Panchenko, a skilled boudoir photographer. All right, well, maybe not the bedroom, but we are invited into an intimate studio session, as Yuliya showcases three creative boudoir photography lighting setups using V-Flats to enhance the beauty of her models.
In this video, she works with a talented model, Wrené, to show how simple yet powerful lighting techniques can transform boudoir images. V-Flats, typically used to control light in photography studios, became key tools in these setups, helping Yuliya create dramatic effects with minimal equipment.
We're not going to show you the final images in case you're at work(!), but check out the video to see the amazing results.
3 Creative Ways to Use V-Flats in Boudoir Photography:
1. The Split Technique: Sculpting Light with Two V-Flats
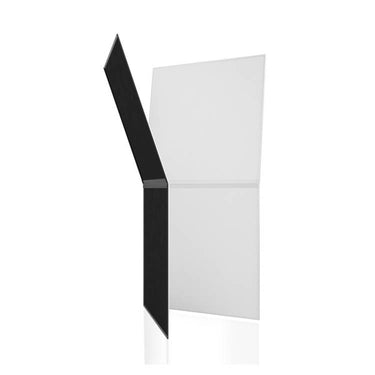
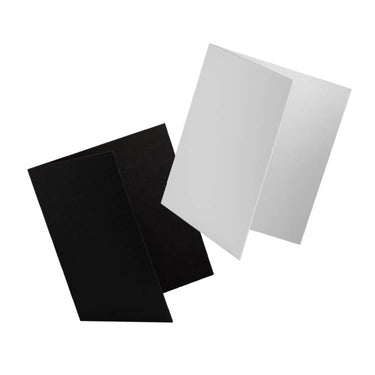
In this first setup, Yuliya uses two V-Flats and two lights to create a split background with striking highlights on her subject. She positions one V-Flat in an L-position with the white side facing the camera and another V-Flat in an L-position beside the white one with the black side also facing the camera, creating a distinct contrast in the lighting.

One light, equipped with a grid, acts as a rim light, giving a sharp highlight along the edge of the model’s body. The other light, aimed at the white side of the V-Flat, bounces light back to softly illuminate the model. This setup prevents any spill of light onto the black side, keeping the contrast sharp. Yuliya positions the model to block parts of the V-Flat, allowing her to focus on specific body features, depending on what curves she wants to highlight.
This lighting setup is ideal for nude photography, emphasizing body lines and creating a sophisticated, high-contrast look.
2. The Stacking Technique: Adding Dimension with Slight Adjustments
For the second setup, Yuliya continues using two V-Flats and two lights but adjusts their positions to create more depth. This time, the V-Flats are arranged in an L-shape, with one slightly behind the other. The white side of one V-Flat faces the camera, while the black side of the other creates a backdrop for shadows.

A strip softbox with a grid focuses light on the model’s legs, defining her lower body. The second light, aimed at the white side of the V-Flat, creates an evenly exposed background. By positioning the model between the V-Flats, Yuliya ensures that the lighting highlights her form without spilling light onto the black side.
This setup provides a variety of creative posing opportunities, such as leaning against a stool or accentuating different parts of the body, allowing the photographer flexibility to capture different looks.
3. The Dividing Technique: Using One V-Flat to Divide Light
In the final setup, Yuliya simplifies things by using only one V-Flat and one light. She positions the V-Flat in front of a large light modifier, with the black side facing the camera. This placement splits the light, creating two rim lights from a single source.

The result is a striking dual-rim effect that highlights both the front and back of the model’s body, depending on her position. This setup is perfect for photographers with limited lighting options who still want to achieve strong highlights on both sides of their subject.
Yuliya positions the model sideways to ensure the light hits the desired curves, whether highlighting the booty or the breasts, without losing definition.
Bringing New Depth to Boudoir Photography
Yuliya’s use of V-Flats in these boudoir photography lighting setups showcases their versatility. Whether used to create dramatic rim lighting, add depth to an image, or split light with a single source, V-Flats offer endless creative opportunities for photographers. Yuliya demonstrates how, with a bit of resourcefulness, even minimal gear can produce striking, professional-quality boudoir photos.
Shop V-Flats
Wanna Learn More?
We’ve got over 100 videos on our Behind the Scenes page with tips and tricks for photographers and videographers of all genres. Learn how to light, shoot, and more.



2 comments
As a boudoir photographer, I have Been experimenting with these V-Flats. I love Them. I’m definitely going to be trying these!
Diana
Very much enjoyed the use of the V-Flats very creative!
William J Kay
Leave a comment
This site is protected by hCaptcha and the hCaptcha Privacy Policy and Terms of Service apply.