Light It Like Jeff: Shooting a High Contrast Split Background Portrait | Ep 20
Today, we join Nashville-based photographer Jeff Carpenter and model Caroline as they create a dynamic, high-contrast portrait with sci-fi vibes. In this behind-the-scenes video, Jeff shows us how a well-executed three-light setup can transform a simple studio shot into a striking visual. From using V-Flats to create a split background to perfecting the subtle rim light that defines the subject, Jeff demonstrates how thoughtful lighting choices can completely change the image. Let’s dive into the process behind this really cool look.
Crafting a Three-Light Setup for a Split Background Portrait
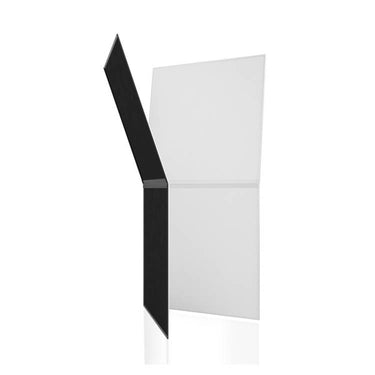
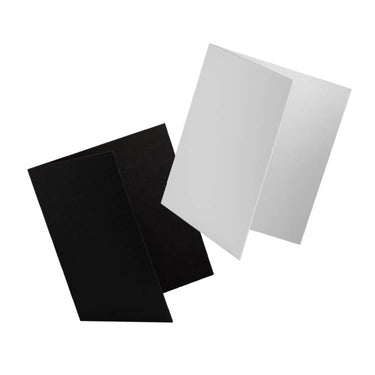
Envisioning a very “sturdy posture” and “square to camera pose” for the final image, Jeff set a folded, white V-Flat on Caroline’s lap to help as a posing table.

To set up a split backdrop from black to white, Jeff went with a five-foot octabox and placed a black V-Flat over the front half of it. The key light, a gridded beauty dish, was positioned on camera left, “creating either split light or Rembrandt lighting, depending on where her face is.”
New to lighting? The key light is the main source of illumination in the scene. In this case, it’s the gridded beauty dish lighting up Caroline’s face and shirt. Grids are basically just fancy flags for your softbox. In this setup, Jeff uses the grid to channel the light toward Caroline while keeping it from spilling onto the black backdrop behind her.
After testing the setup with just the five-foot octabox and the beauty dish, Jeff realized he needed a third light to make Caroline’s right side stand out against the dark backdrop. Wearing a black long-sleeved shirt, her right side tended to blend into the shadows of the black V-Flat behind her.
To separate Caroline’s dark shirt from the dark backdrop, Jeff brought in a three-foot octabox to camera left, behind the beauty dish. (Normally, he’d use a strip box, but went with an octa since it was already set up from a previous shoot.) Because the three-foot octa didn’t have a grid, Jeff feathered it away from the background and toward Caroline, enabling him to keep the black part of the background dark and the overall portrait high contrast. Feathering is simply turning the entire light modifier away from the area you don’t want lit.
Also known as rim lighting, this second octa added just the right amount of light to outline Caroline’s right arm and shoulder, further defining her form and popping it off from the dark backdrop.

The Final Image
The final image is just what Jeff was seeking: a high contrast portrait that’s crisp, clean, and “looks really cool,” says Jeff.
Yep. Nailed it. That rim light on Caroline’s right side is subtle but makes a huge difference. As a photographer, if you take the time to make subtle changes like this, it’ll set your work apart from the rest.

Gear and Settings
Camera: Panasonic DC-S1
Lens: Lumix S 24-105mm F/4
- ISO: 100
- Aperture: f/4
- Shutter Speed: 1/250th
- Focal Length: 84mm
Background: V-Flat and 5' Octa
Key Light: Beauty Dish with Grid
Rim Light: 3' Octa
Posing Table: V-Flat
Wanna Learn More?
Want more tips and tricks from Jeff? Check out the complete "Light It Like Jeff" series.
We’ve also got over 100 videos on our Behind the Scenes page with tips and tricks for photographers and videographers of all genres. Learn how to harness the power of light and more.


Leave a comment
This site is protected by hCaptcha and the hCaptcha Privacy Policy and Terms of Service apply.