Light it Like Jeff: Shooting The Perfect Self Portrait | Ep 21
If you’re limited on gear or traveling minimally, but need to diversify your imagery, then this one’s for you. Watch and learn while photographer Jeff Carpenter (@readylightmedia) shows us how to create three different portraits using one light, one modifier, and one V-Flat. It won’t be a hard concept to grasp and you’ll leave better equipped after watching Jeff run through three lighting setups.
"The three looks we’re gonna get today are a gray background, a black background, and a near-white background. Notice I didn’t say ‘pure white,’ I said ‘near-white’...that’s because we only have one light. It’s hard to get pure white with just one light, but we’re gonna get it pretty darn close in camera” and then get it to pure white in post, Jeff explained.
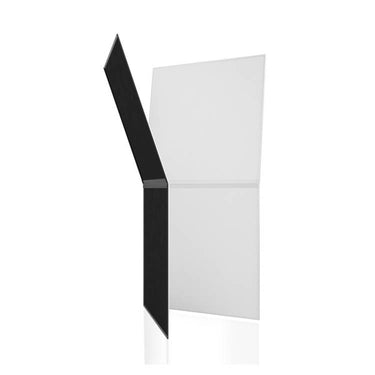
How To Get a Neutral Gray Background With a White V-Flat And One Light
In order to achieve a neutral gray background, the first thing to do is move the light and the model (Jeff himself) farther away from the V-Flat background. After all, lighting is often just a game of simple physics. Moving the light farther away from the V-Flat means less light on the background, which means it won’t look as bright white. See? Easy-peasy.
What does a white background with less light become? A gray background. Done.
If you bring the light closer to the background, what does it do to the background?
It’s not a trick question. You’ve got this.
Yes, exactly. The closer the light is to the background, the brighter the background. See? You’re already on your way to lighting like a pro. Give yourself a pat on the back.
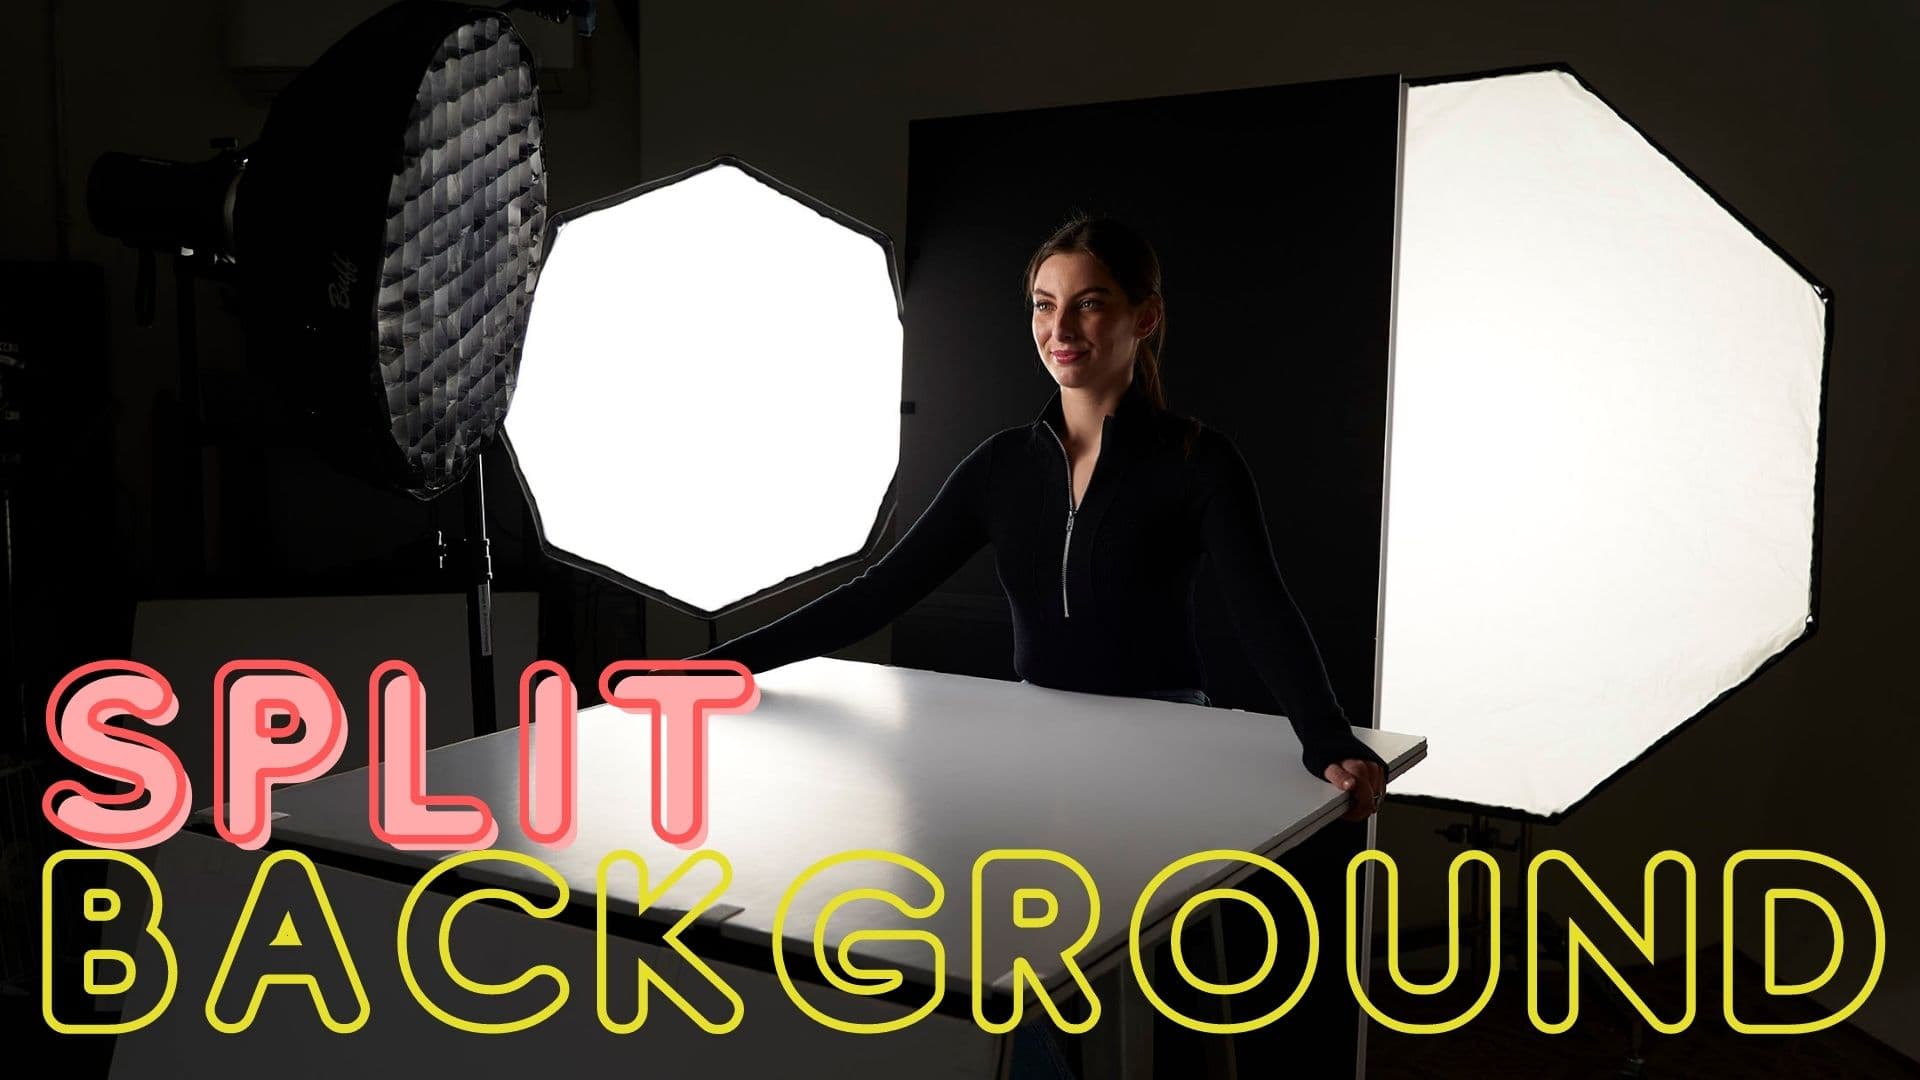
So, to get the look of a gray backdrop, Jeff set up his white V-Flat as the background and then placed himself about ten feet away from it with a 3-foot Octa an additional three feet away from him.

For this image, Jeff crafted butterfly lighting by placing the octa above and directly in front of where he sat on the stool. Butterfly lighting (also called Paramount lighting) is a flattering light pattern often used for portraiture that creates a butterfly-shaped shadow under the nose.
Since Jeff was the model in his own shoot and not behind the camera where he could directly press the shutter, he tethered his camera to a nearby laptop and used the keyboard to trigger the shutter. The live view on the laptop made it easy to see if he was focused and correctly placed in the frame, making for easy self portraits. (If you don’t tether, Jeff will run through two other options to trigger your camera.)

How to Get a “Nearly-White” Background with a White V-Flat and One Light
For his next shot, Jeff explained that it would “be impossible with just a single light source” to get the background pure white “without overexposing [himself].”
For this shot, he kept the V-Flat in the same spot but moved himself a lot closer to the backdrop and the light farther away. Then he bumped up the power of the light to get the correct exposure on himself. Because Jeff was sitting so close to the background, the light would hit him and then travel just a few inches before hitting the background to create an “almost white background.” The side flap of the V-Flat also created a bit of fill on Jeff’s left side.

This time, to trigger the camera, Jeff used a feature often used for stop motion animation or time lapse photography. Using the time lapse feature on his Panasonic DC-S1 allowed him to set the total number of shots he wanted to take as well as an interval (the amount of time between shots). Jeff chose ten total shots with a three second interval.
The downside to triggering the shutter in this way is that the first shot is wasted as you’re running into position. You also can’t see how the image looks before you take the shot. “It’s kind of a little bit more of a guessing game for this one, but it works just as well if you can’t tether,” Jeff said.

How to Shoot a Portrait on a Black Background With a V-Flat and One Light
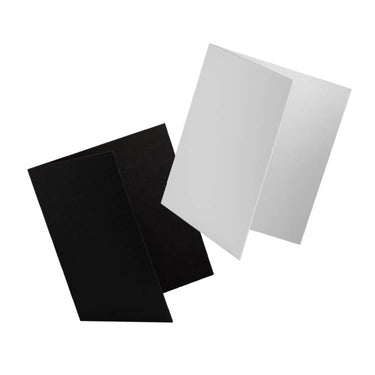
We’re gonna move to the dark side for the third and final portrait. With a V-Flat, it’s as easy as flipping it around to the black side. To add to the moody scene, Jeff donned a darker coat and brought the light closer to the set, but feathered it away from the backdrop for a dramatic split lighting effect.

This time, Jeff demonstrated the third way to trigger your camera by using a remote trigger such as a phone connected to the camera via wifi.
“With modern cameras,” Jeff said, “This is…a little bit easier to do.” Showing us his phone, Jeff explained, “just like when I was tethering, I can see the frame in here, which is really cool. So I can actually see whether I’m in frame, whether I’m out of frame, whether my camera’s getting focused. And then I can go ahead and trigger it straight from here as well.”

Three Ways to Shoot a Self Portrait With One V-Flat and One Light

So there you have it. Three ways to shoot a self portrait with three different looks using just one V-Flat and one light, plus three different ways of triggering. Jeff, thanks for teaching us how to light like a pro.
Gear and Settings
Camera: Panasonic DC-S1
Lens: 135mm F/1.8 DG HSM | Art 017
ISO: 100
Aperture: F/2.8
Shutter: 1/250th
Focal Length: 135mm
Get Connected
Photographer: Jeff Carpenter, https://www.readylightmedia.com/
Wanna Learn More?
We’ve got over a 100 videos on our Behind The Scenes page with tips and tricks for photographers and videographers of all genres.
Learn how to harness the power of light and more.


Leave a comment
This site is protected by hCaptcha and the hCaptcha Privacy Policy and Terms of Service apply.