Photography Lighting for Beginners

If you’re new to lighting, this article will ease you into a few lighting basics for photography with some easy-to-understand characteristics of light and how it reacts to the environment. You can easily get overwhelmed with all the technicalities of light, but don’t worry, we’re not going for a deep dive this time around. We’re just going to wade in the water a bit, just up to our knees, and get a feel for some foundational elements of light.
First, we’re going to focus on training your eye to evaluate the environment around you. Then, we’ll take a closer look at light and how to transform it.
How to Evaluate & Modify Light:
Train Your Eye – Learn to Evaluate the Light Around You
As a photographer, you should always notice the light. The word “photography” literally translates to “light drawing” or “light writing.” Photographers are basically light painters; artists who use light to create images. Without light, photography wouldn’t exist.
Whatever environment you walk into, take notes and evaluate the light. Train your eye to notice the direction of the light, the quality of the light, and the color of the light. Once you’ve got a good handle on how your environment is lit, you’re on your way to building a solid lighting scenario.
1. The Direction of Light
What direction is the light coming from? Is it overhead? Spilling in from the side? Coming from various points? Are you shooting inside an office surrounded by cubicles and overhead fluorescent lighting? Or maybe you’re in a modern living room surrounded by white walls, tall ceilings, and an entire wall of windows with sunlight streaming through the panes. Or, you could be indoors at an evening wedding reception with multi-colored spotlights coming from the band on stage and glowing strands of tungsten lights crisscrossing the ceiling.
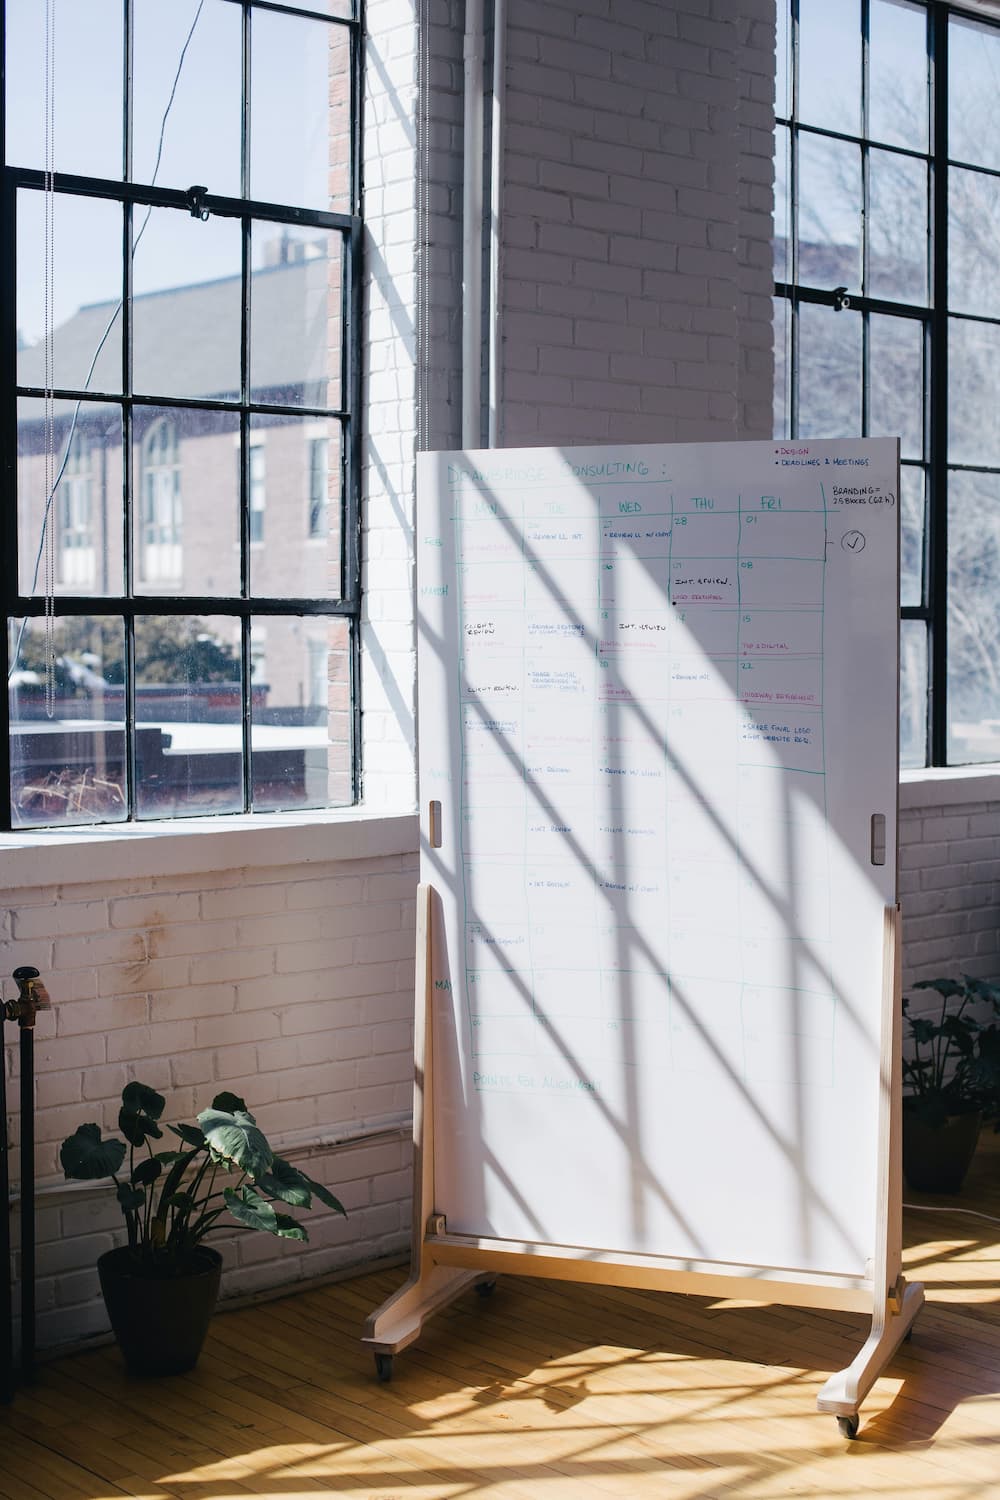
The direction of the light affects shadows and highlights, so pay attention to the angle and trajectory of the light. This gives you your lighting baseline and clues on how to build your lighting from there.
2. The Quality of Light – Soft Light vs Hard Light
Take a look at the light itself. Is it broad, soft, and diffuse light? Or is it hard, pointed, and structured light? Soft light is even and less contrasty. It wraps smoothly around your subject with gradual transitions from light to dark. The shadows are soft-edged and blend smoothly into lighter areas. Many photographers prefer soft light for portraiture and headshots because it’s a flattering light that smooths skin and evens out wrinkles.

On the other hand, hard light is full of contrast with definite and abrupt changes from light to dark. The shadows are deep, distinct, and hard-edged with fewer mid-tones. Hard light is often thought of as harsh and unforgiving for portraiture because it accentuates blemishes and uneven skin. But hard light isn’t always a bad idea. When used creatively, hard light adds drama and intrigue.

3. The Color of Light (Learn the Kelvin Scale)
Light has color. You’ve probably noticed that candles burn a warm, orange-yellow color while some incandescent bulbs cast white or blue-toned light. The range of colors from orange-yellow to white to blue is called color temperature. In photography, color temperature is measured via the Kelvin (K) scale. Your camera most likely uses a Kelvin scale of about 2000K (very warm, orange-toned light) to 10,000K (very blue-toned light). Daylight (neutral light) is about 5500K.

If you’ve ever taken a photo that was overly blue or orange-toned, it’s because your white balance was off. You can use the automatic white balance option available on your camera, but we recommend learning to manually adjust the color temperature of your scene by using your camera’s Kelvin scale. That way, you can perfectly fine-tune the tone of your photograph. If you want a neutral-toned image, set your white balance to a Kelvin number that’s equal to the scene (i.e. 5500K for daylight, ~2000K for candlelight, and 10,000K for a clear blue sky).
And this may sound counterintuitive but, after taking a test shot, if you want your image to look warmer, set your camera on a higher Kelvin number. If you want a cool-toned image, go lower on the Kelvin scale. We know it sounds backward but just trust us and try it out for yourself.
Tips and Tools for Modifying Light
Now that you’ve learned how to look at the light around you, we’re going to wade deeper and make it practical. Let’s talk about the tools you can use to change how the light looks. These tools are called “light modifiers."
How to Modify Hard Light to Get Soft Light
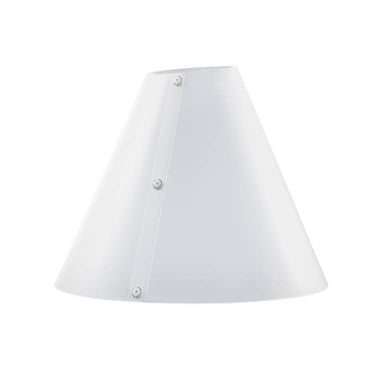
To create soft light, you need a way to diffuse and scatter a hard beam of light. That’s why lamps have lampshades and photographers use softboxes on strobes. Lampshades and softboxes break up the beam of light and soften what’s coming from the bulb. This is called diffusion. It involves adding a layer of material between the light and your subject. You can also soften light by bouncing or reflecting it off another surface before it hits your subject. We’ll talk more about bouncing light next and then we’ll move on to how to diffuse light.
How to Bounce Light with Inexpensive Household Items, Reflectors, and V-Flats to Soften Light and Brighten Shadows
Let’s say you’re doing a photoshoot and your subject is too dark on one side. To reflect light into the shadows, all you have to do is place a flat, white surface near the shadow area and opposite the light source. Angle it toward the dark spots to bounce light into the shadows.
This white surface could be any number of things. It doesn’t have to be fancy or expensive to work. If your subject is small, a piece of folded paper, cardstock, or a block of white styrofoam leftover from a box of packaging material could do the job. Look around your environment and see what you have to work with. Be resourceful. We’ve even heard of photographers who’ve grabbed a roll of white paper towels during a food shoot for a quick, makeshift reflector.
If you want to use a dedicated piece of photo gear made specifically to bounce and reflect light, you can buy foldable fabric reflectors that come in white, silver, bronze, and gold to reflect neutral, cool, and warm light (see image below with a gold reflector on the left).

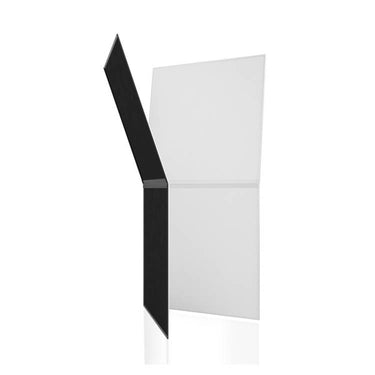
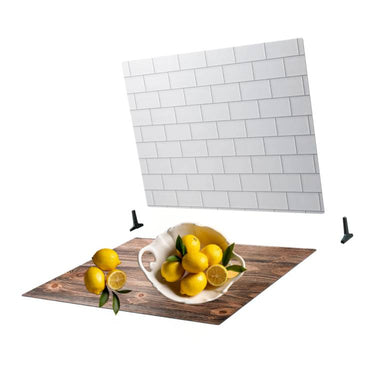
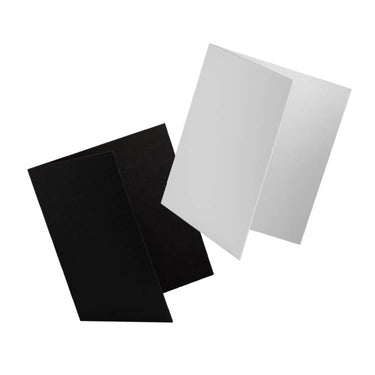
Tabletop V-Flats also work extremely well to bounce light into small-scale shoots. For portraits and large-scale shoots, Foldable V-Flats work wonders for both studio and location work. When it comes to using V-Flats, a key benefit worthy of mentioning is that they’re exceptionally versatile tools to have in your arsenal. V-Flats are not only light modifiers, they’re also used as backdrops, flags (light blockers), and much more. They travel well and can subtract light (negative fill) as well as magnify it. It’s a piece of lighting gear that’ll stretch your dollar in the best way.


A few key tips to remember when bouncing light:
Light will pick up the color of the surface it’s bouncing off of. For example, if you have a red wall opposite your light source, the light will bounce off the red wall, pick up the red tone, and cast a reddish light onto your scene.
The closer your reflector is to your subject, the brighter the light bounced into your scene. Likewise, the farther you place your reflector from your subject, the weaker (and darker) the bounce of light.
Feel free to place your reflector close to your subject to open up the shadows, but make sure it’s not so close to your subject that the reflector ends up in the final photo.
How to Diffuse Light with Bedsheets, Scrims, and Softboxes
To diffuse light, you need something translucent between your light source and the subject. The goal is to break down hard beams of light by using diffusion material to soften and scatter the beams.
Let’s imagine that you’re shooting a subject next to a window in the daytime. The light coming through the window is casting hard, contrasty beams of light across your subject and it’s not the look you’re going for. The solution is to diffuse the light.
Just like with bouncing, the gear used to diffuse light can be as inexpensive or as fancy as you want. To go the inexpensive route, grab a white bedsheet and tape it over a window or secure it with a few pushpins. The thinner the sheet the better so you can fold the sheet over and adjust the level of diffusion to your liking. Voila. Instant light diffusion using a humble bedsheet.
To get fancier, you can purchase what’s called a “scrim.” Scrims are white diffusion panels made to soften light. They even come in various “stops” of diffusion so you can fine-tune the intensity of your light. (Rather than folding over a thin bedsheet to adjust light intensity, just grab the correct scrim for the level of diffusion you want.)
Tip: You can also use a white, foldable reflector as a scrim.
Diffusion is why photographers use white shoot-thru umbrellas and softboxes with their strobes. These light modifiers soften and cut down the intensity of the light for a more pleasing effect.

How Lighting Position Affects Shadows and Highlights
So far, we’ve mainly talked about natural light. We’re going to take a few moments to touch on artificial light, but we won’t get too deep. Just a quick elementary lesson.
First things first: Take your flash off-camera. If you’ve photographed people with your on camera flash or even with your phone’s flash, you’ll notice the unattractive result: glowing demon eyes and overly pale skin. This is because the light is on axis with the lens, which creates a situation where the light is blasting directly at your subject and their eyes are facing right into the light.
Instead, use a light stand to mount your light and position it to the side and angled down at your subject from at least one foot above your subject. The most commonly used lighting angle is 45 degrees to the side of your subject with another light on the opposite side for fill (or a v-flat, reflector, etc). Typically, the main light (aka “key light”) is also several feet higher than the subject. You can also place the light at eye level or even below the subject although it’s usually not as flattering as placing the light above and 45 degrees to the side.
Take some test shots with a model and play around with lighting positions. Watch how the shadows move around your model’s face. Pay attention to what’s flattering and what’s not. You can even use your own face, a flashlight, and a mirror in a somewhat dim room to study how lighting position affects the highlights and shadows on your face. Just orbit the flashlight in a circle all around your face from the top of your head to underneath your chin (scary, right?), and then back around the other side.
Time to Get Out and Dry Off
Alright, that’s enough for one lesson. You’ve gotten your feet wet with a bit of Photo Lighting 101. It’s time to dry off and pat yourself on the back. Well done! Lighting is a vast pool that can be super technical and overwhelming. Don’t sweat it if you’re not swimming laps just yet. Just learn in little chunks and you won’t feel like you’re drowning.
Soon enough, you’ll learn how to control the light instead of having it control you. Once you learn how to shape and modify light, you won’t be at the mercy of weather or time of day. You’ll be able to walk into any situation with confidence that you can light it well and get the shot.
If You’re Ready to Dive in for More…
We’ve got over 100 videos on our Behind the Scenes page with tips and tricks for photographers and videographers of all genres. Learn how to light, shoot, and more.


Leave a comment
This site is protected by hCaptcha and the hCaptcha Privacy Policy and Terms of Service apply.