Product Photography Beginner to Pro with 2 Lights
Today, we're diving into the world of product photography with Oliver Howells, who will show us how to elevate our product photos using a simple two-light setup. By the end of this video, you'll know how to transform a basic product shot into a professional-looking image, complete with tips on accessories that can enhance your photography journey.
Setting Up the Scene
Oliver starts with a basic setup: a black shelving unit turned on its side to act as a backdrop. He arranges a lemon, a piece of ginger, and the star of the show, a bottle of lemongrass and ginger bath soak, in front of it. A palm leaf is positioned on the right, and to add a dynamic touch, bubbles are used to bring motion into the shot.
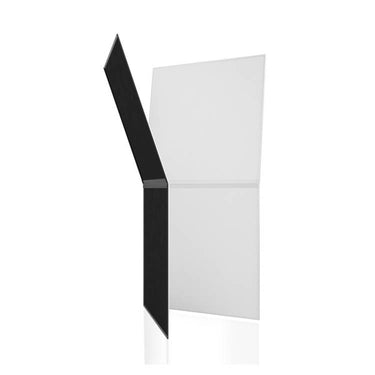
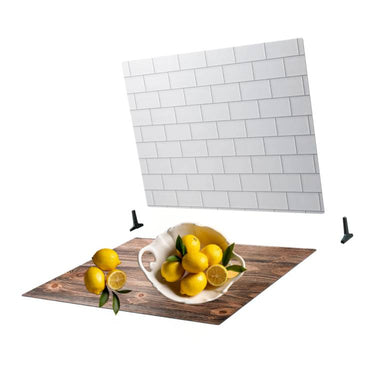
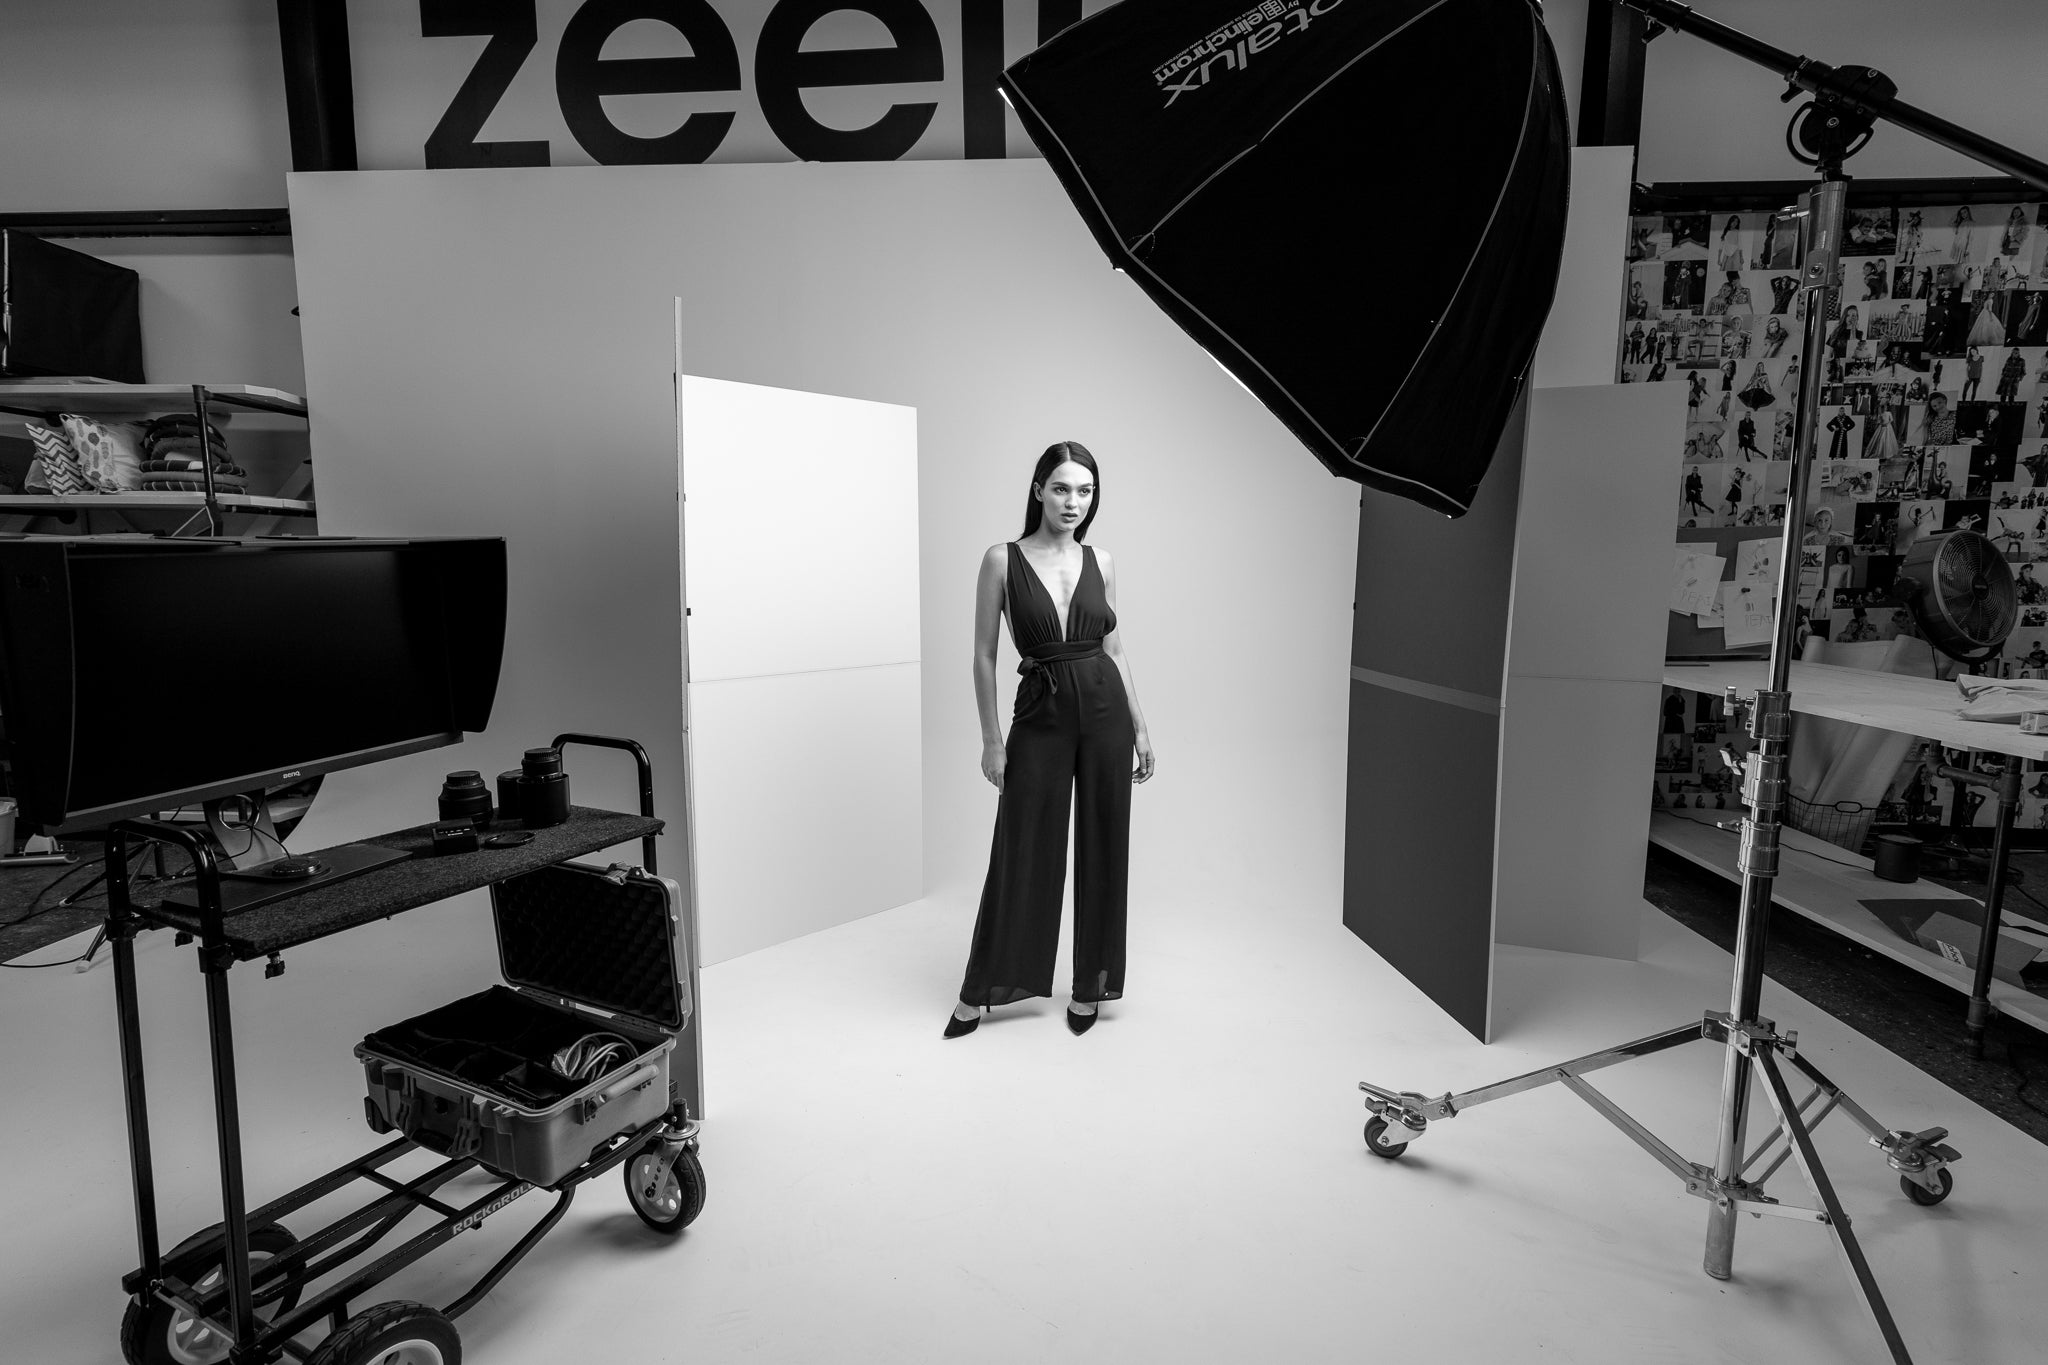
For the backdrop, Oliver uses a V-Flat World Duo Board to provide a clean and professional look. His camera of choice is a Panasonic S5 with a 50mm lens and a polarizer.
Lighting Breakdown
Oliver uses two strobe flashes to create a professional look.
1. First Light: The Fill Light
- Light: Godox QT400III
- Modifier: A large square softbox
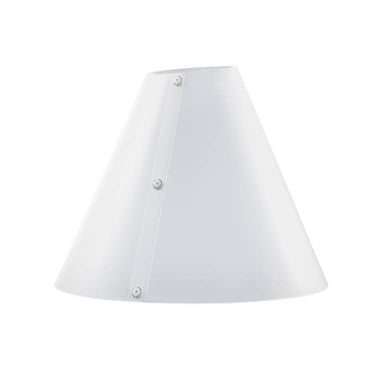
- Setup: This light is double diffused using an additional diffusion panel. Double diffusing softens the light even more, creating a smooth, professional sheen instead of harsh highlights.

Oliver demonstrates the difference between using a single softbox and a double-diffused light. The double diffusion makes the light appear much softer and more even, avoiding harsh lines and giving the product a polished look.
Pro Tip: Angle the light at 45 degrees towards the diffusion paper rather than directly at it. This creates a graduated light that feathers around the product, enhancing its shape and making the light transition more natural.
2. Second Light: The Highlight Light
- Light: Godox QT400III (same as the first)
- Modifier: Reflector with a grid
- Setup: The grid helps control the spread of light, focusing it on the backdrop and preventing it from spilling onto the product. This creates highlights and adds depth to the image.

By controlling the light with the grid, Oliver ensures that only specific areas are highlighted, enhancing the overall visual appeal of the product.
Accessorizing with a Polarizer
One essential accessory Oliver recommends is a polarizer. It reduces reflections and softens the light hitting the product, making the final image cleaner and more professional. This is especially useful for controlling the gradient of light across shiny surfaces.
Capturing the Final Shot
Oliver sets his camera at a slight upward angle to give the product a powerful and dominant presence. He uses a 2-second timer or a shutter trigger to minimize camera shake, ensuring a sharp image. His preferred camera settings are:
- Shutter Speed: 1/200
- Aperture: f/5.6
- ISO: 100
These settings help maintain a crisp and clear image.
After capturing the base shot, Oliver overlays additional elements like bubbles in Photoshop to enhance the final image further.

By following Oliver's simple yet effective two-light setup, you can significantly improve the quality of your product photos. Remember to experiment with light angles, diffusion, and essential accessories like polarizers to find what works best for your specific setup.


Leave a comment
This site is protected by hCaptcha and the hCaptcha Privacy Policy and Terms of Service apply.