How to Create Shadows in Photography | Shadow Board Lighting Tips & Tricks
Hey there, light enthusiasts! Today, we're diving into the fascinating world of lighting techniques using shadow boards. Whether you're a seasoned photographer or just getting started, mastering these tips will bring your product and food images to life by adding depth and drama. So, let's break down the essentials from our latest video on how to create shadows in photography, where we cover everything from how to use shadow boards and continuous lighting, to mastering the art of shadow stacking.
Mastering Lighting with Shadow Boards
Continuous Lighting vs. Flash
First up, we tackle the debate: continuous lighting or flash? For this demo, we set up a cozy breakfast scene with yogurt and blueberries, illuminated by a 300W continuous light from Amaran. Continuous lighting is fantastic because it lets you see your changes in real-time, eliminating any guesswork.
This live preview is a game-changer, especially compared to flash, where you have to take a shot and then review it on your camera. Most strobes do come with modeling lights, offering a taste of continuous lighting, but nothing beats seeing the actual effect as you work.
Playing with Angles
Next, we explore how the angle of your light affects shadows. By moving the light around, you can see how the shadows stretch and shift. Lowering the light elongates the shadows, while raising it shortens them. Similarly, shifting the light side-to-side moves the shadows accordingly. This control is crucial for achieving the precise look you want.
Hard Light vs. Soft Light
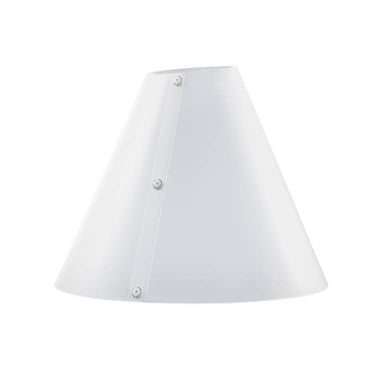
When working with shadow boards, hard light is your best friend. It creates well-defined shadows that add depth and interest to your images. To make the light even harder, you can add a grid, which intensifies the shadow edges. On the flip side, if you prefer a softer look, simply add a diffusion sock. This softens the shadows, creating a gentle, almost ethereal effect.
Shadow Stacking: The Cool Trick
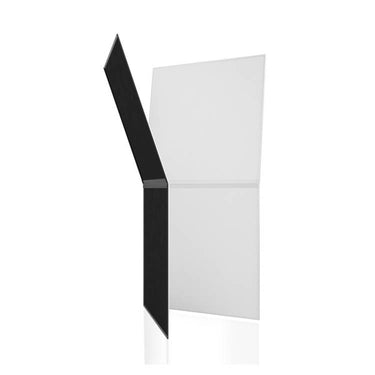
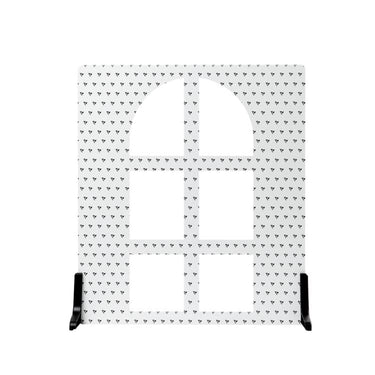
Now for the fun part: shadow stacking. This technique involves layering two shadow boards to blend their designs, creating complex and unique shadow patterns. For example, you can combine our "big window" board with the "tree branch" board for an intricate interplay of shadows. It’s a creative way to add a signature touch to your shots.
Gobos vs. Shadow Boards
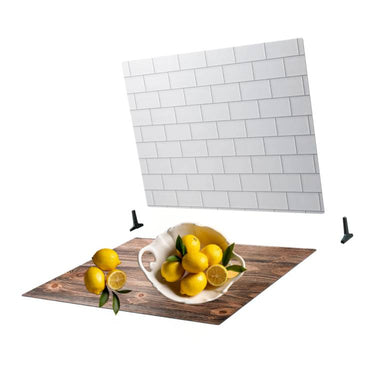
A common question we get is about the difference between gobos and shadow boards. Functionally, they’re quite similar, but the main distinction lies in their usage and price. Gobos are mounted directly onto lights, while shadow boards can be placed anywhere, even using natural light. This flexibility makes shadow boards particularly versatile. Plus, they’re much more affordable, starting at just $25 compared to gobos which can cost up to $500.
Creative Shadow Board Lighting Tips
We hope this guide inspires you to experiment with shadow boards and lighting techniques. Whether you're after sharp, defined shadows or soft, subtle ones, mastering these tips will enhance your photography. Happy shooting, and enjoy playing with light!
Shop Shadow Boards
IF YOU’RE READY TO DIVE IN FOR MORE…
We’ve got over 100 videos on our Behind the Scenes page with tips and tricks for photographers and videographers of all genres. Learn how to light, shoot, and more.


Leave a comment
This site is protected by hCaptcha and the hCaptcha Privacy Policy and Terms of Service apply.