


How to Shoot Top-Down Video with Duo Boards as Backdrops
Shooting top-down, or overhead, video is very common in the product review and YouTube world. So if you're looking to up your product video game, I’m going to walk you through how I shoot top-down videos using Duo Boards as backdrops.
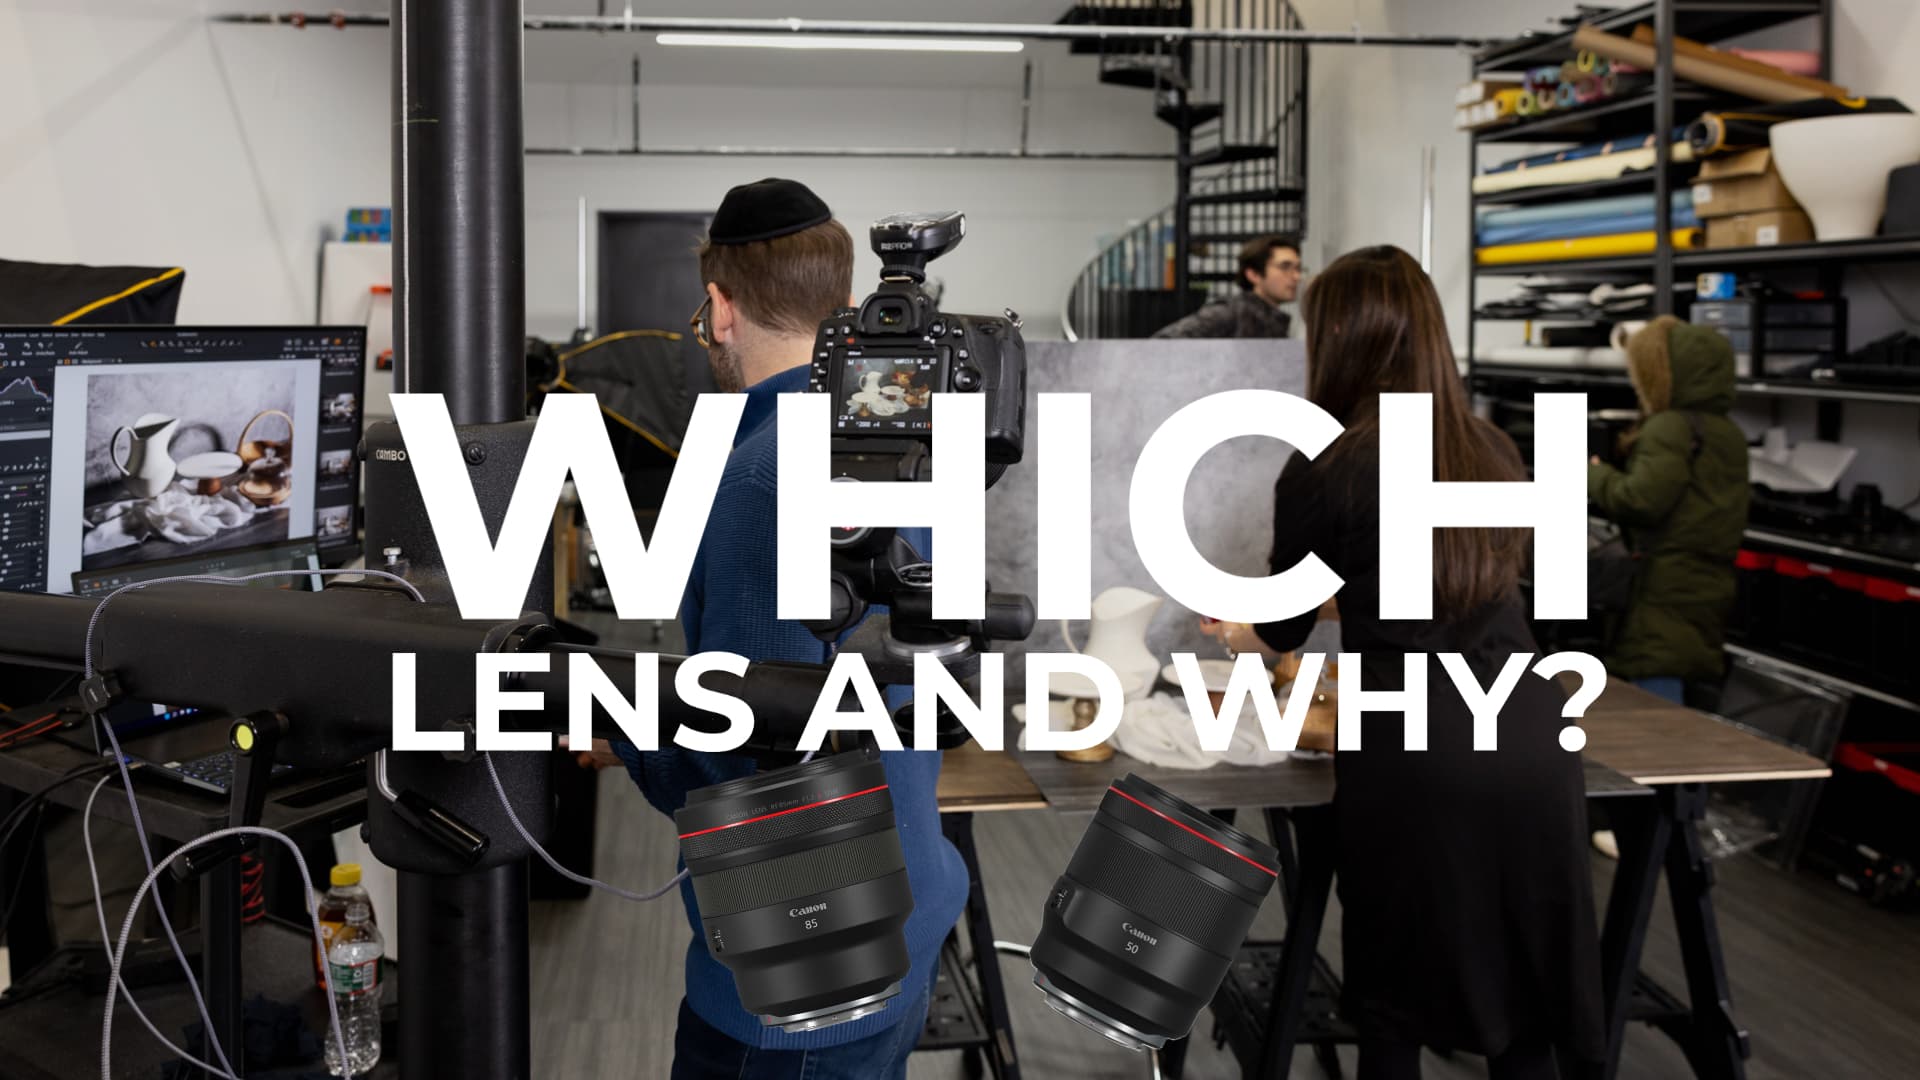
First up, the setup. I have my camera mounted on a ball head, attached to a C-stand. Pretty basic, right? There’s a little part called a spigot that you can find at stores like B&H, which connects everything securely. As for lighting, I’m using a Godox SL200 as a fill light, and I’ve got another light bouncing onto the table for the main light source.
Managing Glare
Here’s why I light from the side: I love how it shapes both the hands and the product in the shot. If you’re using a dark Duo Board, like I am, you’ll want to avoid glare – side lighting helps with that. It’s all about the angle! We've talked about this in another video on angle of incidence.
Quick demo: Changing your light's angle can eliminate unwanted reflections, keeping your shot clear.


Viewing the Unboxing
I control everything with the Canon Camera Connect app on my phone, so I don’t have to keep peeking at the tiny camera screen. Once everything looks perfect, I hit record and start filming the unboxing of whatever cool product I’m featuring. Today, it’s the Platyball by Platypod, a little tabletop tripod ball head I backed on Kickstarter. After waiting two years, it’s finally here, and I’m super excited to share it with you!

Swapping Out Duo Boards
I love changing up the backdrop, which is easy to do by switching out different Duo Boards. Our 30x40 boards are awesome for these overhead shots because they give you plenty of space and flexibility. One of our bestsellers, the Onyx Marble/Alpine Marble, has a sleek dark side, perfect for adding some contrast and dimension to your shots.
Final Tips
Lighting from the side really makes the product pop – there’s just something about the depth and texture it creates that I’m obsessed with. You can also switch things up depending on the mood or style you’re going for. There’s a new board we’ve been working on, which might be out by the time you see this, and it’s going to be a game-changer for sure.
One more thing I love about Duo Boards: they’re super portable, and the lighting setup for these videos is so simple. Once you get the hang of it, you’ll be shooting top-down videos like a pro in no time.


1 comment
That phone app is so cool! Is there a comparable one for Nikon cameras?
Wendi
Leave a comment
This site is protected by hCaptcha and the hCaptcha Privacy Policy and Terms of Service apply.