Creating a Slice of Light with V-Flats: Fashion Photography by Lindsay Adler
Imagine being able to create a razor-sharp slice of light that instantly transforms your photo into something with drama, mystery, and a splash of theatrical flair. Sounds complex, right? But according to fashion and beauty photographer Lindsay Adler, it's a lot simpler than you might think. In her latest video, Lindsay walks us through how to achieve this striking effect using just one bare bulb and two V-Flats.
The Power of Hard Light
The first secret to nailing this technique lies in the quality of light. Lindsay explains, “To create the dramatic slices of light seen in this shoot, you’ll need to select a hard light source.” Hard light gives you those crisp, defined shadows that are essential for this effect. But how do you create hard light? Simple – make your light source small and keep it far away from your subject.
In this beauty lighting setup, Lindsay opted for a bare bulb with no modifiers – just pure, unfiltered light. The further she placed the light from the subject, the harder and more dramatic the light became. This isn’t the time to cozy up your softbox next to your model; instead, think distance and directness. “The further away from the subject I can move it in the space, the ‘better’ and harder the light for this technique!” Lindsay shares.
The Magic of V-Flats: Sculpting Light with Flags
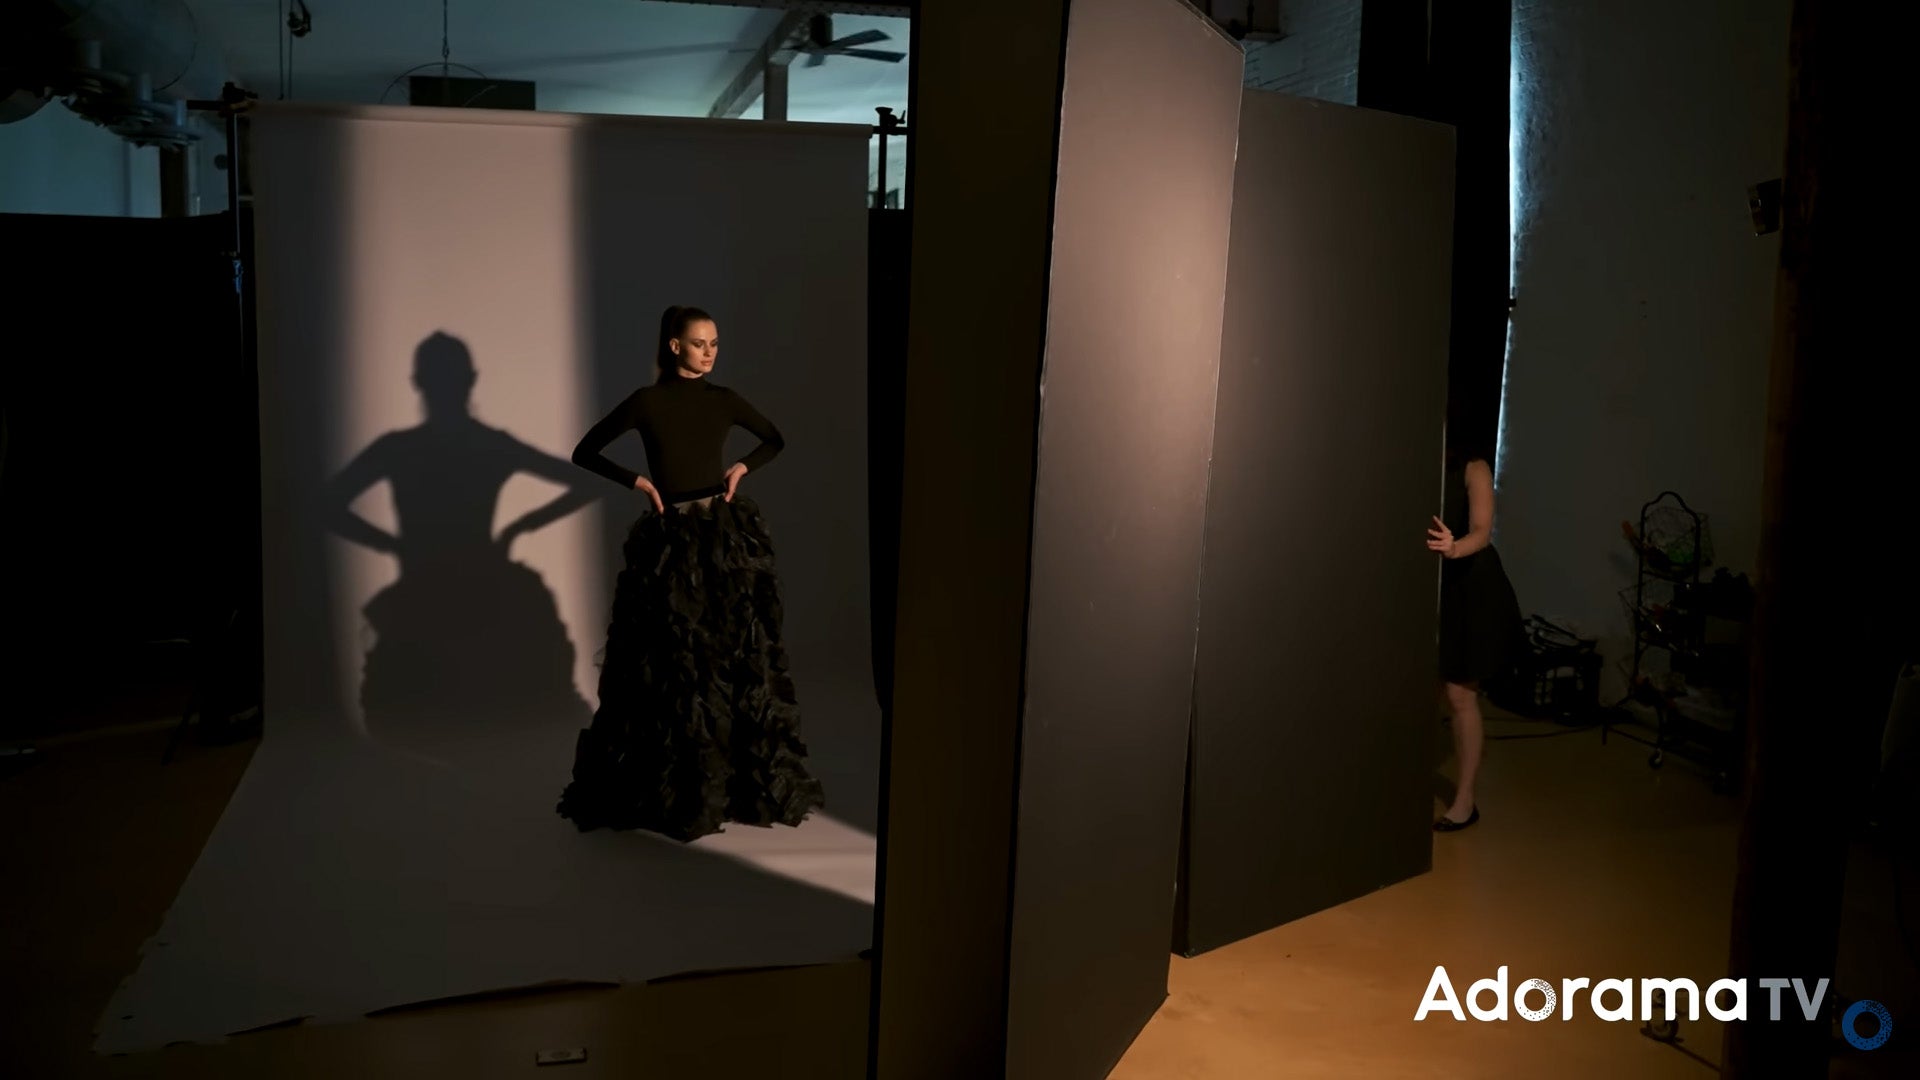
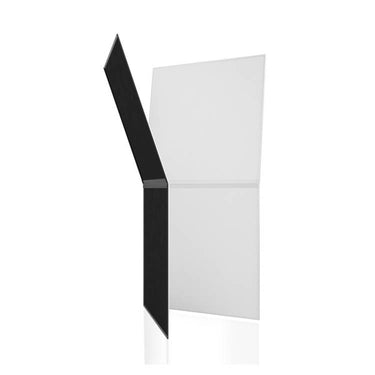
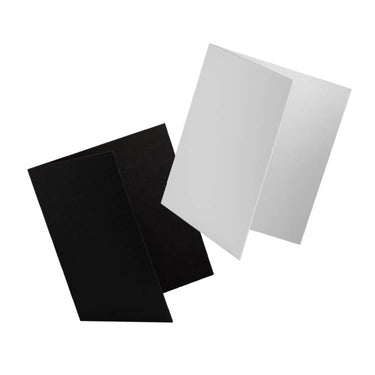
Now that you’ve got your hard light set up, it’s time to control it. Here’s where the V-Flats come into play. Think of them as giant, portable light sculptors. By positioning two V-Flats with a narrow gap between them, Lindsay was able to create a controlled, narrow slice of light that cuts through the scene like a beam from a doorway.
“The wider the opening, of course, the wider the slice of light,” she explains. So, whether you want a tiny sliver of illumination or a broader beam, it’s all about how you position those V-Flats. And don’t worry if you’re not working with a studio full of professional gear – flags can be anything that blocks light. In this case, V-Flats were the tool of choice, but you could easily improvise with other objects if needed.
Playing with Shadows
Here’s where things get really interesting. Lindsay didn’t just want a slice of light – she wanted to play with the shadows, too. By casting the subject’s shadow on the background, she added an extra dimension to the shot. But the trick wasn’t just in casting any old shadow; it was about making that shadow a key part of the composition.
At first, Lindsay positioned the light at a typical angle – slightly above the subject, pointing down. This created a short, compressed shadow. Nice, but not quite what she had in mind. So, she decided to break a major rule of lighting. Instead of keeping the light high, she flipped it upside down and brought it close to the ground, creating an “uplight” effect. “I want the shadow to be large, to actually be part of the interest in the shot,” Lindsay says.

Now, uplighting is often associated with spooky “monster” lighting – think Halloween flashlights under the chin – but in this case, it served a purpose. The shadow grew tall and dramatic, adding a unique twist to the image. Lindsay kept the subject’s face in profile or with her chin slightly downward to avoid that ghoulish look, while still harnessing the dramatic power of the shadow.
The Right Background to Let the Light Slice Shine
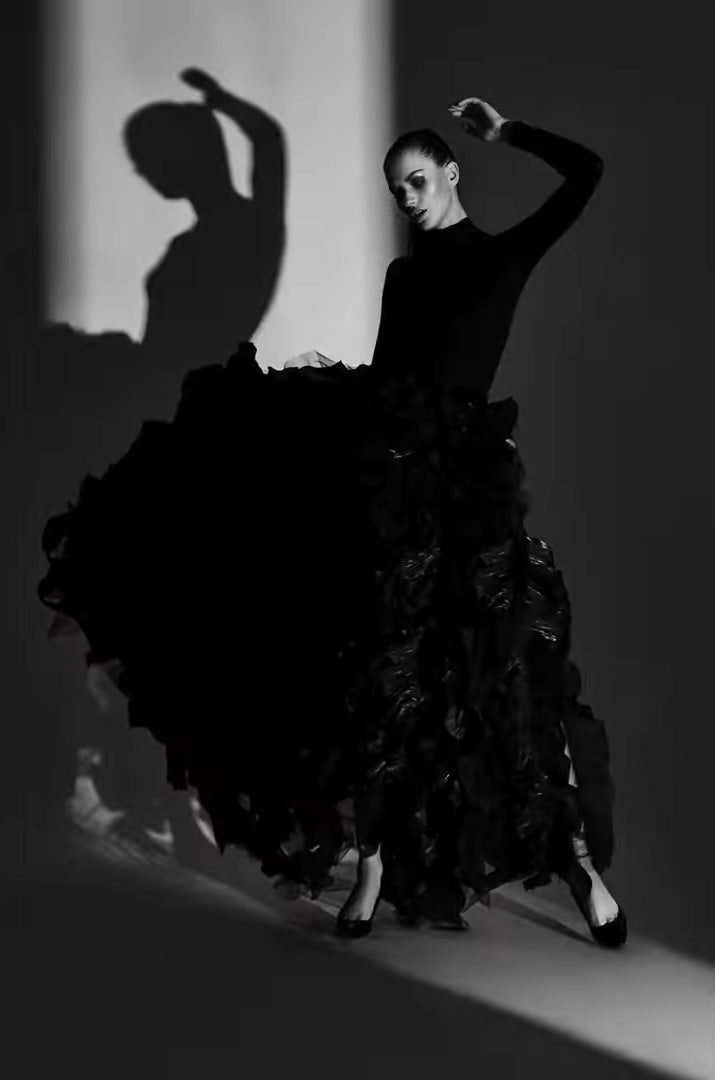
Choosing the right background can make or break this effect. Lindsay opted for a Savage Universal Super White backdrop to really make the slice of light pop. The lighter tone of the background allowed the slice to cut through the scene with stark contrast. When converted to black and white, this high-contrast setup made the slice of light almost pure white against the darker areas, creating a visually striking image.
“You can use a slice of light against any tone of the background,” Lindsay notes, but for this shot, she wanted that sharp contrast that a lighter background provides.
Check out the final images:



Gear & Settings
For this shoot, Lindsay grabbed her trusty Canon R5 and the Canon RF 24-105mm lens. This setup gave her the flexibility to capture both full-length compositions and tighter headshots, all while keeping the dramatic lighting intact. Whether shooting wide to capture the entire scene or zooming in for a close-up, the 24-105mm lens handled it all with ease.
Most of the compositions were full-length to show off the entire slice of light and the dramatic shadow, but Lindsay also cropped in at 105mm for some stunning beauty shots. This lighting technique proved to be versatile enough for both wide shots and tight portraits, making it a go-to method for various creative scenarios.
Special Thanks To:
Photographer: Lindsay Adler
Video: Samuel Bouret
Makeup: Joanne Gair
Hair: Linh Nguyen
Styling: Raytell Bridges
Model: Alena Frolova



2 comments
Thank you for this tytorual. Its great!
Andre
Thanks for a thorough description of this interesting technique.
Peter Rossi
Leave a comment
This site is protected by hCaptcha and the hCaptcha Privacy Policy and Terms of Service apply.