Top Jewelry Photography Props and Tools in 2024

If you’ve ever wondered how jewelry photographers get their shots and want to learn more about how to photograph jewelry, stick around because we’ve compiled a list of the top jewelry photography props and tools to make your images stand out from the rest.
In the world of e-commerce, if your jewelry photography is shoddy and unappealing, you’ll lose sales and potential customers will move on to a competitor that has their product photography game together. Use these props, tools, tips, and tricks to take better photos of jewelry and increase your sales.
Creative Hacks for Stunning Jewelry Photos:
Jewelry Photography Accessories & Tools
We’re going to assume that you know about good light, sturdy tripods, macro lenses, and capable cameras, so we won’t include that in our list of tools. The tools listed below are niche tools, well suited for tabletop product photography like jewelry.
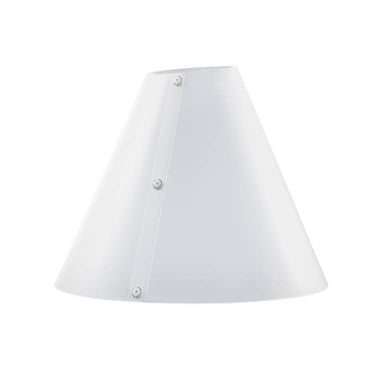
The Light Cone x Karl Taylor
This incredibly useful 360-degree light modifier hit the market in September 2022, instantly making the lives of product photographers easier, better, and more efficient. Shiny and highly reflective products immediately became quick and easy to photograph just by placing the Light Cone over the product and externally lighting the cone. You don’t even need fancy studio lights. Desk Lamps will work. Say goodbye to distracting glare and hello to flawless jewelry photography.


Speed up your workflow and stop spending time fiddling with hideous reflections. Make your life as a jewelry photographer effortless and less frustrating by using the Light Cone. This is a jewelry photography tool you won’t want to be without.
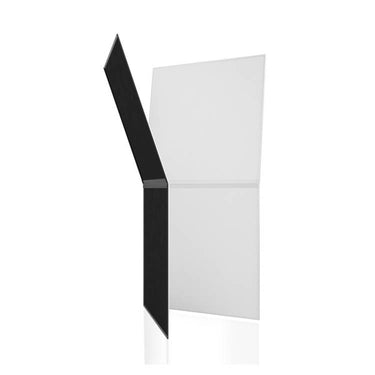
Tabletop V-Flat
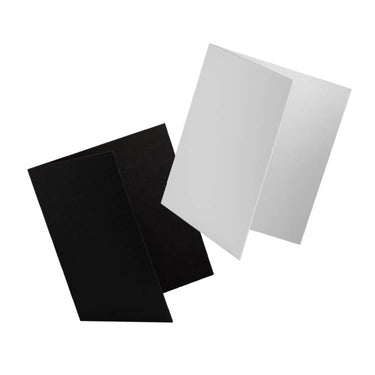
Super versatile as a light modifier as well as a backdrop, Tabletop V-Flats bounce light into the shadow areas of your scene and can also subtract light to create a mood. Tabletop V-Flats come in solid black and white, plus three sizes: small, medium, and large. Each size is handy in its own way and you’ll especially like the large tabletop V-Flat as a smooth, clean backdrop while photographing hanging necklaces and earrings.
See all three sizes of the Tabletop V-Flat.

Jewelry Stand


We’ve found the perfect jewelry photography tool for you to use while shooting necklaces. The hooks on this jewelry stand offer flexibility in how wide you want the v-shape of the necklace chain, while the overall rectangular shape of the stand has enough clearance for most of your jewelry photography needs at 12.6 inches wide and 13.8 inches tall. Set this stand in front of a Tabletop V-Flat backdrop or white paper sweep and you’re good to go.
Note: If the gold finish casts unwanted color on your scene, spray paint the jewelry stand white.
With a jewelry stand and a backdrop, you’re ready to take photos like this:

White Paper Sweep

At under $5, this roll of paper from Ikea is perfect if you’re working under a budget. The roll is 98 feet long and 17 ¾ inches wide, which is wide enough for shooting jewelry. Use A-clamps and a backdrop stand or tape this paper to the wall and sweep it onto a table for a quick DIY solution. A large piece of white poster board and some tape also works as a DIY sweep.
Fishing Line & Frame + Clips for Hooked-back Earrings
To invisibly hang earrings with hooked backs, use a medium to large self-standing picture frame with fishing wire clipped or taped horizontally across the frame about a third of the way down from the top. Make sure it’s just the frame without any glass or photographs inside the frame. You’re essentially making a mini clothesline to hang earrings from. If you want to vary the hanging height of each earring, rig two fishing lines, one slightly above the other. Make sure you’ve got a nice, non-distracting backdrop behind the frame and shoot away!
Feel free to DIY another stand to hang the fishing line, but an empty photo frame is usually the quickest and most available item. A thick and sturdy piece of pre-cut mat board for photos can act as a frame as well. And if you don’t have fishing line, try dental floss.
Pro tip if you don’t have a frame that can stand on its own: Create a stable base by snapping an A-clamp on the side (and toward the bottom) of any empty frame and you’ve got yourself a self-standing frame.
Cup or Bowl
This jewelry photography tool is so easy, cheap, and ridiculously effective, we had to place it on this list. For flat lays of delicate necklaces, bracelets or chains, use an appropriately-sized round bowl or cup to shape the piece. Don’t waste time using your fingers to shape the tiny links of a necklace when a round piece of kitchenware will do it in two seconds.
Just lay the jewelry on your set, grab a bowl or cup, and place it in the middle of the piece, shifting it around until the chain is perfectly rounded and smooth. Done.
White Cotton Gloves
Give your jewelry the white glove service by taking the time to handle it with soft cotton gloves. It’s a simple step that’ll go a long way toward ensuring your precious piece looks its best. Wearing cotton gloves makes it easy to quickly polish the pieces and keeps the jewelry smudge-free and as eye-catching as possible. The cleaner and prettier your jewelry looks, the better your images will be, which correlates to increased sales.

Dental/Orthodontic Wax or Poster Putty
Use dental wax or poster putty to position rings upright. Just place a small piece of dental wax on the bottom of the ring and set the ring in place. Super simple and looks great. You can even use dental wax to prop up earrings or to keep other types of jewelry in place on set.

Although not as pliable and soft as dental wax, white poster putty also works and has the added benefit of not leaving as many smears and smudges on your shooting surface.

Jewelry Photography Props
These jewelry photography props round out your images and add dimension to the scene.
Now it’s time to let your imagination run free. These jewelry photography props allow your creativity to shine, giving you the chance to play with scale, form, and composition.
Geometric Pieces from Moodelier
You’ll get lost in the world of Moodelier and all the jewelry photography props they have to offer. Their visual designs are perfect for jewelry photographers. You’ll find geometric blocks and shapes of all colors and sizes. So whether you want something simple like their Cube Bundle, something unique like their Arc Bundle, or something completely funky like their Teensy Bundle, your jewelry is guaranteed to stand out with these exceptionally designed photography props.

Florals and Foliage
Dried or fresh, flowers and jewelry are like PB & J. They go together. A quick online search of “jewelry photography” will yield countless images of flowers and plants shot next to rings, earrings, bracelets, necklaces, and more.


The beauty of using botanicals in your jewelry photography is that you can play with the shadows. The florals don’t even have to make an appearance. Just incorporate their shadow. Use the stems and leaves of a plant to cast designs that add dimension and visual interest to the scene.

Fabric
Fabric is a really easy-to-use and fairly inexpensive jewelry photography prop. Because jewelry is pretty small, you don’t need much fabric and you can grab textiles from around the house. Solid colors work best. Clothing, scarves, throws, cloth napkins, pillow covers, and even wide fabric ribbons are all contenders. Look around and see what catches your eye. Chances are, it’ll work nicely.


Natural Materials – Wood, Stone, Water…
Along with florals and foliage, nature provides timeless surfaces to shoot on: wood, slate, marble, etc. Spritz these surfaces with water for another layer of interest. Your local hardware store will carry a variety of natural stone tile to choose from. Or, take a hike into the woods and fields for materials to shoot on.


Duo Boards
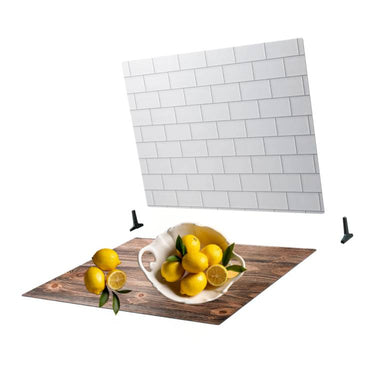
Duo Boards are fantastic if you need a quick way to source a variety of surfaces to shoot on. Instead of looking for a piece of marble, get the Onyx Marble/Alpine Marble Duo Board to photograph your jewelry on. The 24”x24” size is plenty of surface area for your jewelry photoshoots, but if you want a large expanse to play on, get the 30”x40”. The Iced Concrete/Midnight Cement Duo Board is also a super versatile surface that goes well with a variety of jewelry. These boards give you two different surfaces on one lightweight board, making it extremely convenient to shoot jewelry.
Browse our entire line of Duo Boards.


Reflective Surfaces
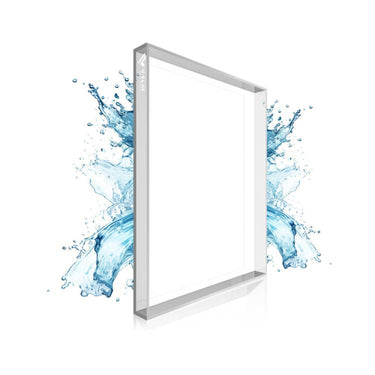
Jewelry props like acrylic surfaces and mirrors add an extra flash of brilliance and shine to your jewelry shoots, playing up the already sparkling quality of the gems and precious metals.


Hand Models and Fashion Models
If you’ve got the budget for it, consider a hand or fashion model to display the jewelry. Adding a human element helps customers envision the actual size of the jewelry and what it might look like on their own body.


Get Creative with Jewelry Photography Props & Tools
Jewelry photography is a specialized niche that requires patience and dexterity. The props and tools outlined here make the business of photographing jewelry much less frustrating and more enjoyable and creative.
Gear
Shop V-Flat World jewelry photography props and tools:
Wanna Learn More?
We’ve got over 100 videos on our Behind the Scenes page with tips and tricks for photographers and videographers of all genres. Learn how to light, shoot, and more.


Leave a comment
This site is protected by hCaptcha and the hCaptcha Privacy Policy and Terms of Service apply.