


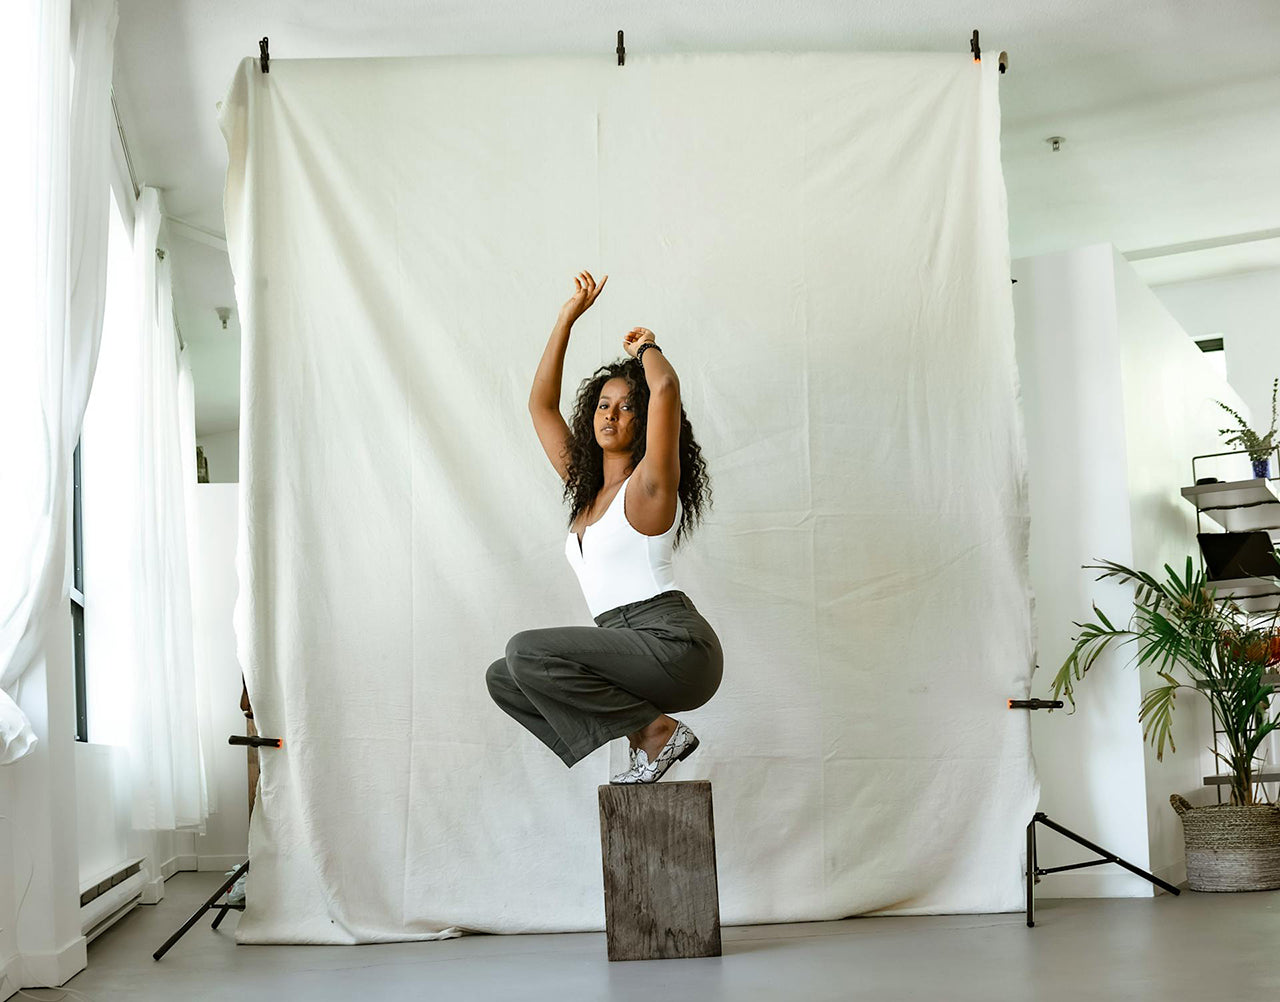
How to Set Up Professional Lighting at Home

Setting up a killer lighting setup at home might sound intimidating, but trust me, it's not as hard as it seems. With the right gear and a little creativity, you can get some seriously pro results without needing a big studio space or spending a fortune. Whether you’re working with a home office, a shared space, or a tiny studio, we’ve got you covered. This guide will show you how to set up professional lighting at home, no matter your budget or space constraints.
Lighting Your Way to Stunning Photos at Home:
Budget-Friendly Lighting Setups
Natural Light, DIY Style
Let’s be real – natural light is the best when it comes to lighting on a budget. If you've got a big window, use it. Place your subject in front of it and let that soft, diffused sunlight work its magic. If the sun's too harsh, here’s how to tame it:
- Sheer Curtains: These are your best friend when the sunlight's too intense. They’ll diffuse the light and give your subject a nice, soft glow.
- DIY Reflectors: Grab some aluminum foil and cardboard (or white foam boards), and you’ve got a budget-friendly way to bounce light onto your subject. It’s like having your own personal light assistant.
- Black Foam Board: Need some contrast? Block light on one side with a black foam board to add depth and shadow.

Want a bit more control? Get a collapsible reflector. They’re cheap, portable, and offer different surfaces (silver, gold, white) to create all kinds of lighting effects. Play around with angles to see what works best for your subject.
Affordable LED Panel Lights
LED panels are the secret weapon for tight spaces. They’re small, lightweight, versatile, and affordable. Pair them with inexpensive light stands and DIY diffusers (think: white shower curtains or paper lanterns) to create soft, flattering light.

Want to direct your light and cut down on spill? Try attaching barn doors to your LEDs. They’ll help shape the light and focus it exactly where you want it. For an even softer effect, use a collapsible softbox that fits over your panel.
Ring Light Magic
Ring lights are a budget-friendly staple for portrait and product photography. Put your camera in the center for even lighting, or use the ring as a fill light to add dimension when paired with natural light.

Want to get fancy? Add a layer of translucent fabric over the ring light to diffuse the light even more. This will give you a cinematic look that works wonders for close-up shots.
Professional Lighting for Home Studios
Off-Camera Flash with Modifiers
If you want to level up your game, it’s time to step up your flash setup. Off-camera flashes with modifiers give you tons of control. Here’s what you’ll need:
- Speedlights: Try the Godox TT685II or Yongnuo YN560 – these are affordable and reliable.
- Triggers: Grab wireless triggers like the Godox X2T to position your flash wherever you want.
- Softboxes & Umbrellas: These soften your light. A 24x24-inch softbox is perfect for small spaces.
- Light Stands: Get sturdy, adjustable stands to position your light exactly where you want it.

Start simple – try a one-light setup first. Put the flash at a 45-degree angle to your subject and adjust the power until it looks right. You can also use a reflector on the opposite side for balance. Once you’re comfortable with that, experiment with adding a second light to create separation and depth.
Continuous Lights for Flexibility
Continuous lights are fantastic because you can see exactly how the light affects your subject in real-time. For solid quality, check out the Godox SL60W or the Aputure Amaran 100D. Pair them with:
- Large Softboxes: These help create a soft, even light that looks professional.
- Grid Attachments: These help control your light, focusing it and reducing spill.
- V-Flats: Double-sided boards (black and white) that can bounce or block light to shape your scene.

For that classic cinematic look, set up one light at a 45-degree angle as the key light and use another for the hair light. V-Flats will help you fine-tune reflections and shadows.
Compact Setups for Small Spaces
V-Flat Magic
If you're working in a small space, V-Flats are a game-changer. They’re light, foldable, and multipurpose. Here are just a few ways you can use V-Flats:
- Bounce Light: Place a white V-Flat opposite your key light to fill in shadows.
- Block Light: Use the black side for a more dramatic effect and contrast.
- Modify Light: Set the V-Flat up as a backdrop for clean, minimalist shots.
Want to get fancy? Pair V-Flats with gelled lights to add color to your background or subject. It’s a great trick for creative portraits.
The Two-Light Setup
A two-light setup is perfect for small spaces and still gives you plenty of options:
- Key Light: Use an LED panel or softbox, positioned at a 45-degree angle to your subject.
- Fill Light or Reflector: Add a V-Flat or another inexpensive LED panel to control shadows and add depth.
For portability, look for battery-powered lights and collapsible reflectors. This is a great setup for those who need flexibility while working from home.
Clamps & Portable Stands
Tight on space? Use clamps to attach lights to desks or shelves. Portable, collapsible light stands are also your friend – easy to store when you're not using them.

Tips for Maximizing Your Setup
Color Consistency
Stick to lights with adjustable color temperatures (measured in Kelvin) so you can match the ambient light or achieve specific effects. Keeping everything consistent will save you time in post-production and prevent weird color casts.
Light Positioning
Don’t be afraid to experiment with light angles and heights. For portraits, position your key light slightly above and angled toward your subject to mimic natural sunlight.
Test & Adjust
Lighting is all about trial and error. Take test shots, check out the shadows and highlights, and tweak your setup until it’s just right. Don’t be afraid to adjust your lights, modifiers, or reflectors to perfect the shot.
Mastering Home Lighting
The beauty of home lighting is that it's totally in your control. Whether you're using natural light, budget-friendly LEDs, or pro-level flashes, mastering light positioning and modifiers will open up a whole new world of possibilities. With a little practice and creativity, you can turn your home studio into a powerhouse for professional-quality photos.
Wanna Learn More?
We’ve got over 100 videos on our Behind the Scenes page with tips and tricks for photographers and videographers of all genres. Learn how to light, shoot, and more.


Leave a comment
This site is protected by hCaptcha and the hCaptcha Privacy Policy and Terms of Service apply.