How to Shoot No Cutout White Background Shots
Ever wonder how to achieve no cutout white background images straight out of camera? Well, wonder no more. In this video, Karl Taylor shows us how to do this exact thing. With over two decades in commercial photography, Karl has some tricks up his sleeve to capture perfect no cutout shots.
The beauty of this technique is that anybody can do it and it will save you tons of editing time. Pair this with the Light Cone and you literally have no editing to do.
Get Pure White Backgrounds, No Cutout Needed:
Shot Straight Out of Camera (the After Shots Are with the Light Cone)


Getting that pristine, no cutout pure white background in product photography isn’t just about technique – it’s about using the right tools and a bit of finesse. The Karl Taylor Light Cone is one such tool – in our opinion, the best way to get perfect product shots, sidestepping the usual headaches of reflections and cutouts.
The Physics Behind Perfect Whites
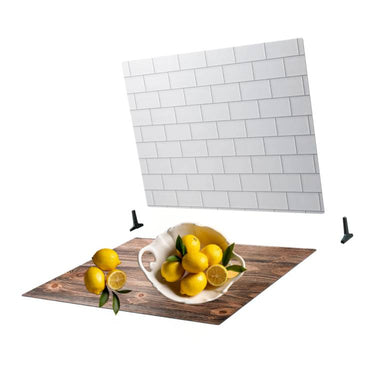
Let's break it down: to achieve that flawlessly white backdrop, you need to start with a solid foundation. You can use a setup similar to Karl's in the video:
- Elevate a glass or clear acrylic sheet above the ground, supported by blocks or taped-up bricks.
- Below the glass, lay down a white matte acrylic sheet or use a painted white floor. The key here is to illuminate this surface evenly with an LED light. This light bounces off a white reflector positioned at the back, ensuring the entire background reaches the desired brightness level for that pure white effect.

Why Two Lights Matter
While you can get away with one light underneath, using two enhances the overall effect. By carefully adjusting the exposure levels, you ensure that every inch beneath your product gleams with that professional-grade white finish. This setup not only simplifies the process but also guarantees consistent results, regardless of the product’s size or shape.
Introducing the Karl Taylor Light Cone
Now, let's address the elephant in the room: product surfaces that gleam, shine, and reflect everything – including your frustration. Enter the Karl Taylor Light Cone, a tool designed to tame reflections and transform harsh lighting into soft, flattering illumination.
A Look Inside the Light Cone
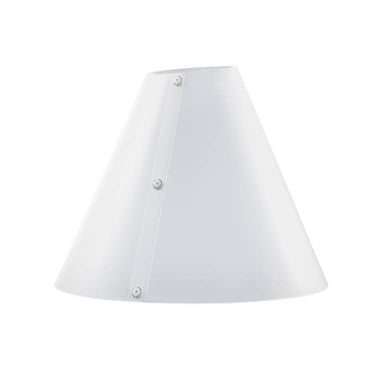
Imagine a cone-shaped device that fits snugly over your product. Your camera peers through a small opening at the top, while the cone itself diffuses light evenly across the product's surface. This ingenious design smooths out harsh highlights and shadows, creating a beautifully balanced image.
From Harsh to Harmonious: Before and After
Taming the Chrome Beast
Take, for example, the chrome door handle – a notorious photographic challenge. Without the Light Cone, it reflects everything around it, turning your studio into a hall of mirrors. However, with the Light Cone in place, the chrome retains its luster while softening the reflections to a gentle glow. The result? A product photo that speaks volumes without uttering a word.

Jewels in a New Light

Practical Tips for Every Product
Scaling the Technique
Whether you're shooting kitchen gadgets or high-fashion accessories, the principles remain the same. Elevate, illuminate, and diffuse. Adjust your setup to suit the size and material of your product, always keeping the end goal in mind: a product photo that sells itself.
Experimentation Is Key
Don't be afraid to experiment. Product photography, like any art form, thrives on creativity and innovation. Try different angles, adjust lighting intensities, and play with the position of your Light Cone. You might discover a unique perspective that sets your photos apart from the competition.
Guaranteeing Pure White Backgrounds with the Karl Taylor Light Cone
Mastering the art of no cutout pure white background product photography with the Karl Taylor Light Cone boils down to understanding and leveraging light. By utilizing a straightforward setup involving elevation, strategic lighting, and the transformative power of the Light Cone, you can consistently produce images that captivate and compel. So, the next time you're gearing up for a product shoot, remember: it's not just about what you shoot, but how you illuminate it.


Leave a comment
This site is protected by hCaptcha and the hCaptcha Privacy Policy and Terms of Service apply.